This is a hearty, everyday rajma that comes together beautifully in the Instant Pot, making it a convenient and nourishing dish for busy days. Here is how to do it.
Prep:
To begin, wash the rajma thoroughly under running water and soak it in plenty of water overnight or for at least 8 hours. This step softens the beans and ensures they cook evenly. Both chitra rajma (light-colored with speckles) and red rajma work well in this recipe.
Puree ripe tomatoes in a blender and set the puree aside. This tomato base will help build the rich curry flavor.

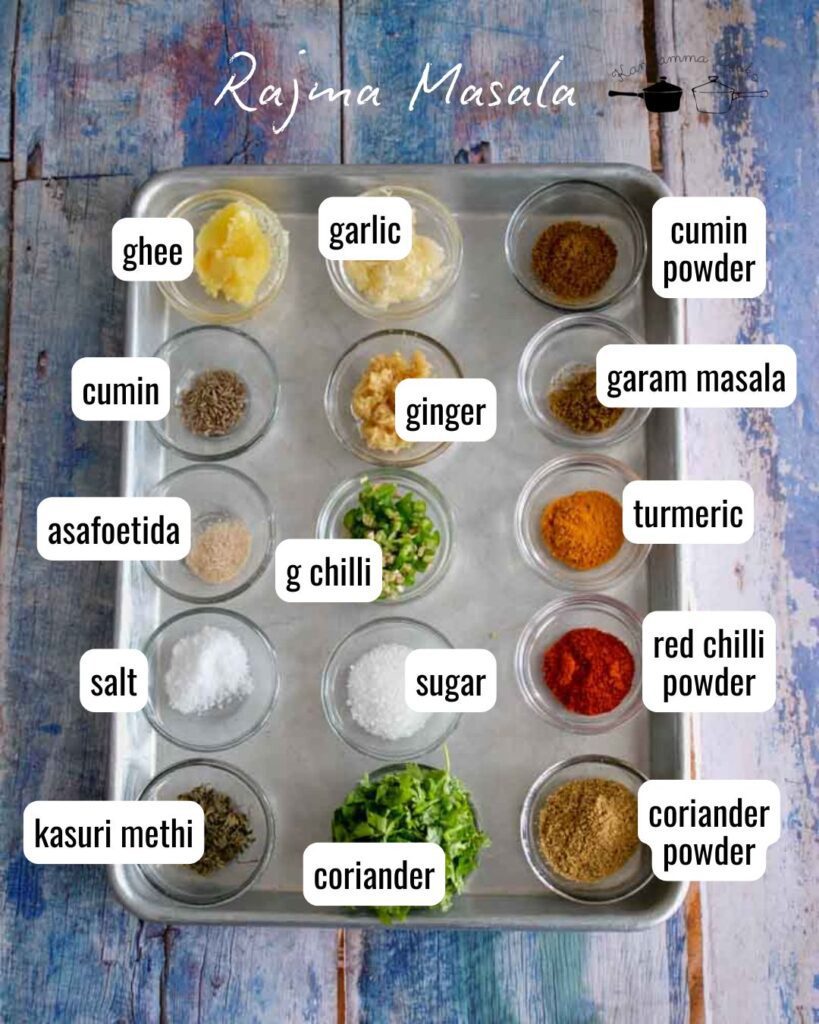
Here are the other ingredients you will need for this recipe.
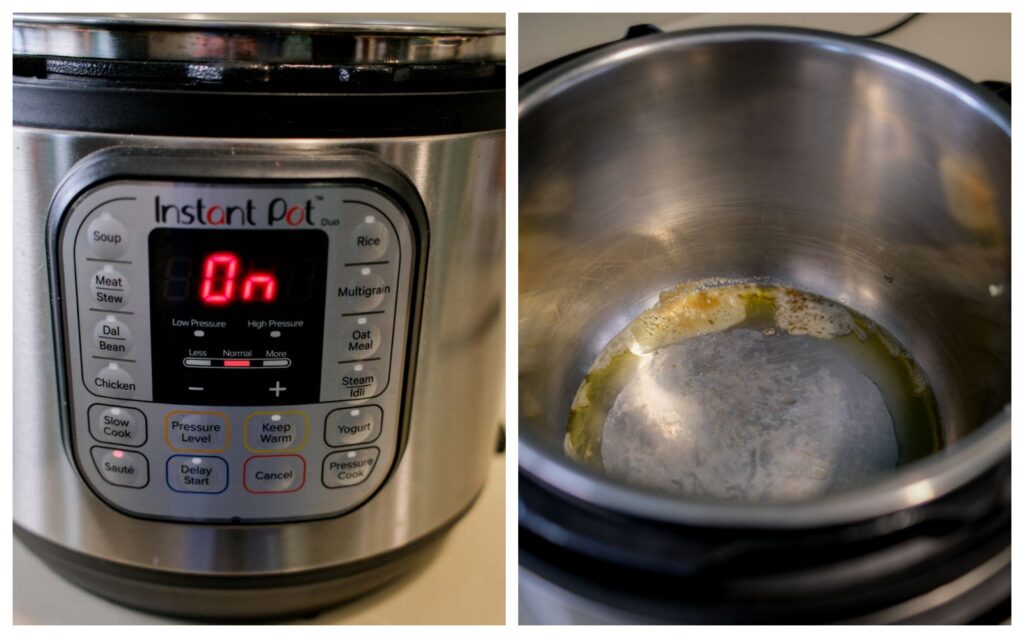
Turn on the Instant Pot and press the Sauté button. Allow the pot to heat for a minute, then add ghee to the inner steel insert. Once the ghee is hot, add cumin seeds and let them sizzle and release their aroma. Add asafoetida and stir it into the hot ghee.
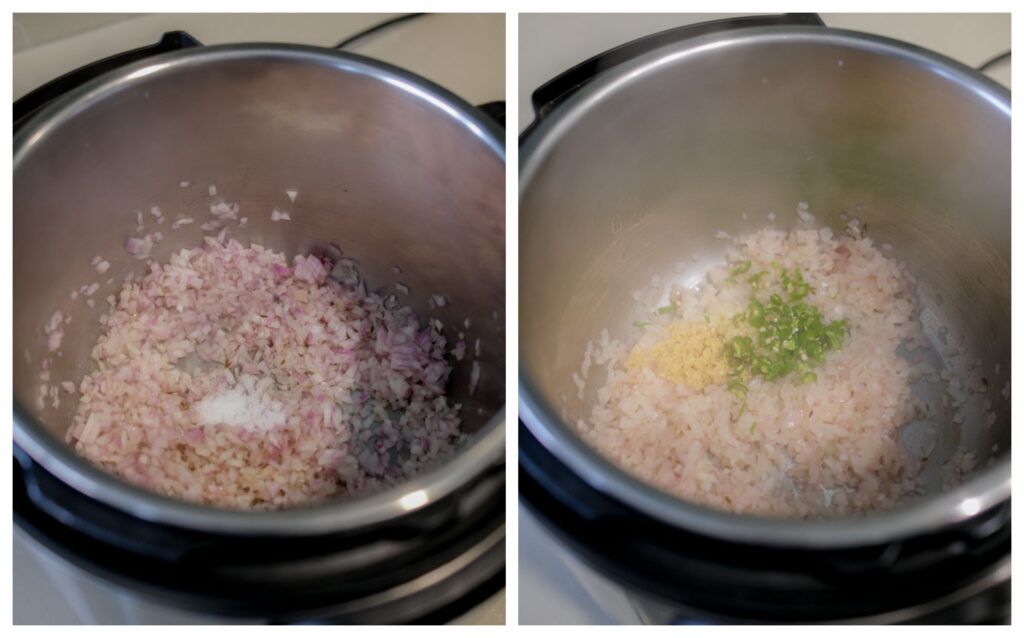
Add finely chopped onions along with salt. Sauté for about 2 to 3 minutes, stirring occasionally, until the onions become soft and translucent. Add freshly grated ginger, garlic, and chopped green chillies, and sauté for another minute until the raw smell disappears.
Now add the spice powders: coriander powder, red chilli powder, cumin powder, and turmeric powder.
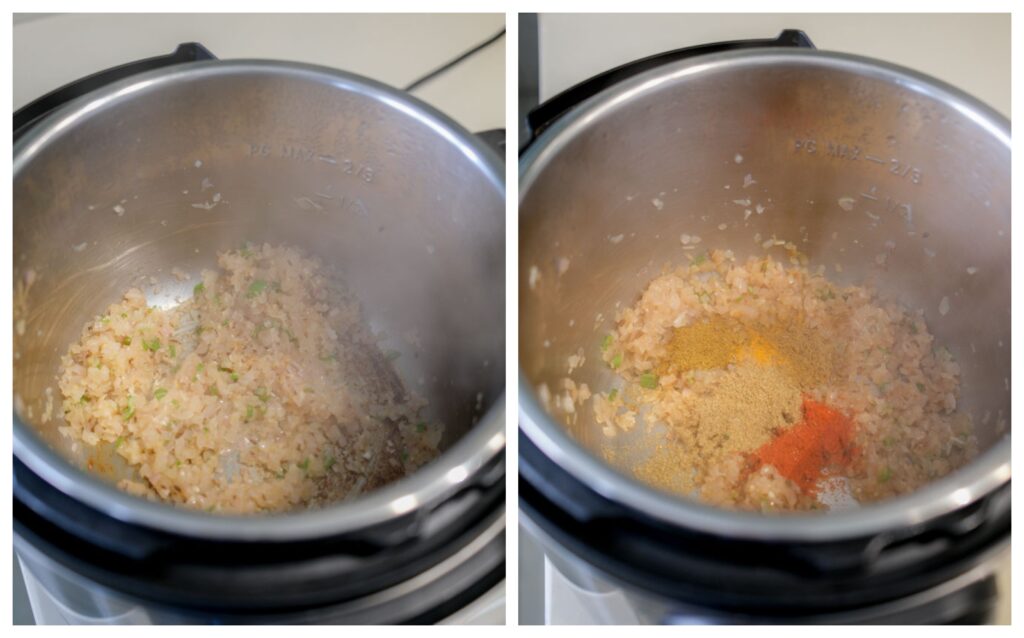
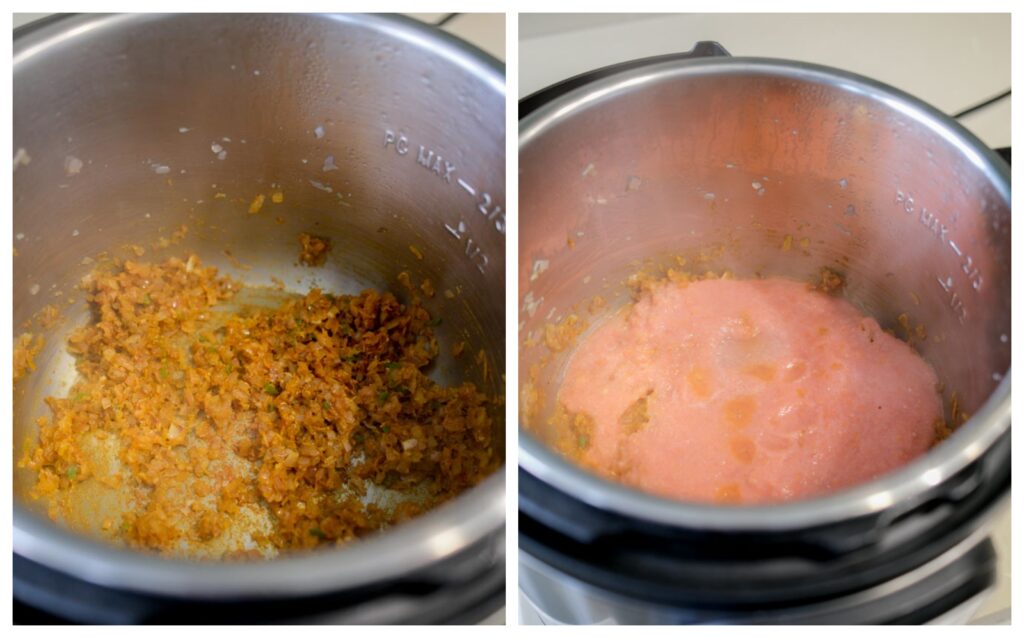
Mix well to coat the onion mixture evenly with the spices. Let the spices cook for 30 seconds so they release their full aroma. Pour in the tomato puree and sauté the mixture for 2 to 3 minutes, allowing the raw smell of the tomatoes to cook off.
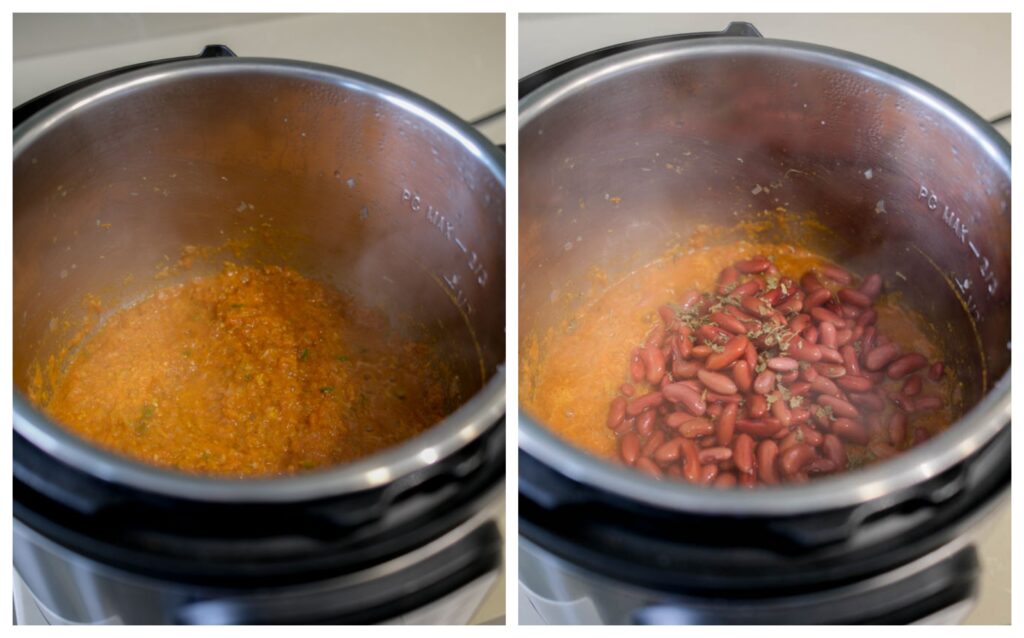
Drain the soaked rajma and add it to the pot, along with crushed kasuri methi. Add the sugar. The sugar will balance the tang of the tomatoes. Add the garam masala. Mix well to combine everything.
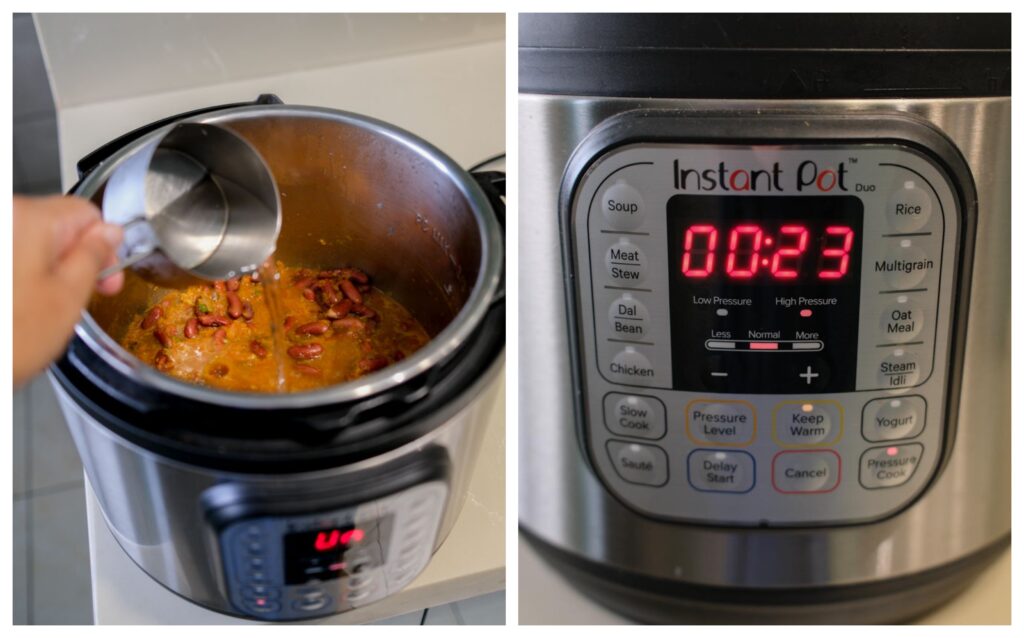
Pour in hot water. Using hot water helps keep the cooking process consistent and prevents a drop in temperature that would slow cooking. Now cancel the Sauté mode by pressing the Cancel button. Secure the Instant Pot lid into place. Make sure the silicone sealing ring is properly fitted inside the lid. Turn the pressure release knob (also called the steam release valve) to the Sealing position.
Press the Pressure Cook or Manual button (depending on your Instant Pot model). Set the time to 23 minutes on High Pressure.
Once the cooking time is complete, allow the pressure to release naturally. Once the pressure has dropped completely and the float valve has sunk back down, carefully open the lid. Stir the rajma gently. Use the back of a ladle to mash a small portion of the beans against the side of the pot. This step thickens the curry naturally and gives it a creamy texture without adding cream or butter.
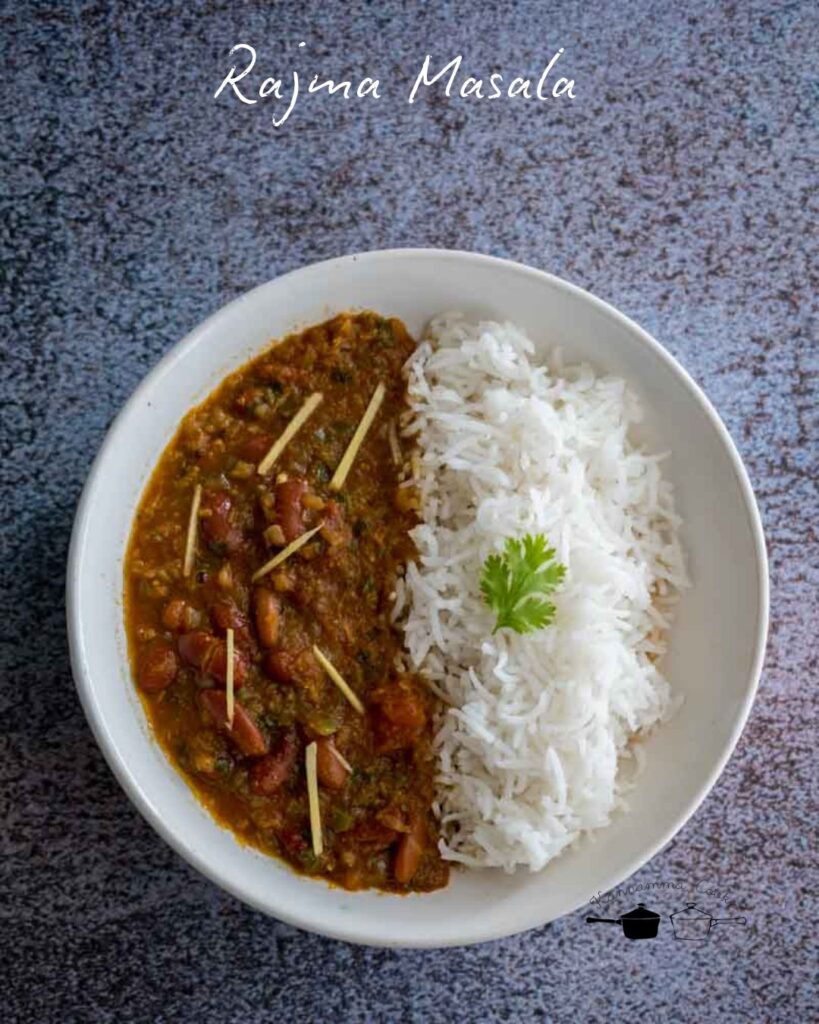
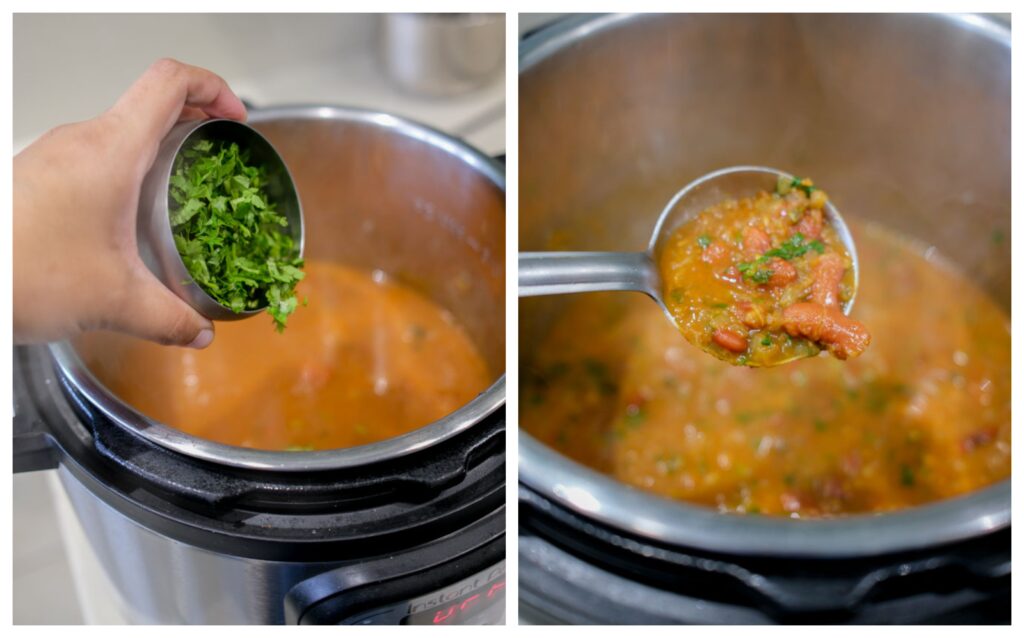
Finish by sprinkling fresh chopped coriander leaves over the curry. Serve hot with plain steamed rice or jeera rice for a wholesome and satisfying meal. Sprinkle little julienned ginger and ghee while serving.

To begin, wash the rajma thoroughly under running water and soak it in plenty of water overnight or for at least 8 hours. This step softens the beans and ensures they cook evenly. Both chitra rajma (light-colored with speckles) and red rajma work well in this recipe.
Puree ripe tomatoes in a blender and set the puree aside. This tomato base will help build the rich curry flavor.
Turn on the Instant Pot and press the Sauté button. Allow the pot to heat for a minute, then add ghee to the inner steel insert. Once the ghee is hot, add cumin seeds and let them sizzle and release their aroma. Add asafoetida and stir it into the hot ghee.
Add finely chopped onions and salt. Sauté for about 2 to 3 minutes, stirring occasionally, until the onions become soft and translucent. Add freshly grated ginger, garlic, and chopped green chillies, and sauté for another minute until the raw smell disappears.
Now add the spice powders: coriander powder, red chilli powder, cumin powder, and turmeric powder.
Mix well to coat the onion mixture evenly with the spices. Let the spices cook for 30 seconds so they release their full aroma. Pour in the tomato puree and sauté the mixture for 2 to 3 minutes, allowing the raw smell of the tomatoes to cook off.
Drain the soaked rajma and add it to the pot, along with crushed kasuri methi. Add the sugar. The sugar will balance the tang of the tomatoes. Add the garam masala. Mix well to combine everything. Pour in hot water—about enough to cover the beans fully. Using hot water helps keep the cooking process consistent and prevents a drop in temperature that would slow cooking.
Now cancel the Sauté mode by pressing the Cancel button. Secure the Instant Pot lid into place.
Pressure Cook. Set the time to 23 minutes on High Pressure.
Once the cooking time is complete, allow the pressure to release naturally. Once the pressure has dropped completely and the float valve has sunk back down, carefully open the lid.
Stir the rajma gently. Use the back of a ladle to mash a small portion of the beans against the side of the pot. This step thickens the curry naturally and gives it a creamy texture without adding cream or butter. Add the coriander leaves.
Finish by sprinkling fresh chopped coriander leaves over the curry. Serve hot with plain steamed rice or jeera rice for a wholesome and satisfying meal. Sprinkle little julienned ginger and ghee while serving.
- Author: Suguna Vinodh
- Prep Time: 8hrs
- Cook Time: 45m
Find it online : https://www.kannammacooks.com/rajma-masala/
Introduction
In the age of digital technologies, businesses need brand campaigns to reach audiences, promoting products or services using interesting video material both on Instagram and YouTube. Devising messages that relate a lot to people can be more than just visual; it takes a strong audio presence to attract attention.
CapCut PC tool, an AI voice generator , strives to enhance the creative approach by combining written scripts into effective voiceovers without the necessity of shooting in real life. Being a startup with a new product or a company carrying out a rebranding, this tool eases production.
This article explains how CapCut can assist you in kicking off brand campaigns that engage and persuade all over the world.
Convert Campaign Scripts into Persuasive, On-Brand Voiceovers
By typing a script, the customers may provide an audio that pertains to the tone of the campaign, whether it is uplifting, e.g. in case of launch, or carrying a sense of authority, e.g. in case of corporate messages, without worrying that it will not fit the video speed.
This eliminates issues such as background noise or multi-takes, providing a professional sounding space. This tool comes in handy as a lifeline to marketers who may not have all the resources available or time on their hands to develop an effective brand identity.
Why Compelling Audio Matters for Marketing Results
The role played by engaging audio on brand campaigns can not be overemphasised as it is capable of making the content reach those members of society with lesser inabilities in hearing as well as those with the inclination of exploring the content through sounds, deepening the inclusion of the members of society.
The saving of additional time because of a voiceover is essential because it prevents the necessity to re-record, organising the schedule of campaigns based on seasonal trends or urgent launches. Synthetic voices are more private and hence preferred by brands that do not need the faces of spokespersons to advertise their products.
This is enhanced by the feature of Text to Speech AI , which will enable one to have the same, multilingual voice narration, and the campaigns will get access to international markets. Such an audio influence enhances brand awareness, promotes active participation and converts at global levels.
Step-by-Step: Create a Branded Video Campaign on CapCut PC
Step 1: Start Your CapCut Project
Access to the site CapCut, download the PC version, Windows or Mac version, run the installer, open the application, press the button, “New Project” in order to begin your brand campaign.
Step 2: Import and Organise Campaign Footage
Load the project, hit “Import” to import video clips of the shots of product or brand visuals, and move them to the timeline by using Drag and Drop, in the sequence of your promotional tale.
Step 3: Add AI Voice Narration and Enhance Video Quality
Go to the “Video” category, click the “Basic” sub-category, press “Enhance quality”, turn on the toggle and make a colour selection, 720- 1080p sub-categories under “HD”, and preview.
Then, click the, “Text”, menu and, switch to, “Text to speech”, tab, choose, “Trending”, paste your campaign script with the product information and calls to action, select a voice such as, “Professional Male”, or, “Excited Female”, font size to, 15, speed, and pitch, to view with the sliders, and preview to match the audio to the video.
Step 4: Export and Share Your Brand Campaign
Tap “Export”, then “1080p”, in “mp4” format, save and use “Share” to upload to a social site or web, or email campaign to make it reach the widest audience.
CapCut Features That Drive Successful Brand Campaigns
The tools offered on CapCut give essential functions towards success in a campaign. The AI Voice Generator is modifiable to be a confident voice when it comes to advertising or a warm tone when it comes to the art of storytelling. Similarly, the tone of the pitch and speed can be adjusted to the brand tone, guaranteeing it to be a persuasive voice.
The AI Video Upscaler can improve grainy videos with low resolution of the product to HD or even 4K, allowing one to see textures or patterns quite clearly. Timeline integration complements the use of voiceovers, background music, and even overlay texts such as slogans in a harmonious manner, and the interface is easy to use by all marketers.
The paid plan provides watermarkless exports, and real-time preview polishes the quality, which makes your campaigns look and sound appealing to an international audience.
Conclusion: Give Your Brand a Voice That Converts
The introduction of brand campaigns using CapCut PC’s AI voice generator changes the perspective on the way businesses advertise their image, and the voice generator offers an efficient, reachable, and private way of presenting it. Such a tool will do away with recording issues, expand coverage to the international level with persuasive sound, and combine with upscaled visuals to achieve success.
CapCut enables you to succeed in creating a powerful brand globally through enhanced techniques and the deployment of such capabilities. Get going and make your campaigns ring, making each video an effective marketing weapon.
