
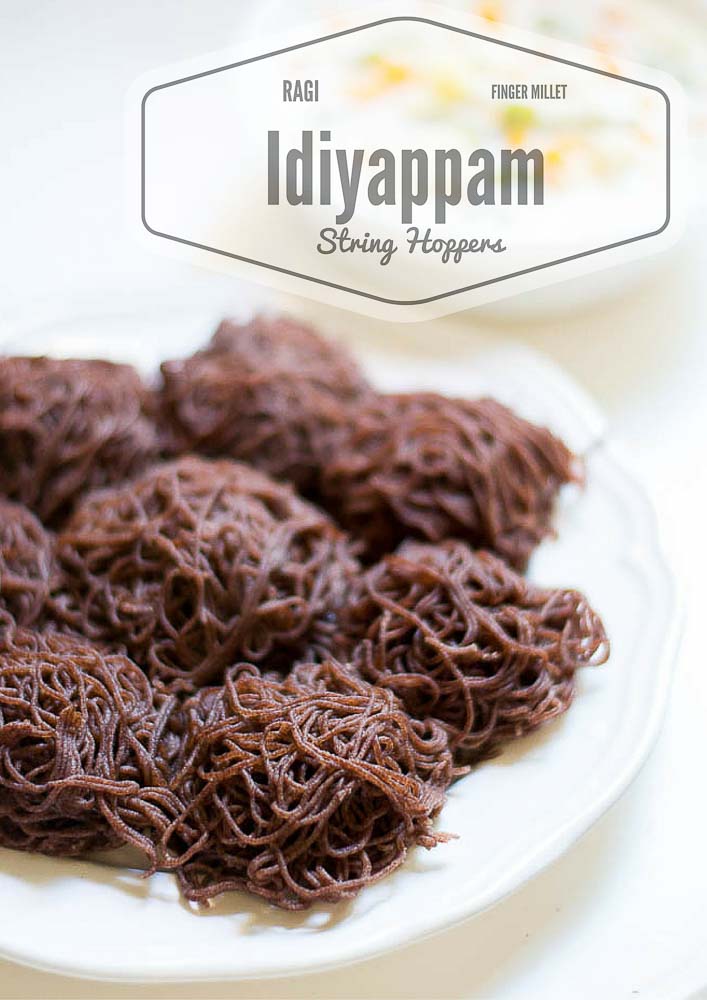
I have already shared the recipe for plain Idiyappam here . I used the same technique for doing Idiyappam using ragi flour. The texture was amazing with the ragi flour. This technique for making Idiyappam has been adapted from Mr.Ramakrishnan, the founder of OPOS recipes.
Idiyappam is an all time favorite recipe at home. Serve it with sweet coconut milk and stew and it makes for a fantastic breakfast or dinner. You can also serve with Chicken Stew.
Here is how to do ragi Idiyappam.
Take a pan and add in a cup of ragi flour to the pan. Do not pack the flour while measuring. Use scoop and sweep method to measure the flour. Roast the ragi flour on medium flame until the flour is very hot and aromatic. It will take about 5-6 minutes on medium flame. Keep sauteing continuously to avoid burning of the flour. Remove and set aside.

Take a pressure cooker and add in 1.5 cups of water and half a teaspoon of salt. I used a 3 liter cooker today. Cover and cook for one whistle. Remove the pressure manually with a spoon. (I used a knife..OOPS..Morimoto will be mad at me, I know. Don’t be like me). Hot water is ready!

Immediately add in the roasted ragi flour and mix well to combine. There will be little bits of ragi flour that may not look wet. Thats OK. Cover the cooker, put the whistle on and let it rest for 15 minutes. Remember the stove is off. We are just resting the dough covered. Rest for 15 minutes.


Get the Idiyappam Press ready.
After 15 minutes, open the cooker and mix the dough. Wet your hands in water. Prepare small oblong balls using your palm and load it in the idiyappam press. Press the idiyappam strings onto idli plates.

Press the dough when the dough is still hot. It kind of hardens as it cools and it will become really difficult to press. If you find the press to be hot, cover it with a towel for easy handling. This is some elbow grease work. Once the dough is pressed, transfer the plates to a steamer and steam the idiyappam for 10 minutes. After 10 minutes of steaming, rest the idli plates for 5 minutes before removing the idiyappam.

Serve it with sweet coconut milk and stew and it makes for a fantastic breakfast or dinner.

- 1 Cup Plain Ragi Flour (Do not pack the flour while measuring, Use scoop and sweep method)
- 1.5 Cups Water
- ½ Teaspoon Salt
- Take a pan and add in a cup of ragi flour to the pan. Roast the ragi flour on medium flame until the flour is very hot and aromatic. It will take about 5-6 minutes on medium flame. Keep sauteing continuously to avoid burning of the flour. Remove and set aside.
- Take a pressure cooker and add in 1.5 cups of water and half a teaspoon of salt. Cover and cook for one whistle. Remove the pressure manually with a spoon.
- Immediately add in the roasted ragi flour and mix well to combine. There will be little bits of ragi flour that may not look wet. Thats OK. Cover the cooker, put the whistle on and let it rest for 15 minutes. Remember the stove is off. We are just resting the dough covered. Rest for 15 minutes.
- After 15 minutes, open the cooker and mix the dough. Wet your hands in water. Prepare small oblong balls using your palm and load it in the idiyappam press. Press the idiyappam strings onto idli plates.
- Press the dough when the dough is still hot. Once the dough is pressed, transfer the plates to a steamer and steam the idiyappam for 10 minutes. After 10 minutes of steaming, rest the idli plates for 5 minutes before removing the idiyappam.
- Serve it with sweet coconut milk and stew.
Notes
If you are making idiyappam in large quantity, make the dough in batches as it becomes difficult to press as the dough cools down. The idiyappam has to be pressed when the dough is still hot. That’s the key to this recipe.
- Author: Kannamma - Suguna Vinodh
- Prep Time: 20 mins
- Cook Time: 15 mins
- Category: Breakfast
- Cuisine: South Indian
Find it online : https://www.kannammacooks.com/ragi-idiyappam-ragi-flour-recipe/

My mother in law has an younger brother. The brother’s mother in law had visited my mil at the village when my husband was around 3 years old. Her name is Rajamani Ammal. So when she was leaving, she took my husband for holiday vacation to Coimbatore. A long holiday vacation that lasted for years. He stayed with her till he got married. Can you believe this story? I was awestruck when he told me about this when we met before marriage. She was the one who got him into school, college and got him married. She took care of everything as her own son. I cannot imagine someone to do something like this. She is the most simple person you will ever meet in life. Before marriage, Vinodh told me that I will have two mother in laws after marriage. She is the most generous person I have met in life. No double standards. She treats everyone the same. She asks her cook Suresh to make this Vadai whenever we go to Coimbatore. Suresh takes the pain to grind the batter in a stone mortar (attangal) as that’s how amma likes it. This is her recipe for moong dal vadai and her favorite Vadai. Here is a picture of Amma with her son and mine.

Here is Suresh grinding the moong dal vadai batter in attangal.
Soak the Moong dal in water for couple of hours. We use split moong dal with the skin still on. The texture of the vada is really nice with this dal. You can use split yellow moong dal too.

Soak the moong dal for a couple of hours in lots of water.

Wash the moong dal and drain several times to get rid of the skin attached to the dal. Wash until most of the skin has been removed. Little skin will remain and that is OK. Its desirable.
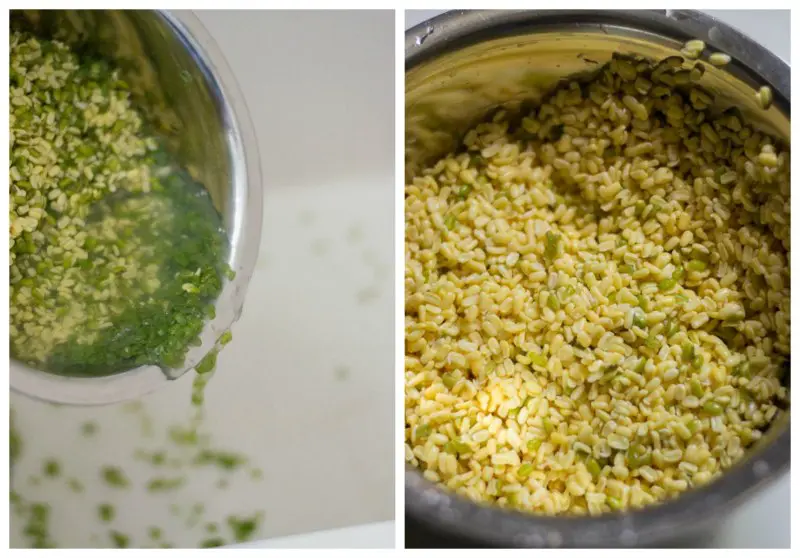
Take a blender and add in the dal, red chillies and cumin seeds. Don’t add water while grinding. The dal would have soaked lots of moisture and there will be enough moisture already. Grind the dal to a slightly coarse paste. The batter should be really thick. Pulse several times stopping in between to mix. Add in the chopped onions, minced ginger, coriander leaves, green chillies, asafoetida, baking soda, rice flour and salt. Mix well to combine.

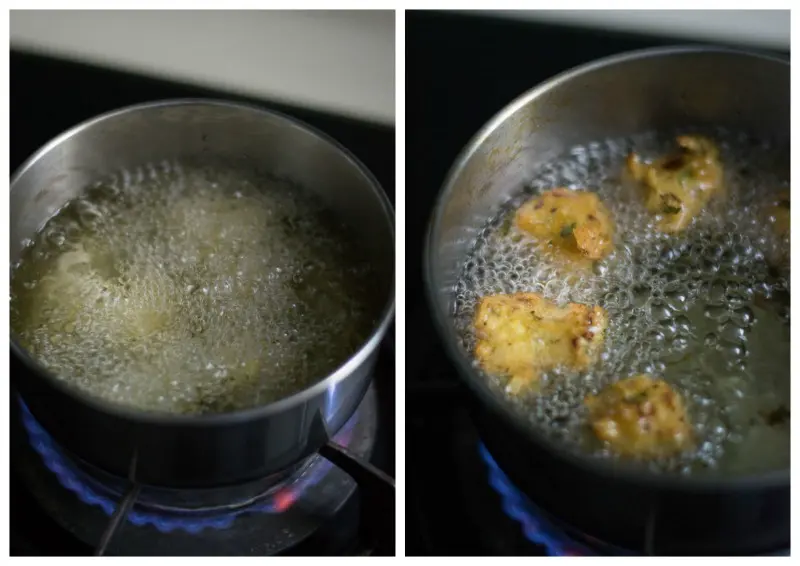
Heat oil in a kadai until hot. Drop little spoonful’s of batter in oil. Take a small piece of the batter in your finger tips and use your thumb to slide the batter into the oil.

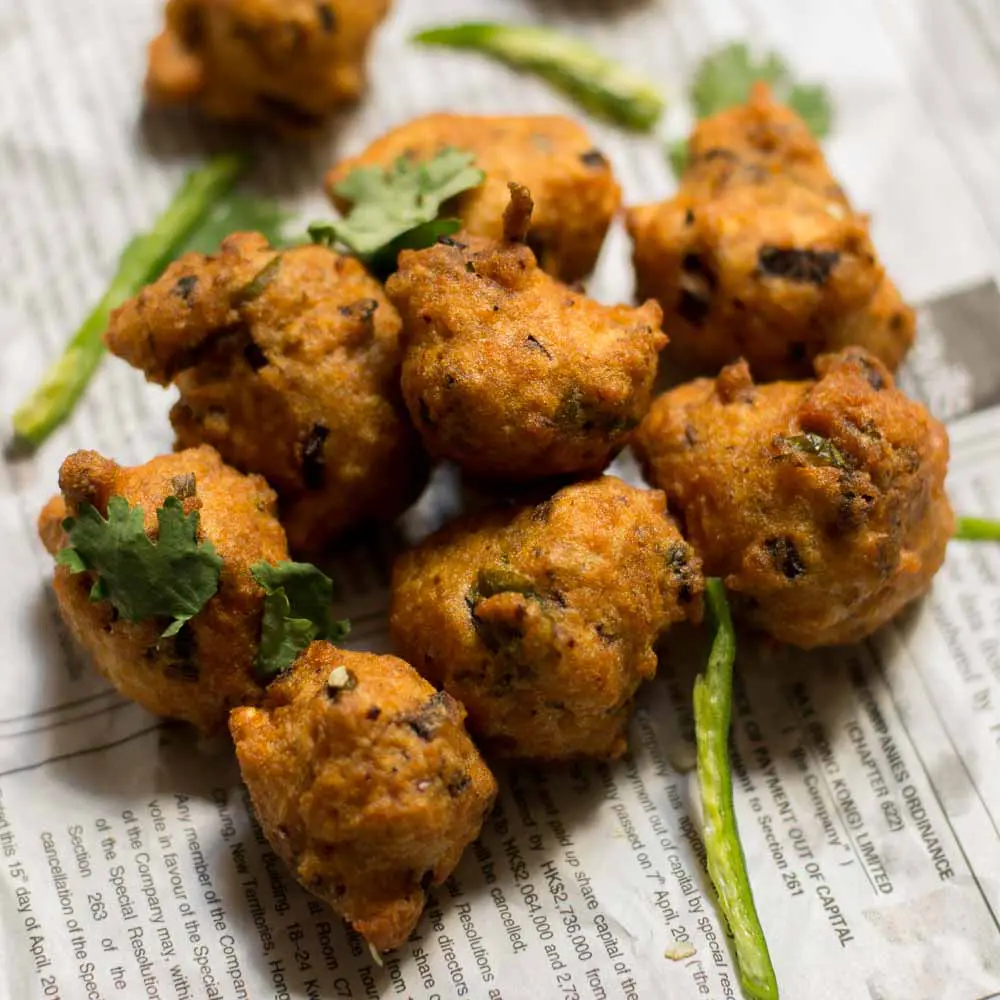
After dropping the batter, do not disturb the oil kadai for 30 seconds. The vadais may break. Just leave it to cook. Use a fork to turn the vadais in between. Deep fry till golden.
Serve hot with tea.

For Grinding
- 3/4 cup green mung dal preferably with skin
- 2 dried red chillies
- 1/4 teaspoon cumin seeds
For final mixing
- 1 big onion, finely chopped
- 2 - 3 green chillies, finely chopped
- 1/2 inch piece ginger, finely minced
- 3 sprigs coriander leaves, finely chopped
- 3/4 teaspoon salt
- 1/4 teaspoon baking soda
- a pinch of asafoetida
- 2 tablespoon rice flour
Deep Fry
- 500 ml sunflower / vegetable oil
- Soak the Moong dal in water for couple of hours. Wash the moong dal and drain several times to get rid of the skin attached to the dal. Wash until most of the skin has been removed. Little skin will remain and thats OK. Its desirable.
- Take a blender and add in the dal, red chillies and cumin seeds. Dont add water while grinding. Grind to a slightly coarse paste. Add in the chopped onions, minced ginger, coriander leaves, green chillies, asafoetida, baking soda, rice flour and salt. Mix well to combine.
- Heat oil in a kadai until hot. Drop little spoonful’s of batter in oil.
- Deep fry till golden.
Notes
If the batter is too runny, add in a couple of tablespoon of rice flour.
- Author: Kannamma - Suguna Vinodh
- Prep Time: 2 hours
- Cook Time: 10 mins
- Category: Appetizer
- Cuisine: Tamilnadu

