
How to do Nannari Sarbath / Nannari Syrup / Sharbath from scratch. Nannari roots or Sarasparilla is used for making Nannari Sarbath. Nannari has cooling properties on the body. Its even used for treating acidity, constipation and urinary disorders.
You will be able to get the root in “naatu marundu kadai” / Medicine shops selling ayurvedic herbs etc… Its also available in your local super market shelves during summer. If you cant get the roots, you can buy them here. Nannari/sarasaparilla

Summer is super officially here and I am always opening the refrigerator to make myself a cold drink. It is necessary to take a lot of fluids to keep you sane in the super hot weather. Nannari sarbath is made using nannari syrup concentrate. Nannari Sarbath concentrate is available in the super market shelves but its laden with artificial colours, flavors and additives. The syrups available in the market doesn’t taste like nannari anymore. Its easy to prepare at home and the clean taste of the sarbath is so delicious that you will want to make another batch. Home made nannari syrup concentrate lasts for more than a month in the refrigerator. Here is how to do it.
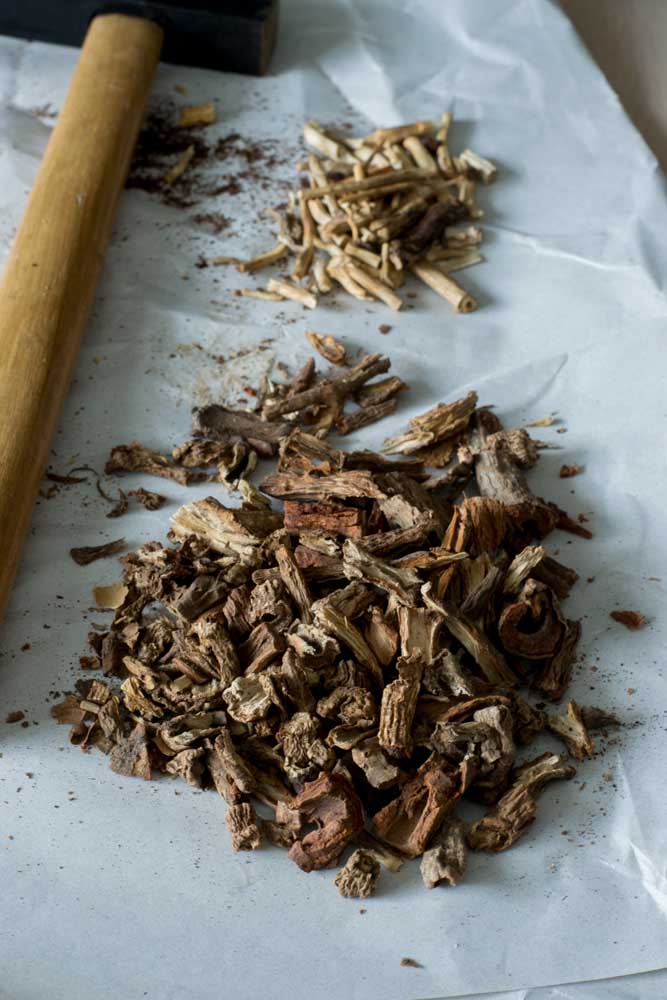
The Nannari roots needs to be cleaned. Gently hammer the root to break it and remove the white inner part. It will come off easily. Discard the white part.

The bark or the outer part of the root alone is used for making sarbath. The bark has a wonderful aroma. You can smell it as you start breaking the root.
Here is the video of How to do Nannari Sarbath/Sharbath/Sherbet from scratch.
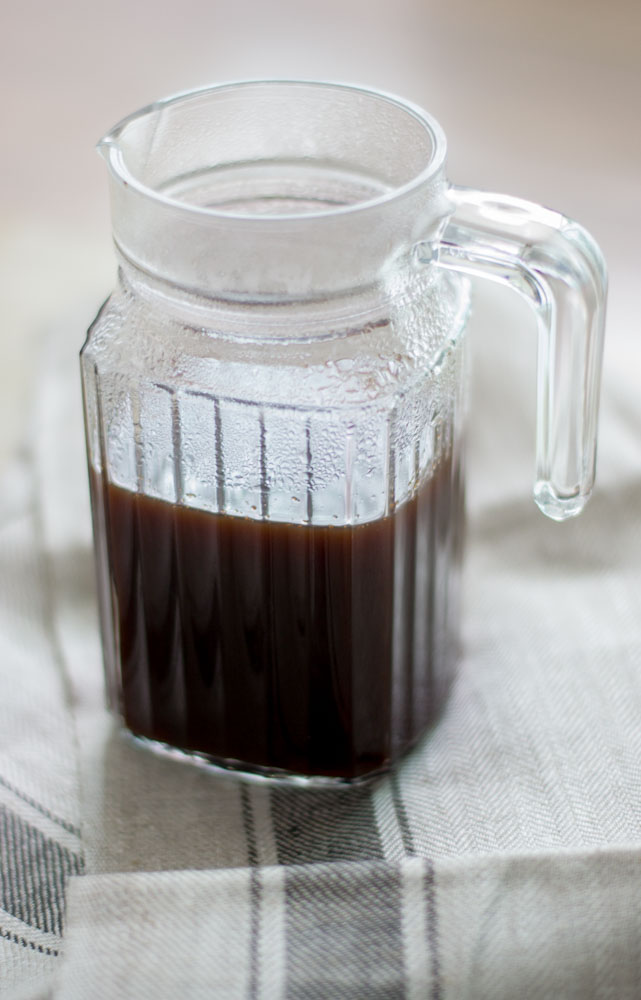
The Nannari syrup concentrate can be stored in the refrigerator and used for upto one month. There is nothing like the clean taste of home made nannari sarbath.
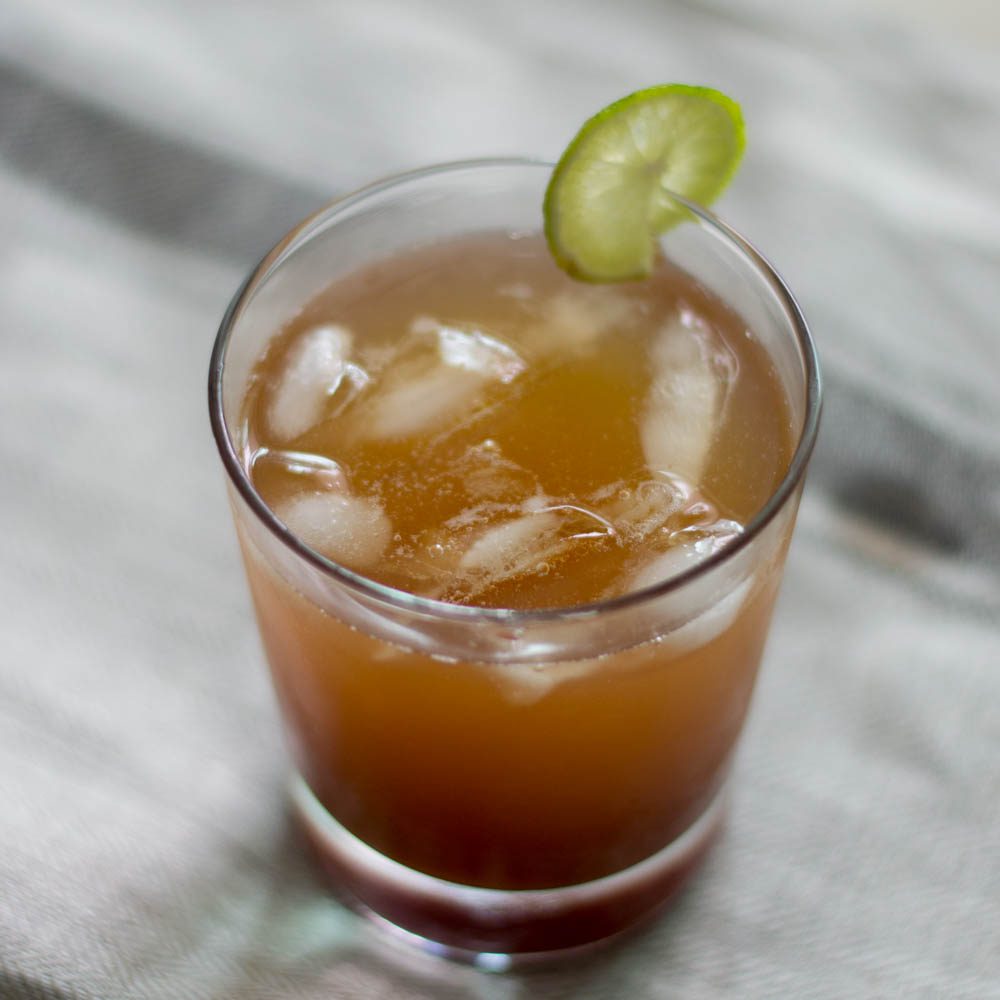
Go fix a drink for yourself today! Hope you liked the video.
For the Nannari Syrup
- 50 grams Nannari root
- 1 liter water
- 1 cup sugar
- 1 teaspoon salt
For making Nannari Sarbath
- Juice from half a lime / lemon
- 3 tablespoon Nannari Syrup
- 4 - 5 Ice cubes
- 150 ml water
For the Nannari Sarbath Concentrate
- Hammer the nannari root to remove the white inner stalk. Discard the white part.
- Wash the dark bark of the root in running water to remove dirt and sand.
- Grind to a coarse powder.
- Pressure cook the root with water sugar and salt for 5 minutes on medium flame.
- Wait for the pressure to release naturally. Strain the mixture.
- Boil the strained mixture until syrupy.
- Cool and store in the refrigerator and use it within a month.
For making Nannari Sarbath
- Mix in the lime/ lemon juice, syrup, ice cubes and water. Enjoy!
Notes
Instead of water, you can substitute club soda. You can add in ginger, sabja seeds (basil seeds), mint etc… for variation.
- Author: Kannamma - Suguna Vinodh
- Prep Time: 15 mins
- Cook Time: 1 hour
- Category: Drinks
- Cuisine: Tamilnadu
Find it online : https://www.kannammacooks.com/nannari-sarbath-nannari-syrup-from-scratch/

This is hands down the best rava kesari and not only that. Its the easiest and fool proof recipe. There is one thing that gets people away from trying kesari. They end up with sticky goo like kesari or end up with lumpy kesari. But this is a fool proof recipe and the kesari just glides in your mouth. It only takes 10 minutes of cooking time and 20 minutes of resting time. So you need to be attentive in the kitchen for just 10 minutes. Here is how to do it.

Take a pressure cooker (two or three liter capacity cooker) and add in the water, sugar, cardamom powder, turmeric and a pinch of salt. Turmeric is for colour. You can add saffron or a food colour too. But I personally like the yellow hue that turmeric imparts. Start the heat and let it simmer.

When the water-sugar mixture is boiling, set a pan on stove in medium heat. We will roast the rava. Add in the ghee, cashew-nuts and the rava.

Start roasting the rava in ghee. The rava will initially bubble up on the sides of the pan during roasting. It will slowly settle down and a nutty smell will fill your kitchen. Keep sauteing all the time so the rava doesnt burn. The rava should start taking the color of a very mild amber.

We will need to be working simultaneously so when the sugar mixture boils, the rava is also cooked. If the sugar mixture starts boiling before the rava is roasted, do not worry. Just put the sugar mixture on a low simmer.

The rava is fully roasted when the cashew nuts have turned slightly golden and the rava has slightly changed colour. Also look for the nutty aroma. Thats a sure sign that the rava is roasted. When the sugar mixture comes to a full boil, we are ready to add in the rava. Gently, carefully, slowly add in the roasted hot rava into the sugar water mixture. It will bubble up briefly. That’s OK. Switch off the heat / stove.

Immediately after adding rava, mix well once and cover the cooker with the lid and add in the weight. Remember that the stove is off . Do not open the cooker for the next 20 minutes.

Open the cooker after 20 minutes and mix the kesari well. The rava would have absorbed all the moisture and would have swollen up. It will be glistening and totally lump free.
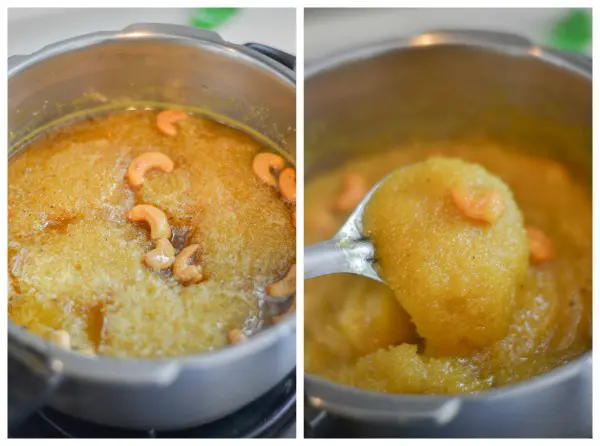
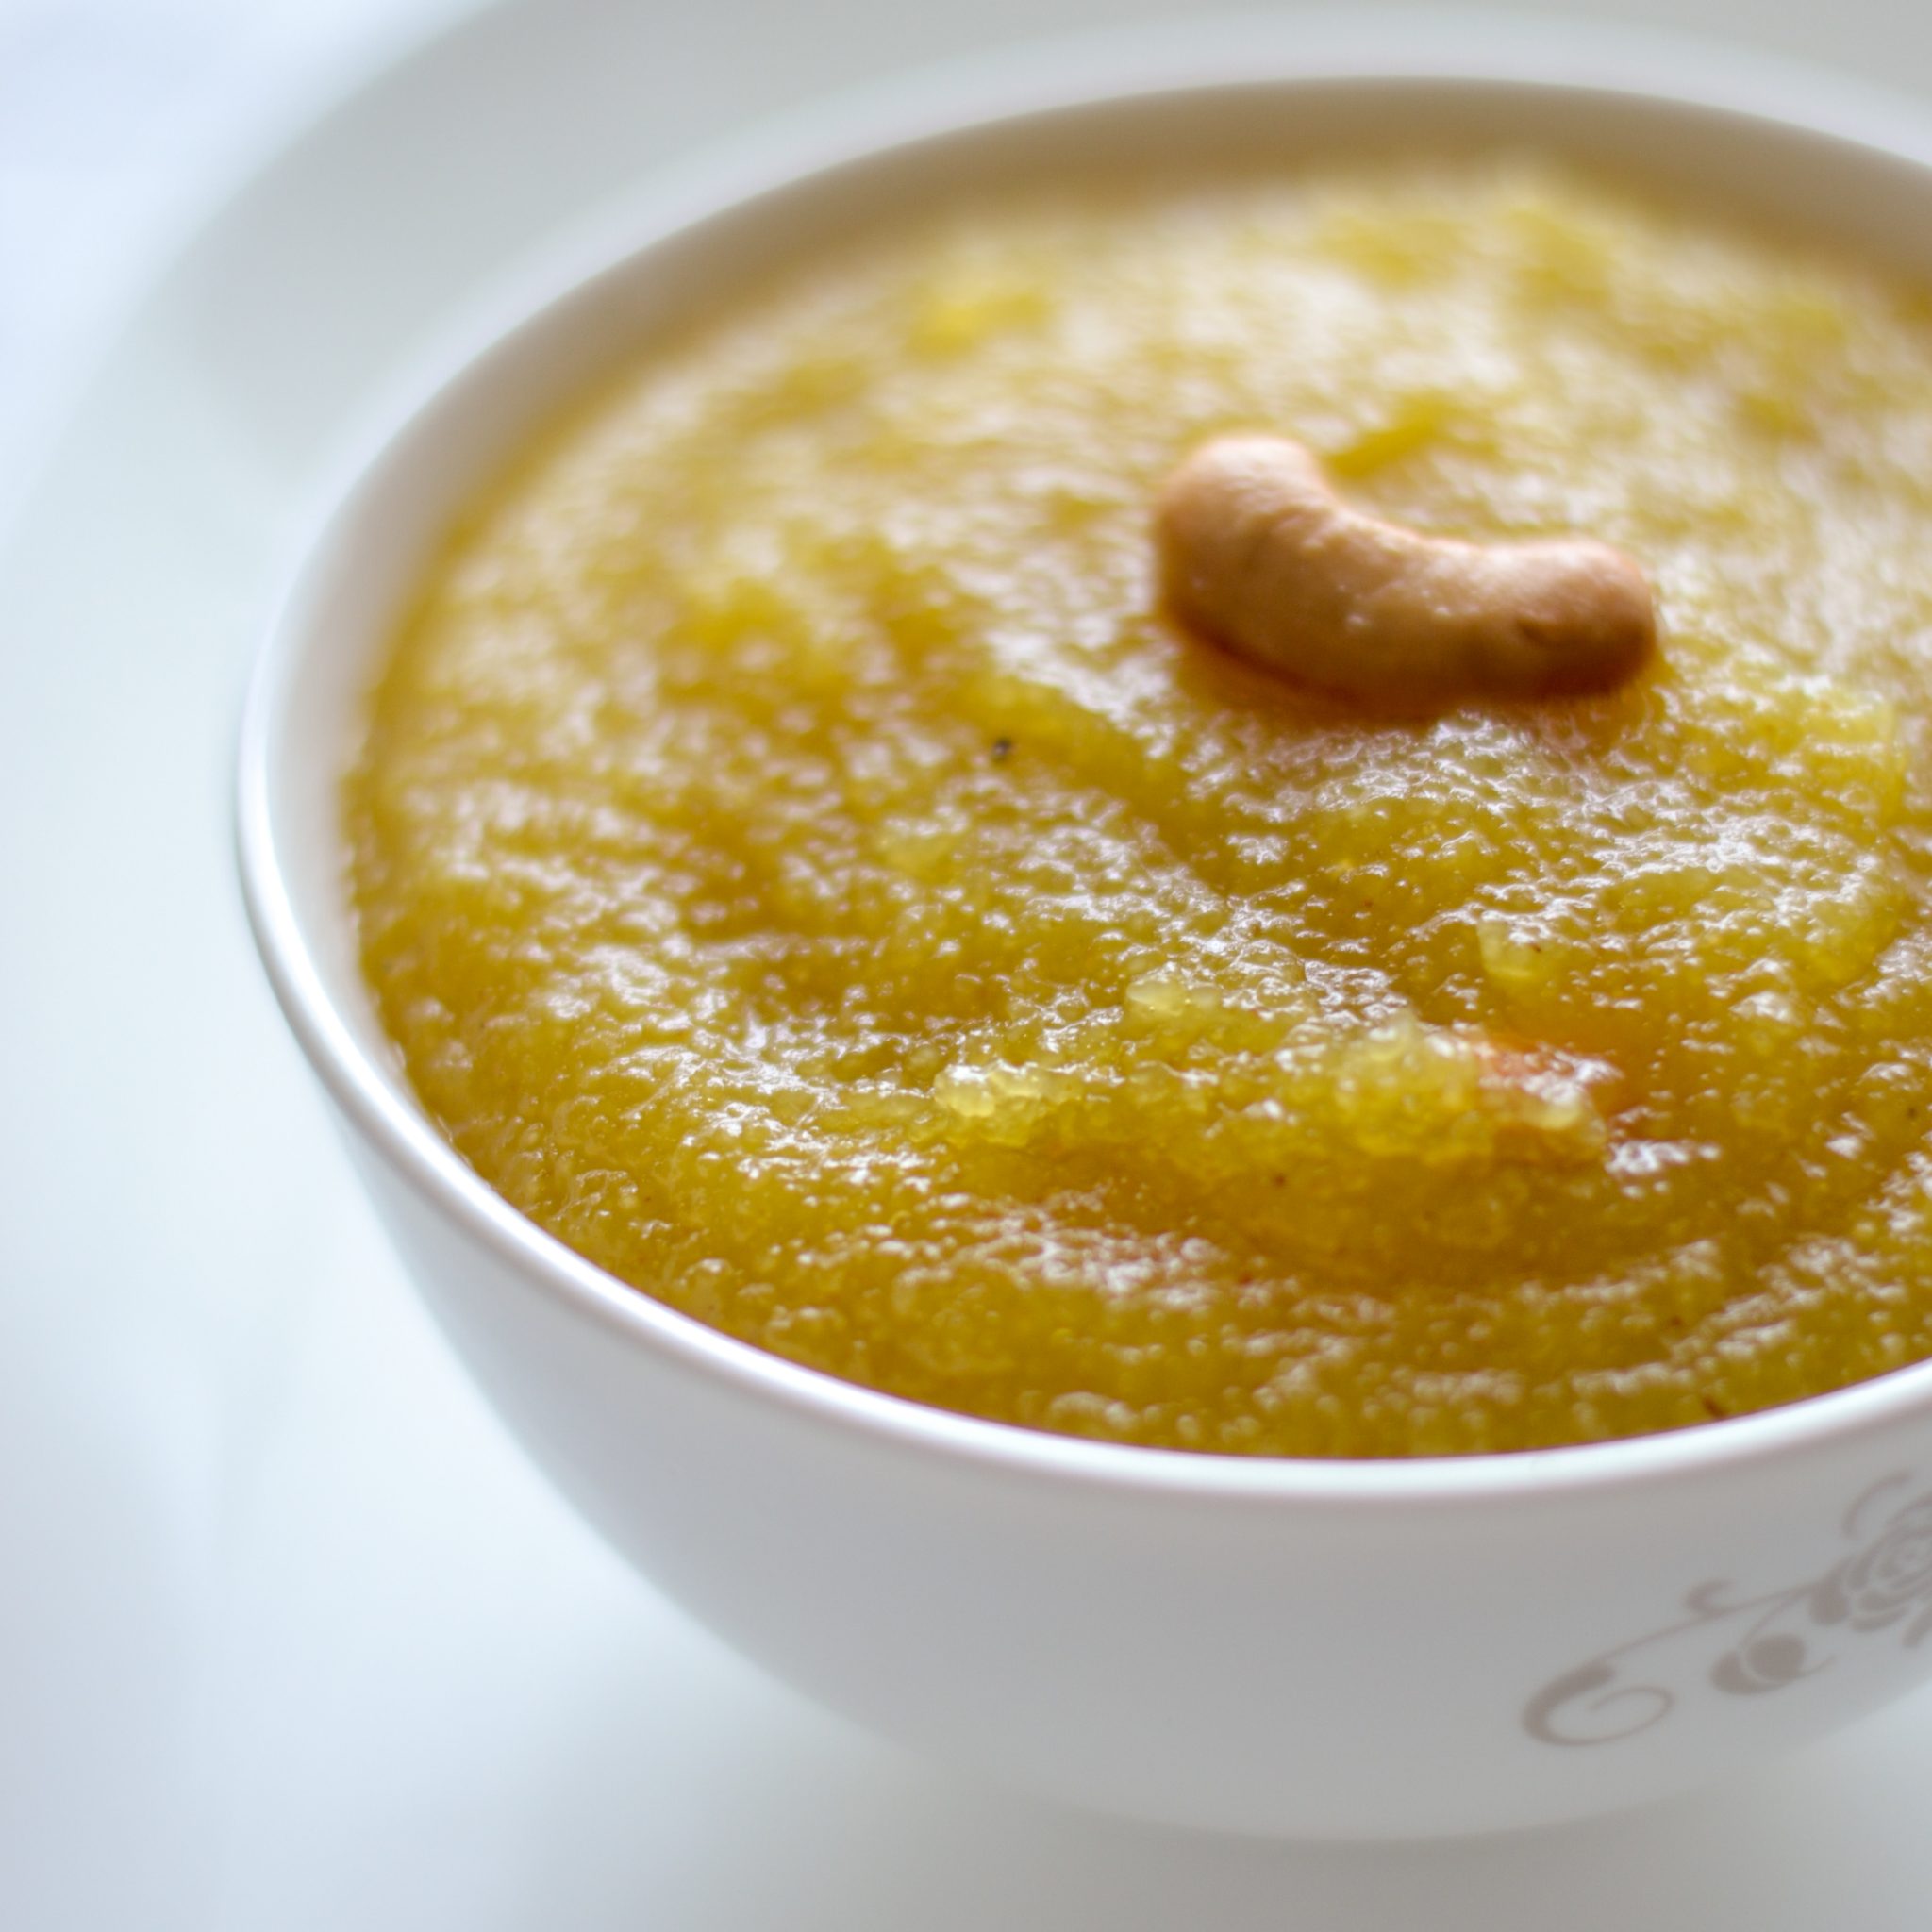
You just made yourself a glide in your mouth wonderful kesari. Look at the texture of that beautiful kesari. Its sublime. Serve the kesari warm. You can store the kesari in the fridge for upto a week.

For the sugar syrup
- 1 cup sugar
- 1 1/2 cup water
- a pinch of cardamom powder
- a pinch of turmeric powder
- a pinch of salt
For roasting the rava
- 1/4 cup ghee
- 1/2 cup rava / sooji
- 15 - 20 cashew-nuts
- Take a pressure cooker and add in the water, sugar, cardamom powder, turmeric and a pinch of salt. Start the heat and let it simmer.
- When the water-sugar mixture is boiling, set a pan on stove in medium heat. Add in the ghee, cashew-nuts and the rava. Keep sauteing all the time so the rava doesnt burn. The rava should start taking the color of a very mild amber. The rava is fully roasted when the cashew nuts have turned slightly golden and the rava has slightly changed colour. Also look for the nutty aroma.
- When the sugar mixture comes to a full boil, add in the roasted hot rava into the sugar water mixture. It will bubble up briefly. That’s OK. Switch off the heat / stove.
- Immediately after adding rava, mix well once and cover the cooker with the lid and add in the weight. Remember that the stove is off. Do not open the cooker for the next 20 minutes.
- Open the cooker after 20 minutes and mix the kesari well. The rava would have absorbed all the moisture and would have swollen up.
- Serve the kesari warm.
- Author: Kannamma - Suguna Vinodh
- Prep Time: 2 mins
- Cook Time: 10 mins
- Category: Dessert
- Cuisine: Tamilnadu


