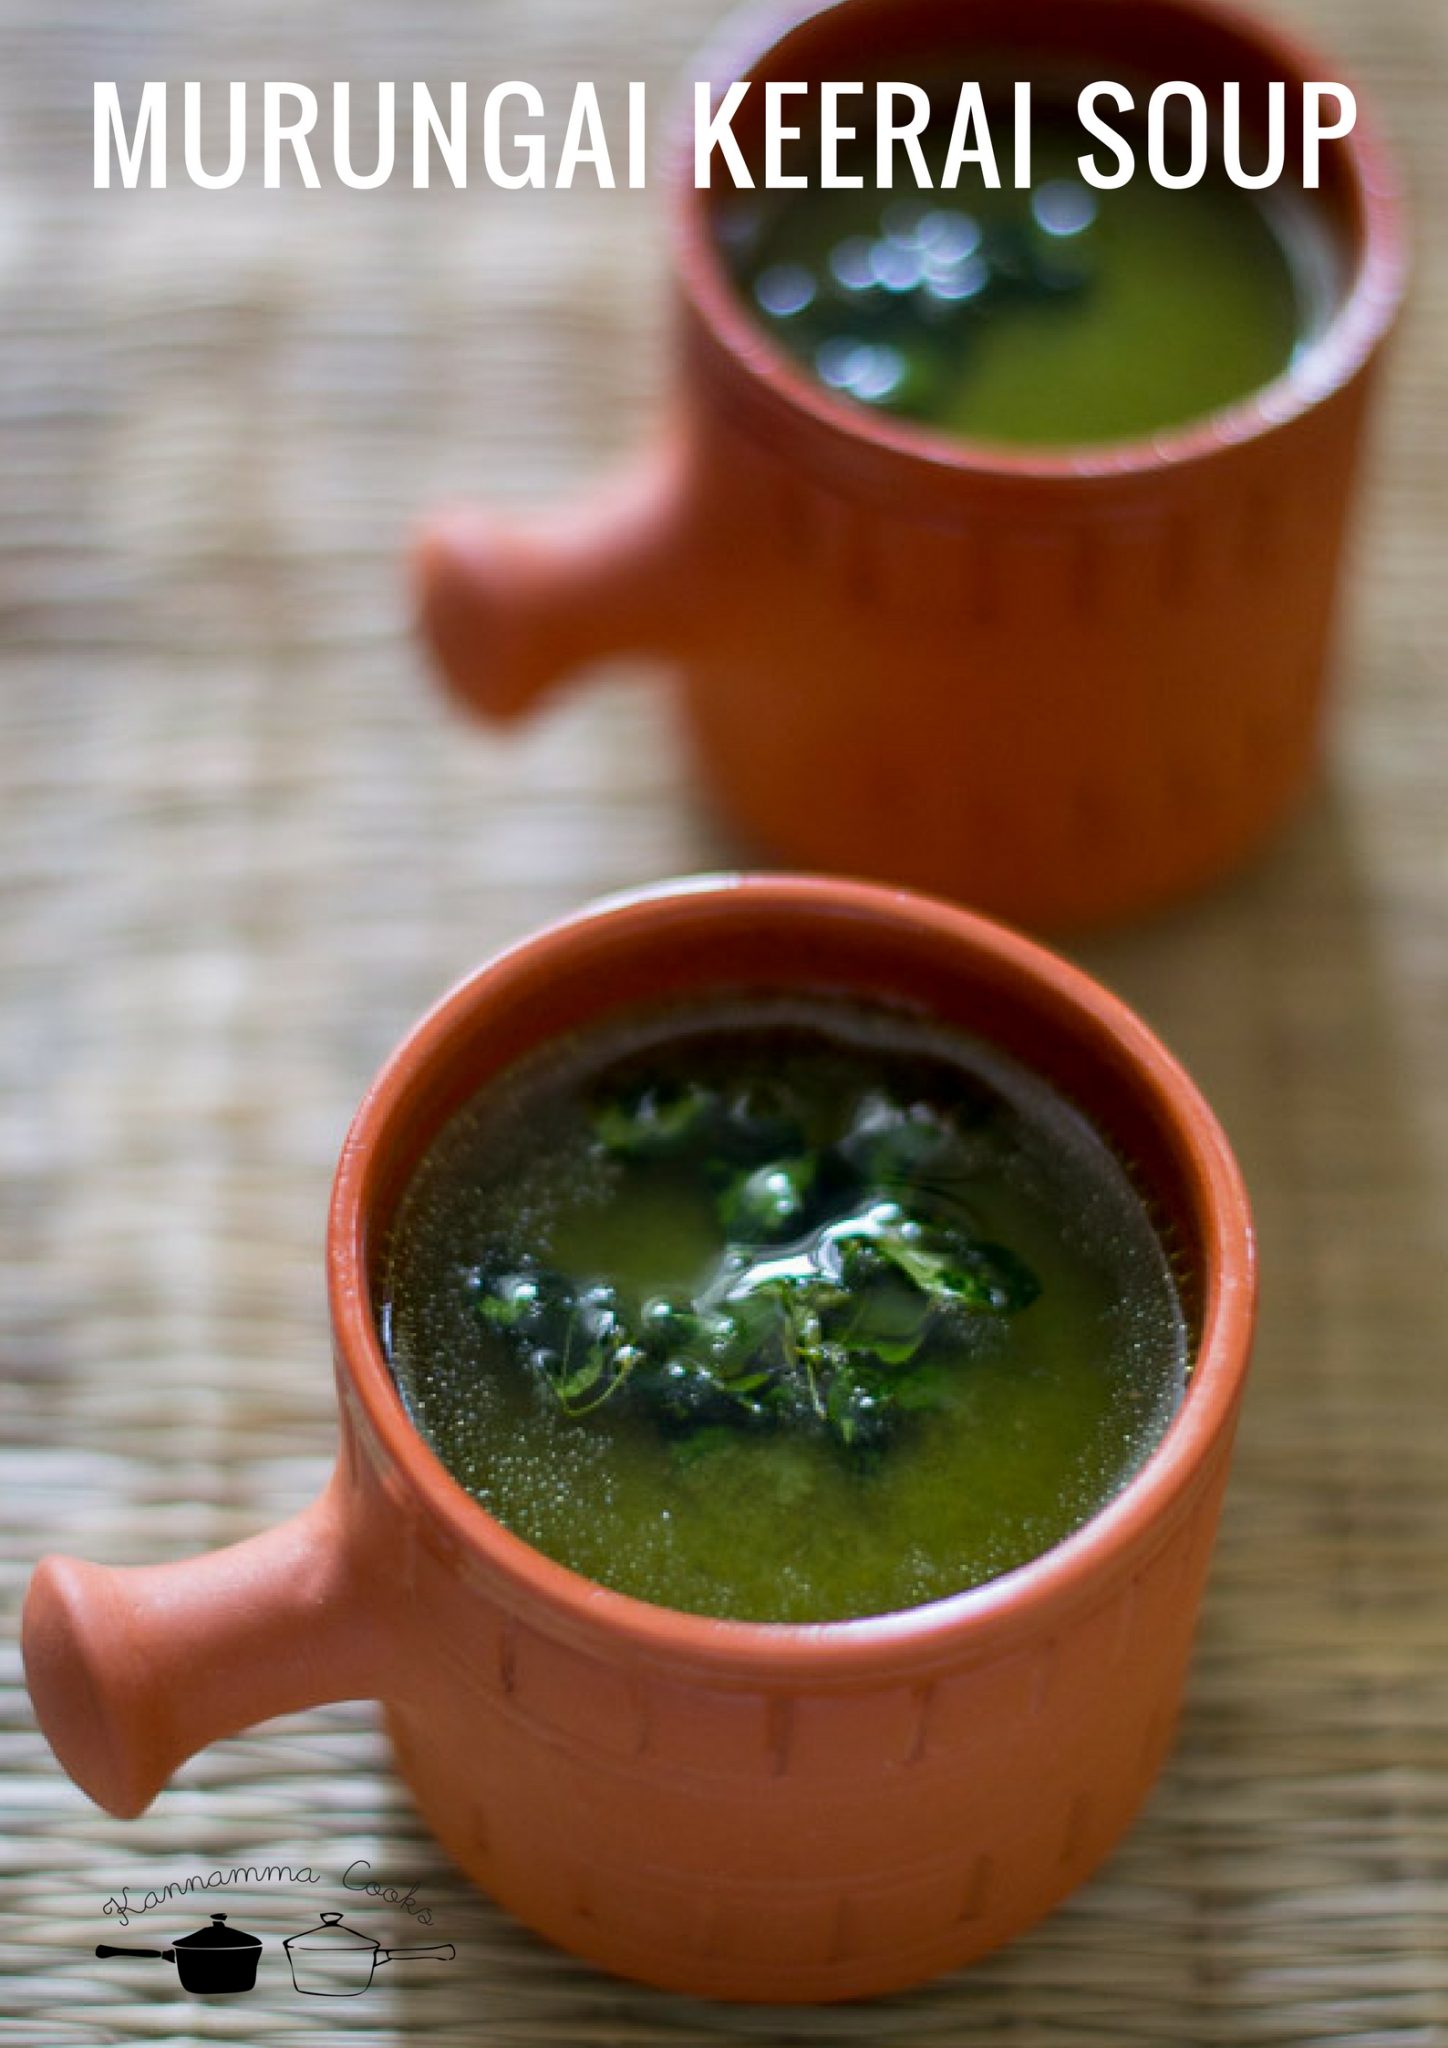
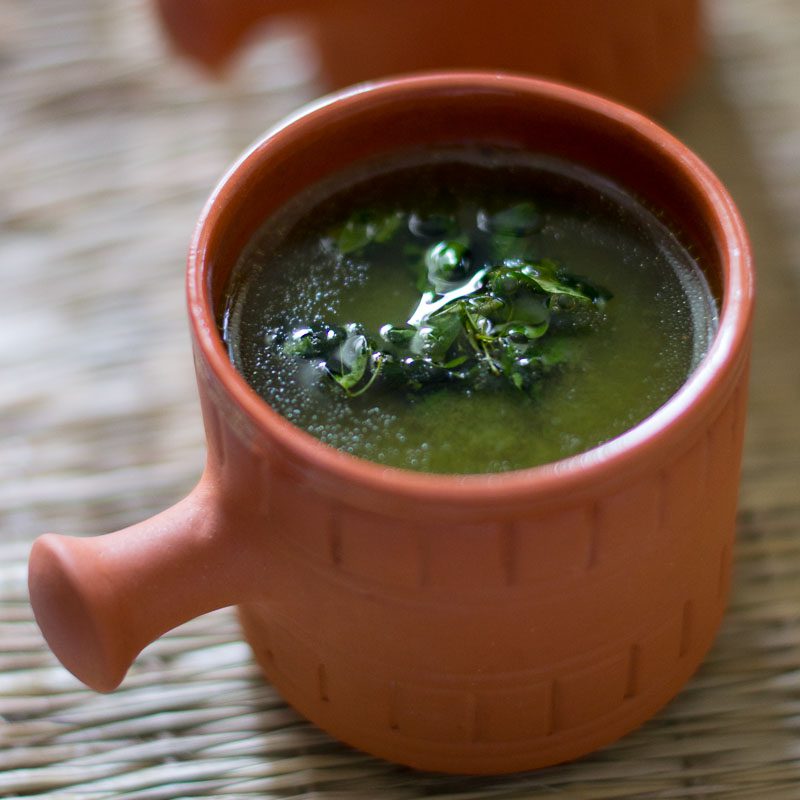
Here is the recipe for traditional Tamilnadu style Murungai Keerai Soup made with dal and spices. Moringa Leaves Soup recipe.
Murungai Ilai or Moringa Leaves is a staple in the South Indian kitchen. Its added to lentil dishes, made into a stir fry, added to omelettes, added while making ghee and later strained (it makes the ghee so aromatic). Its very nutrient dense and a good source of iron. This soup is very refreshing and usually served during lunch.
Prepping main ingredient
The Murungai Ilai or Moringa Leaves are naturally slightly bitter. Add 1/2 cup to 1 cup of leaves in this recipe depending on how much bitterness you can handle. If you are trying this recipe for the first time, I advice you to start with just 1/2 cup of leaves.
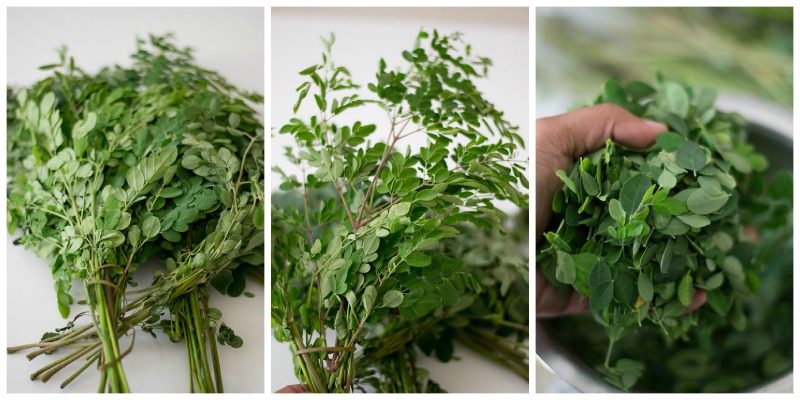
Murungai Ilai or moringa leaves needs a little prep work. Pull the leaves from the stem and set aside in a bowl. There might be small tiny stems still attached to the leaves and that is perfectly fine. Do not bother too much.
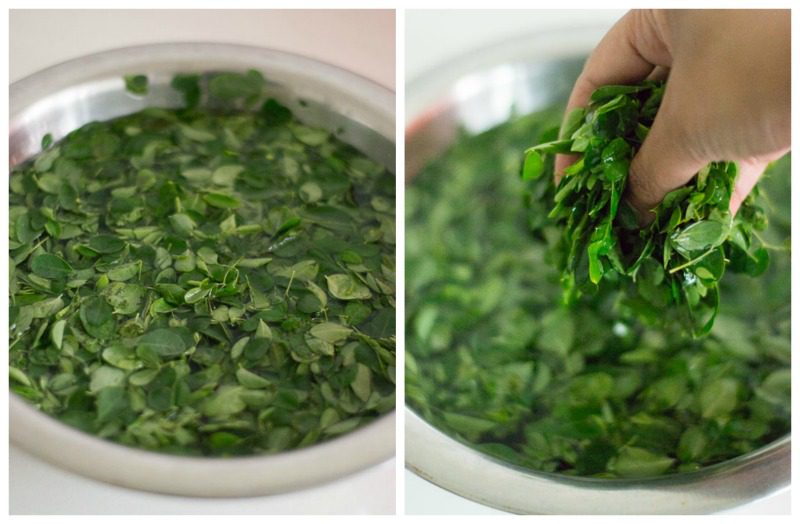
Almost always, the moringa leaves have a lot of sand and fine dust in them. Wash and soak the leaves in water for 10 minutes. Gently remove the leaves from the top. While cleaning any greens, leaves, do not strain. The sand and the fine debris gets settled in the bottom of the vessel after soaking. Gently remove the greens from the top making sure not to disturb the sediment at the bottom.
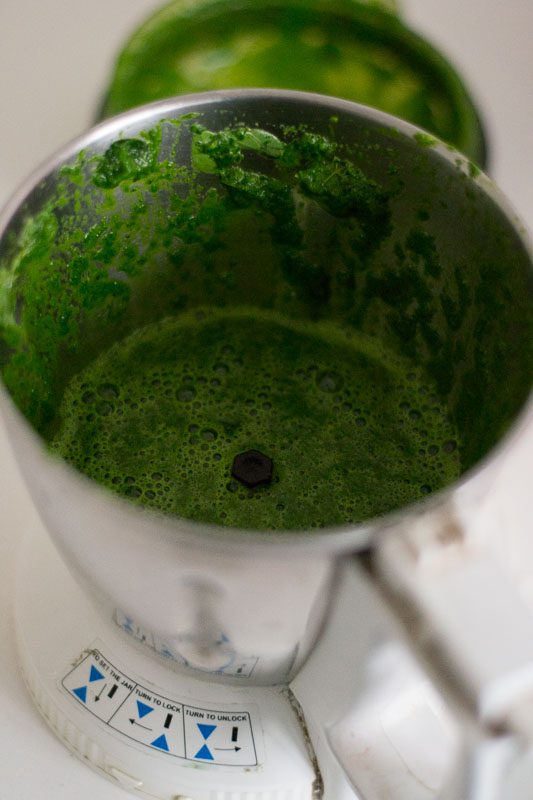
Grind the leaves with a cup of water. Set aside. The ground leaves will become slightly slimy in minutes. That’s fine. It will not be very appetizing to watch the slime. Bear with me. Good things take time.
Making the stock
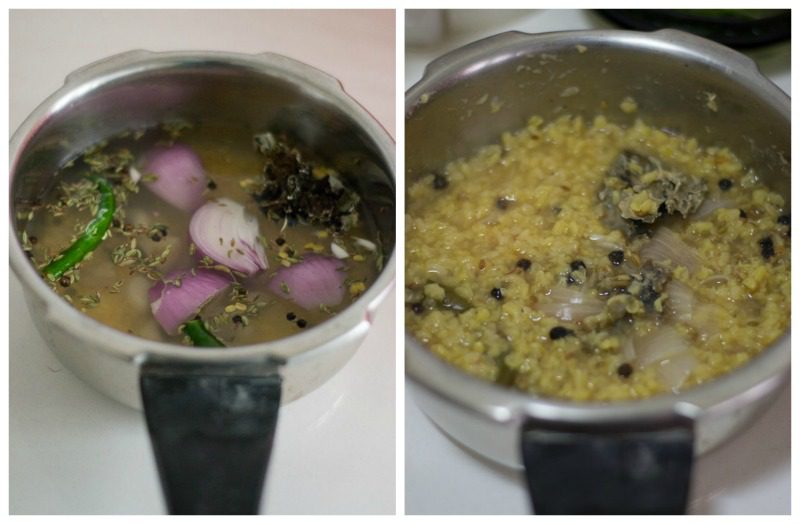
Take a pressure pan and add in the cleaned and washed yellow moong dal. Add in the spices – cumin seeds, fennel seeds, black pepper, cloves, cardamom, maratti moggu (kapok buds) and kalpasi. Add in the roughly chopped onions, garlic, ginger and green chillies. Add in 2 cups of water and cook the dal in the cooker for 6 whistles. Remove from heat and allow the whistle to settle naturally.

Strain the liquid in a colander.
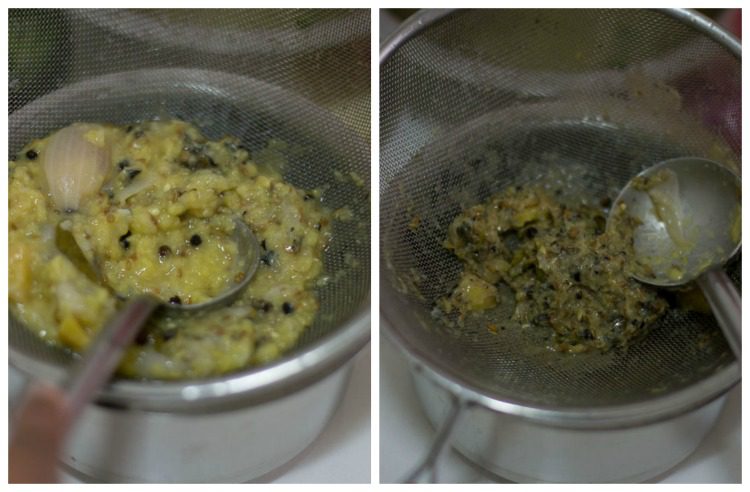
Do not use a fine mesh colander. You want the dal and the juices as this is a thick soup and the dal gives it the body. Use a wide mesh colander. Use a ladle to press and strain the dal mixture. Set aside.
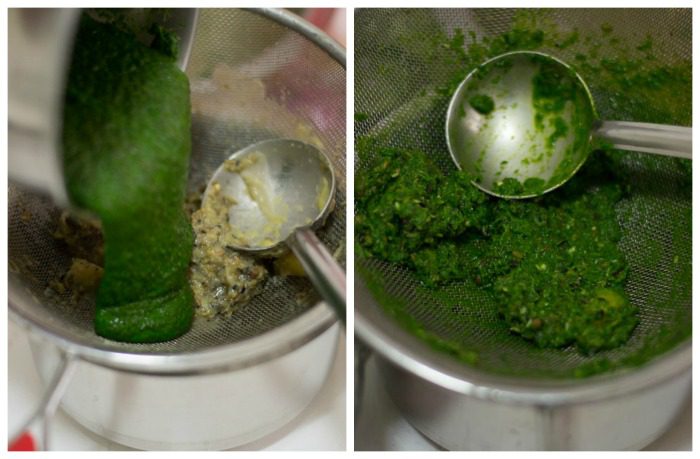
Add in the ground moringa paste to the colander and strain that too.
Simmering the soup
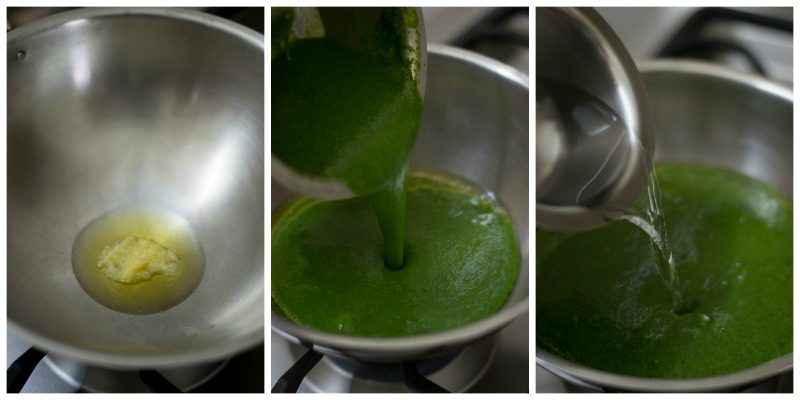
Heat ghee in a pan and add in the strained liquid, water and salt. ( Add around 1 to 1.5 cups of water).
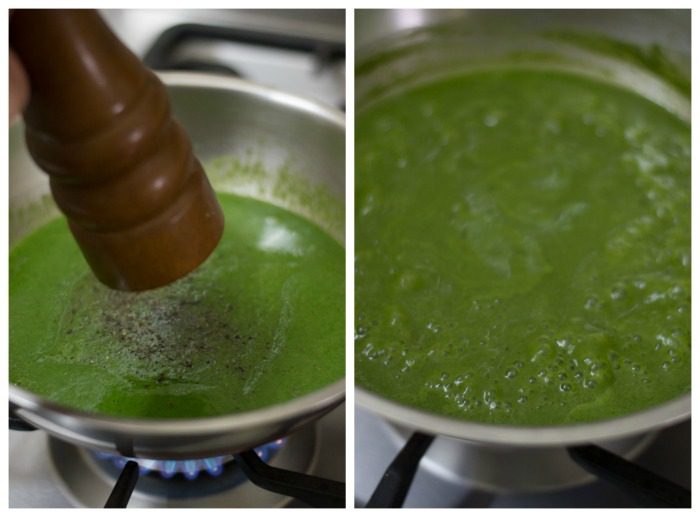
Add in freshly ground black pepper powder and bring it to a boil. Simmer for 3-4 minutes. Remove from heat and set aside.
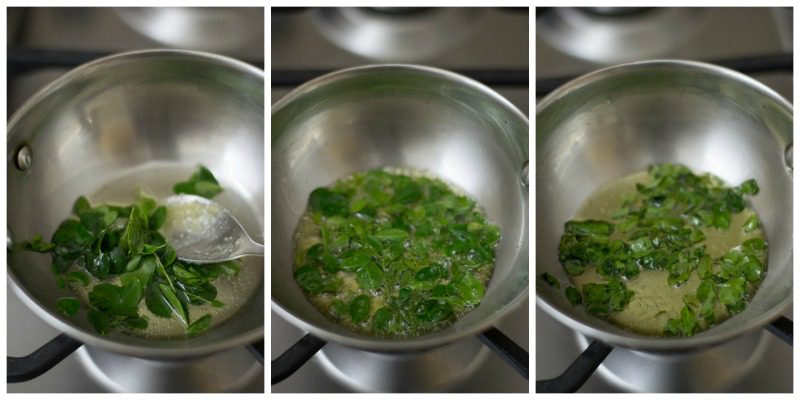
For the tempering Heat ghee in a pan and add in the moringa leaves. Fry on a low flame until the leaves are crisp.
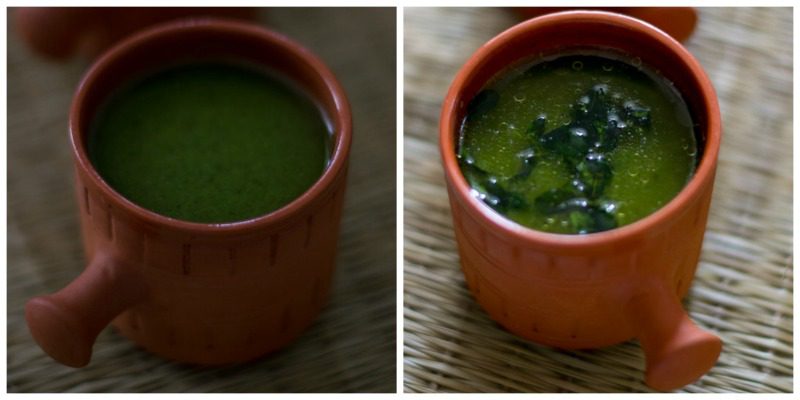
Add a teaspoon of crisped leaves along with ghee to the soup just before serving. Serve the soup hot.
Main Ingredient
- 1/2 cup cleaned murungai ilai – moringa leaves
For the stock
- 1/3 cup split yellow moong dal
- 1/2 teaspoon cumin seeds
- 1/2 teaspoon fennel seeds
- 1 teaspoon black pepper
- 2 cloves
- 2 cardamom
- 1 maratti moggu (kapok bud)
- 1 inch kal pasi (phathar ke phool)
- 1/2 onion, roughly chopped ( 1/4 cup )
- 6 cloves garlic
- 1/2 inch ginger
- 2 green chillies
- 2 cups water
For simmering the soup
- 1 tablespoon ghee or coconut oil
- 1/4 teaspoon black pepper
- 3/4 teaspoon salt
- 1 – 1 1/2 cups water
For the tempering
- 2 teaspoon ghee or coconut oil
- 2 tablespoon murungai ilai – moringa leaves
Prepping main ingredient
- Grind the leaves with a cup of water. Set aside.
For the stock
- Take a pressure pan and add in the cleaned and washed yellow moong dal. Add in the spices – cumin seeds, fennel seeds, black pepper, cloves, cardamom, maratti moggu (kapok buds) and kalpasi. Add in the roughly chopped onions, garlic, ginger and green chillies. Add in 2 cups of water and cook the dal in the cooker for 6 whistles. Remove from heat and allow the whistle to settle naturally.
- Strain the liquid in a colander.
- Add in the ground moringa paste to the colander and strain that too. Set aside.
For simmering the soup
- Heat ghee in a pan and add in the strained liquid, water and salt.
- Add in freshly ground black pepper powder and bring it to a boil. Simmer for 3-4 minutes. Remove from heat and set aside.
For the tempering
- Heat ghee in a pan and add in the moringa leaves. Fry on a low flame until the leaves are crisp.
- Add it to the soup just before serving. Serve the soup hot.
- Author: Kannamma - Suguna Vinodh
- Prep Time: 15 mins
- Cook Time: 15 mins
- Category: Soup
- Cuisine: Tamilnadu
Find it online : https://www.kannammacooks.com/murungai-keerai-soup-moringa-leaves-soup/
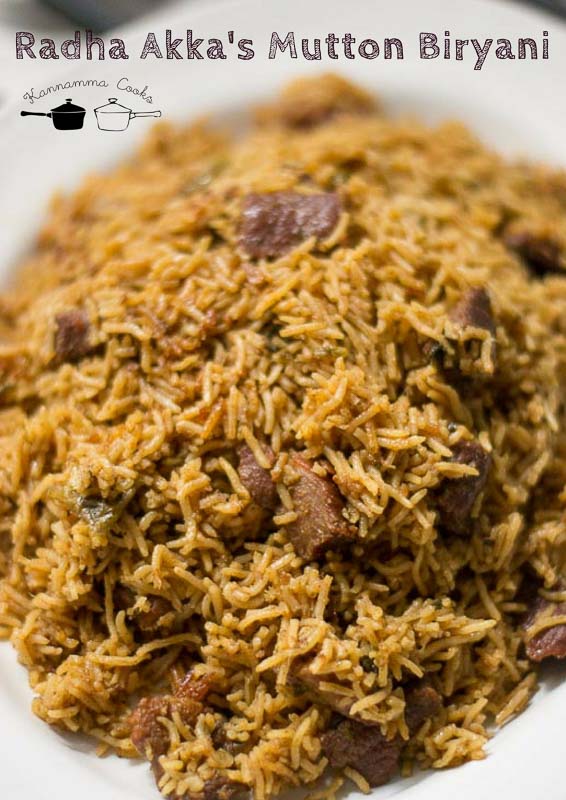
Recipe for Tamilnadu style mutton biryani made in the pressure cooker. Easy recipe with biryani masala made from scratch. With step by step pictures.
Vinodh’s sister Shree Vidhya got married about an year and a half back. I still remember this chat that I had with her that time. It was an arranged marriage and one of the nice things about arranged marriages are the few lovely lovely days that leads from engagement to the wedding. Its so cute a scene to see the bride and the groom glued to their phones. Those are “love is in the air” days. We were chatting and I asked her what kind of food Krishna (our maaplai) liked? She told, Akka, he is a foodie. He likes Mutton Biryani. I asked, what else? Mutton Biryani was the answer again. So I understood that he was a biryani aficionado. After the wedding, Shree told that her MIL makes the most delicious Mutton Biryani. I met Shree’s MIL, Radha Akka at a function just a few days after the wedding and told her that I wanted to try her biryani. Sadly, we left to Hong Kong just a few days later after that. So the biryani had to wait. We visited them a few weeks back and got to try the legendary mutton biryani. Oh my! Oh my! every single morsel was so delicious. I sat with Radha Akka after lunch and I pestered her for the recipe. She was so sweet to share the recipe. So the secret of our family’s Maaplai Veetu biryani – here for you my lovely readers. Do try it at home. Happy marriages are made with biryani! Here is a picture of Shree with her MIL Radha Akka.

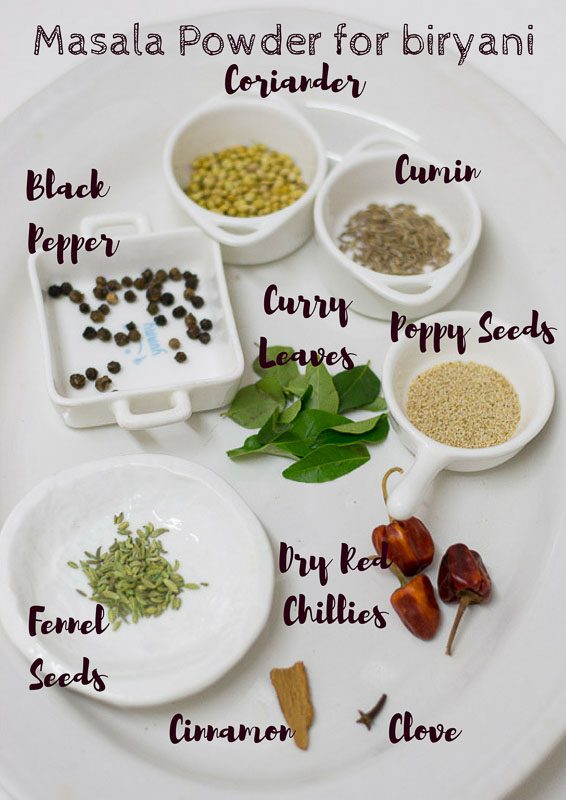
Biryani Masala The secret to this biryani is home made biryani masala made from scratch. Radha akka makes this masala powder in huge quantities and uses it in all her non-veg preparations. I have toned down the recipe. Here is what you will need.
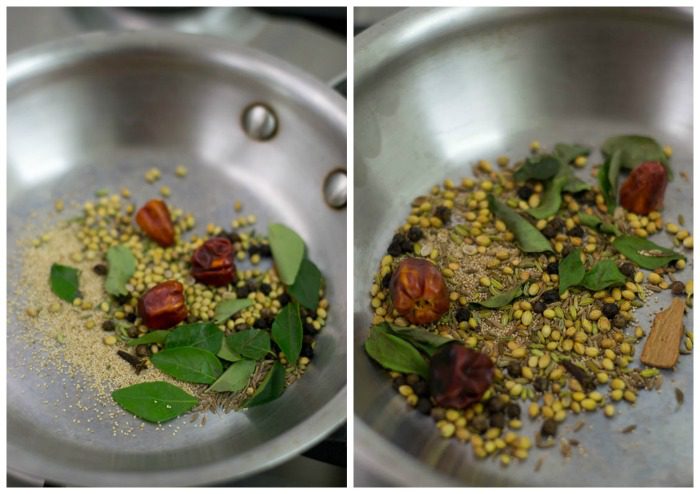
Dry roast the ingredients in a low flame until fragrant and the poppy seeds are nice and brown. Note: If you are living in the middle east or any other country where you cannot source poppy seeds, just omit it from the recipe. I just learnt from one of my readers that having poppy seeds can land you in jail in those countries. Poppy seeds are treated as narcotics I believe.
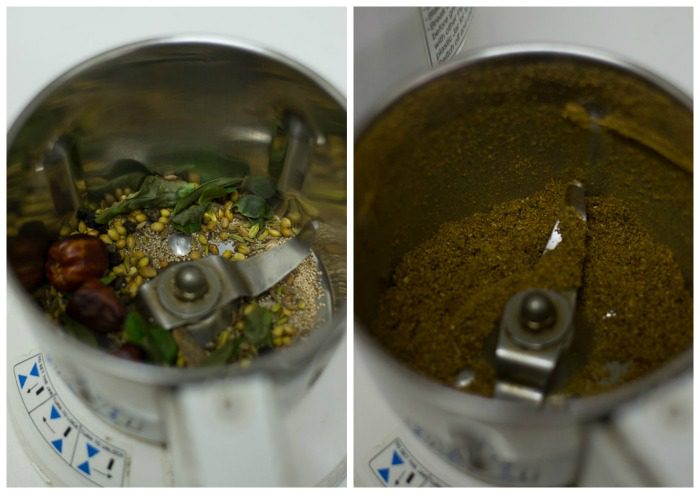
Once the roasted ingredients are cool, grind to a fine powder. Set aside. I use my trusty Panasonic mixer for grinding masalas. It does a fine job for grinding masalas in small quantities.

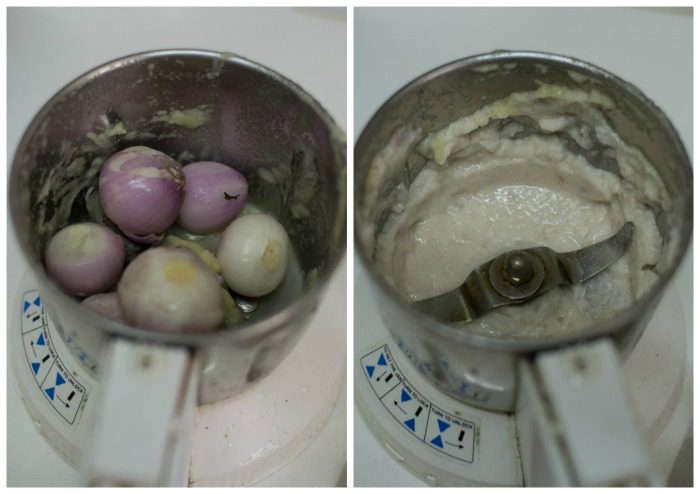
Prep Work You will need to make two pastes. Ginger-garlic and small onion / shallot. (If you cannot get small onions, substitute shallot). Grind the ginger and garlic with few tablespoon of water to a smooth paste. Set aside. Grind the small onion / shallot to a smooth paste. Set aside.
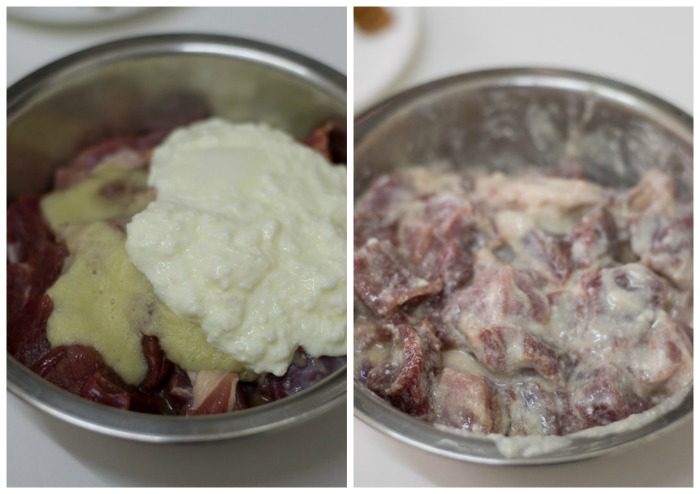
Marinating the Mutton Add two teaspoon of the ground ginger garlic paste to the mutton. Add in the plain yogurt (curd) and salt. Let the meat marinate for 20-30 minutes. Note: If you want the meat to be very tender, add a teaspoon of ground raw papaya paste. This is an optional ingredient but it yields extremely tender meat when cooked. Do not add more as the meat will disintegrate.
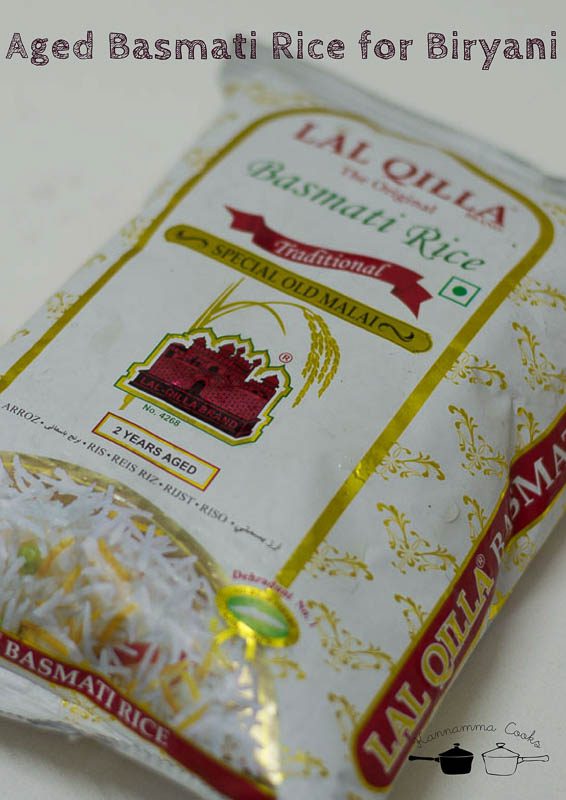
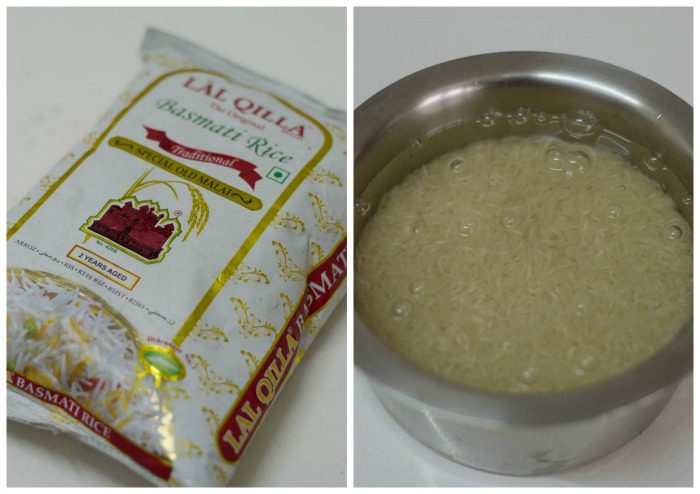
The rice Radha akka was very particular that she uses only aged basmati rice for her biryani and she likes the brand Lal Qilla. We have used 600grams of mutton and 400ml of rice today. Soak the rice in water for 20 minutes. Soaking the rice is the secret to a good fluffy biryani. The grains does not become a mush while cooking.
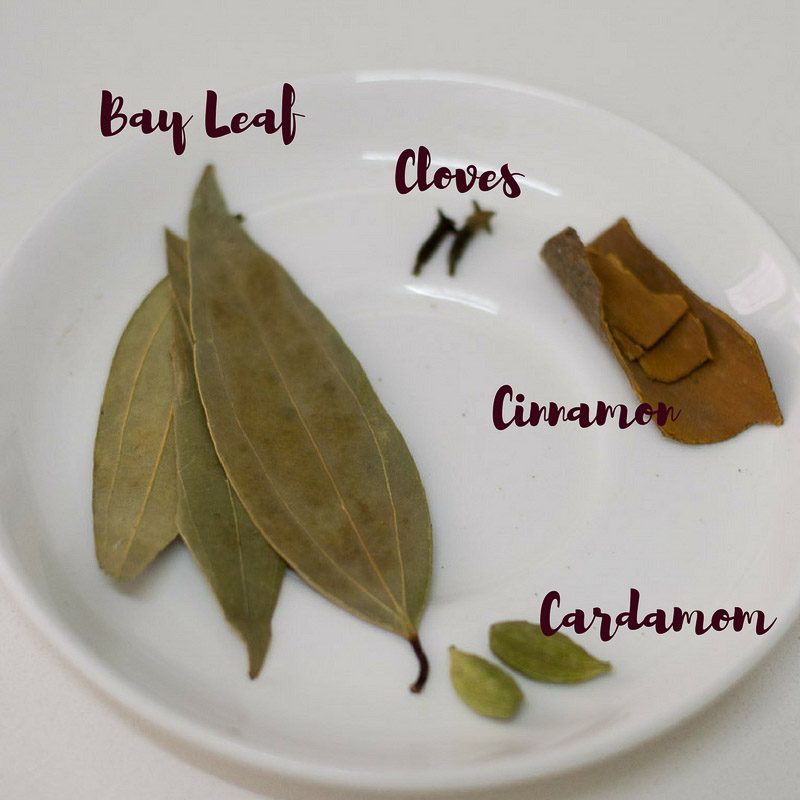
Cooking the biryani I have used a 5 liter pressure cooker for making the biryani today. You will need the following aromatics. Get them ready before you fire the stove.
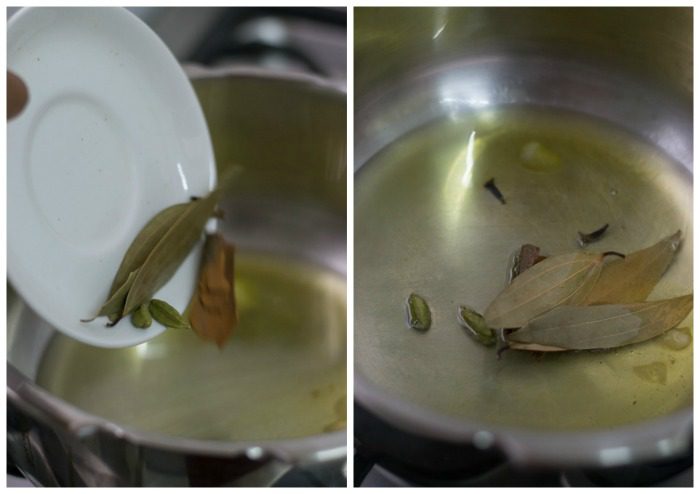
Heat peanut oil and ghee in a pan until hot. Add in the aromatics.
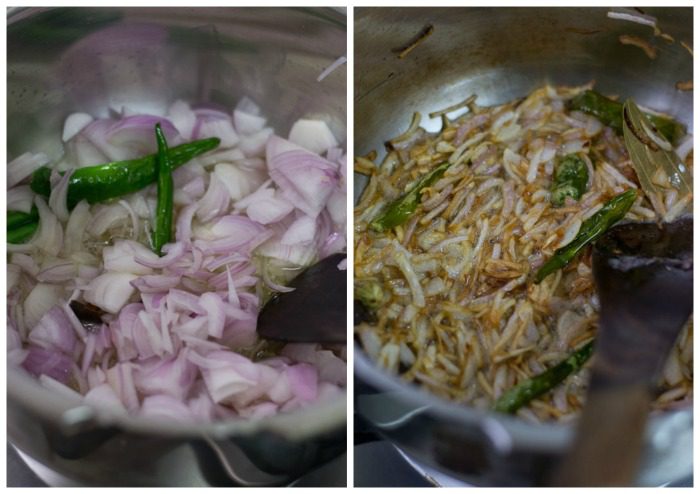
Add in the sliced onions, slit green chillies and fry till the onions are well browned and caramelized. I have used around 6 green chillies today. If you want a spicy biryani, use upto 10 chillies.
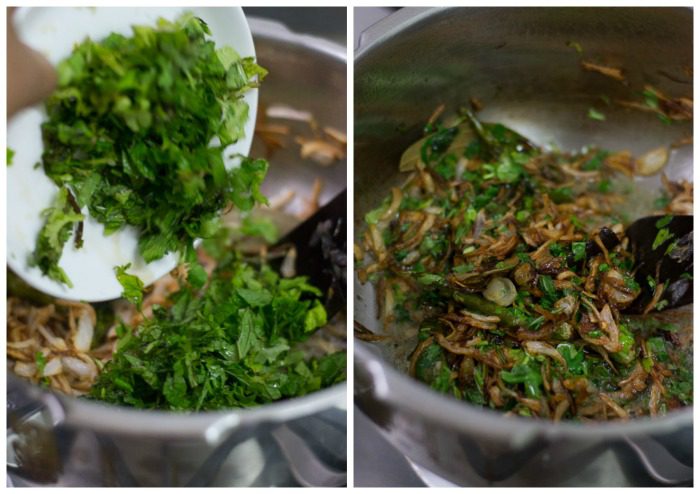
Add in the chopped mint leaves and coriander leaves and fry for a minute.

Add in the remainder of the ginger garlic paste. Fry for a couple of minutes. Add in the small onion / shallot paste and fry for a couple of minutes more until the mixture is dry.

Add in the red chilli powder and coriander powder. Fry for a minute.
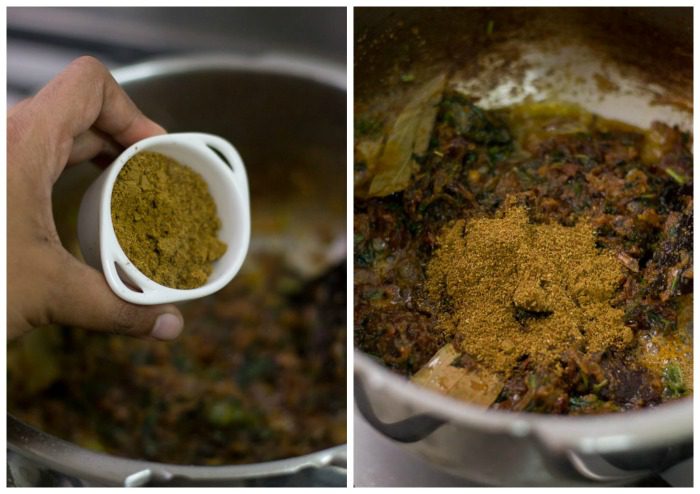
Add in our homemade freshly ground biryani masala. Fry for a minute.
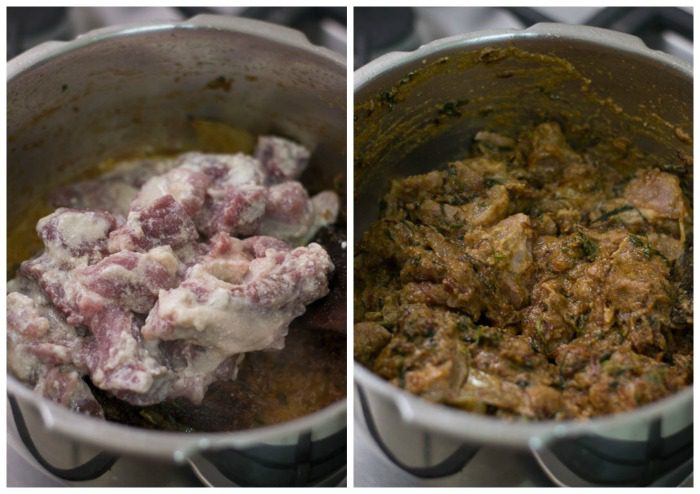
Add in the marinated mutton. Saute well for a couple of minutes so the masalas coat the meat evenly.
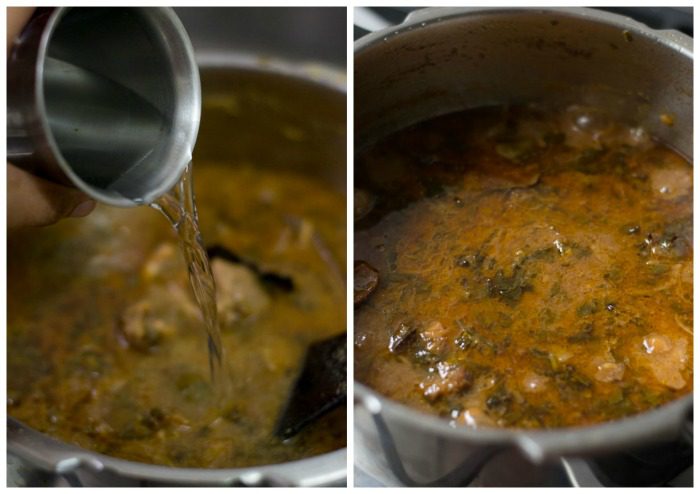
Add in half a cup of water. Remember that I have not added any salt to the pan. We have already marinated the mutton with salt.
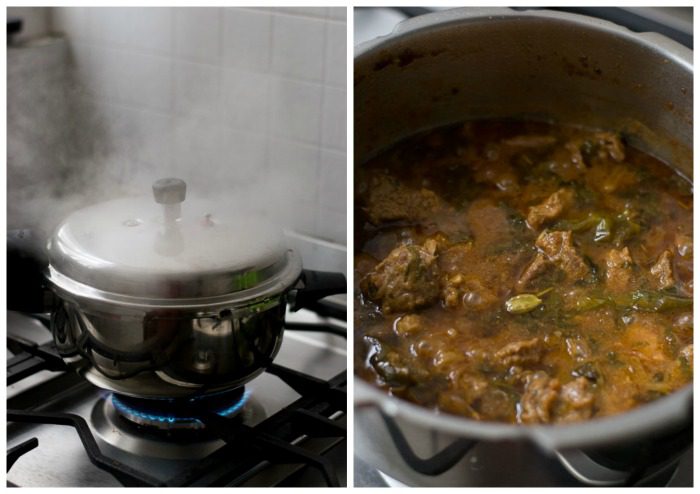
Cover the pan and pressure cook for 5 whistles. Switch off the flame and wait for the pressure to release naturally. Open the cooker and taste the mutton . If the mutton is under done or not tender, cook for 2-4 more whistles.
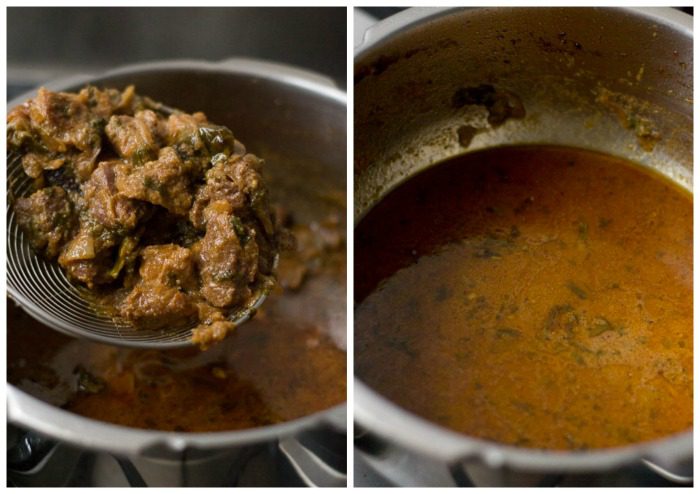
Remove the meat from the pan and measure the gravy/sauce remaining. I had about 400ml of gravy.
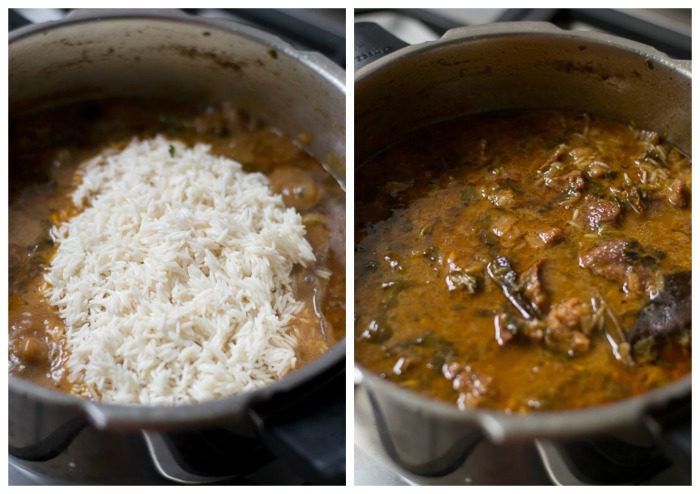
The water ratio We will be using 1 rice : 2 water/liquid for this biryani. Add the meat back to the pan and add in the required water. We have used 400ml rice. So we will need 800ml water/liquid. As I already had 400ml of gravy liquid, I have added just 400 ml of water. Be cautious on water + gravy measurement. Once the liquid comes to a boil, add in the soaked and drained rice. Add in the remaining salt. Taste and adjust for the salt seasoning.
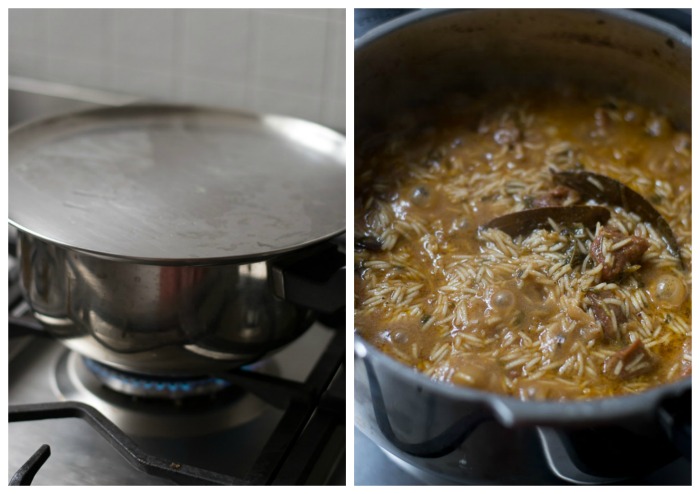
Cover with a lid/plate and cook for 5 minutes on medium flame till the rice has absorbed almost most of the liquid.
The biryani mixture should be half done but still be wet with visible liquid like the picture shown below.
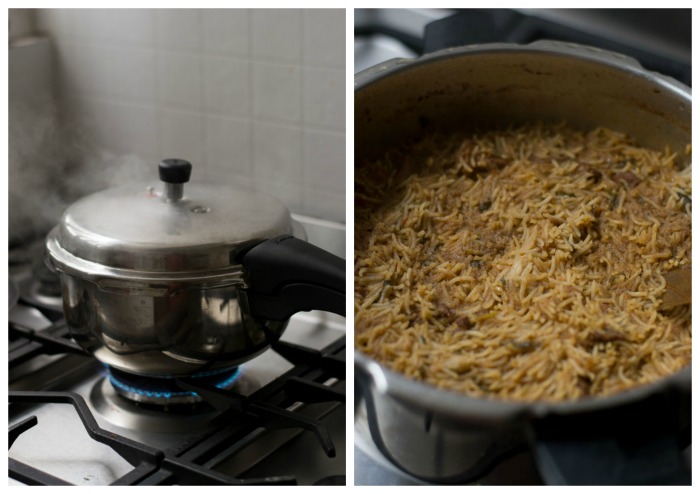
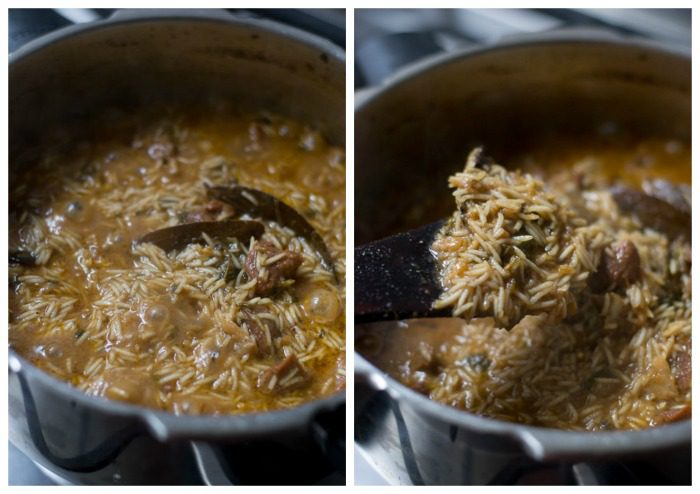
At this stage, reduce the flame of the stove to a sim and cover the pan with the pressure cooker lid and cook for one whistle. Switch off the flame and wait for the pressure to release naturally.

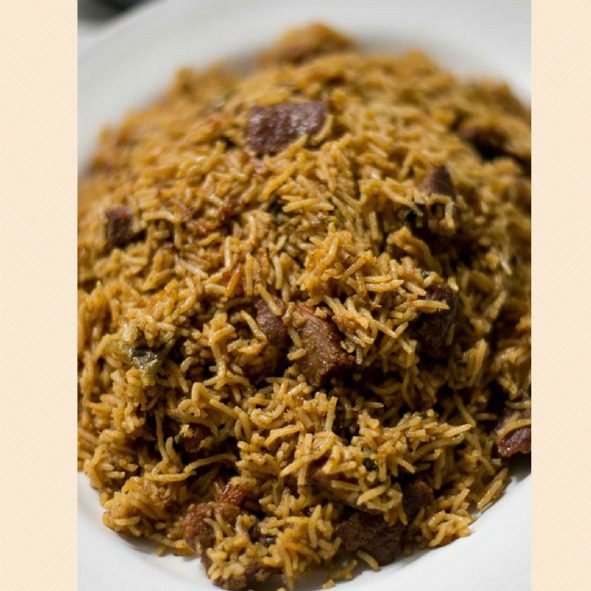
Gently fluff up the biryani and serve hot!

Biryani heaven!
For the Biryani Masala
- 1 teaspoon Coriander Seeds
- 1/4 teaspoon Cumin Seeds
- 1 teaspoon Poppy Seeds
- 1 sprig Curry Leaves
- 1/2 teaspoon Black Pepper
- 1/2 teaspoon Fennel Seeds
- 3 Dry Red Chillies
- 1/2 inch piece Cinnamon
- 1 Clove
Prep Work for making paste
- 10 cloves garlic
- 1 inch piece ginger
- 12 small onions or 6 shallots
Marinating the mutton
- 600 grams mutton
- 1/2 cup plain yogurt / curd
- 1 teaspoon salt
- part of the ground ginger-garlic paste ( 2 teaspoon)
Aromatics
- 3 bay leaves
- 1 inch piece cinnamon
- 2 cloves
- 2 cardamom
Other Ingredients
- 400 ml aged basmati rice
- 2 tablespoon peanut oil
- 2 tablespoon ghee
- 3 onions, sliced (about 2 cups )
- 6 - 10 green chillies, slit
- 1/4 cup mint leaves
- 1/4 cup coriander leaves
- 1/2 teaspoon red chilli powder
- 1 teaspoon coriander powder
- 1.5 teaspoon salt
- Dry roast the ingredients for the biryani masala until brown and fragrant. Grind to a fine powder. Set aside.
- Grind the ginger-garlic paste and small onion / shallot paste. Set aside.
- Marinate the mutton with two teaspoon of ground ginger garlic paste, salt and yogurt. Set aside.
- Heat peanut oil and ghee in a pan until hot. Add in the aromatics.
- Add in the onions and green chillies and fry till brown and caramelized.
- Add in the chopped mint leaves and coriander leaves and fry for a minute.
- Add in the remainder of the ginger garlic paste. Fry for a couple of minutes. Add in the small onion / shallot paste and fry for a couple of minutes more until the mixture is dry.
- Add in the red chilli powder and coriander powder. Fry for a minute. Add in the freshly ground biryani masala. Fry for a minute more.
- Add in the marinated mutton. Saute well for a couple of minutes so the masalas coat the meat evenly.
- Add in half a cup of water. Cover the pan and pressure cook for 5 whistles. Switch off the flame and wait for the pressure to release naturally.
- Remove the meat from the pan and measure the gravy/sauce remaining.
- Add the meat back to the pan and add in the required water. We have used 400ml rice. So we will need 800ml water/liquid. Include the gravy along for liquid measurement. Once the liquid comes to a boil, add in the soaked and drained rice. Add in the remaining salt.
- Cover with a lid/plate and cook for 5 minutes on medium flame till the rice has absorbed almost most of the liquid.
- At this stage, reduce the flame of the stove to a sim and cover the pan with the pressure cooker lid and cook for one whistle. Switch off the flame and wait for the pressure to release naturally.
- Fluff up the biryani and serve hot!
- Author: Kannamma - Suguna Vinodh
- Prep Time: 20 mins
- Cook Time: 40 mins
- Category: Biryani
- Cuisine: Tamilnadu