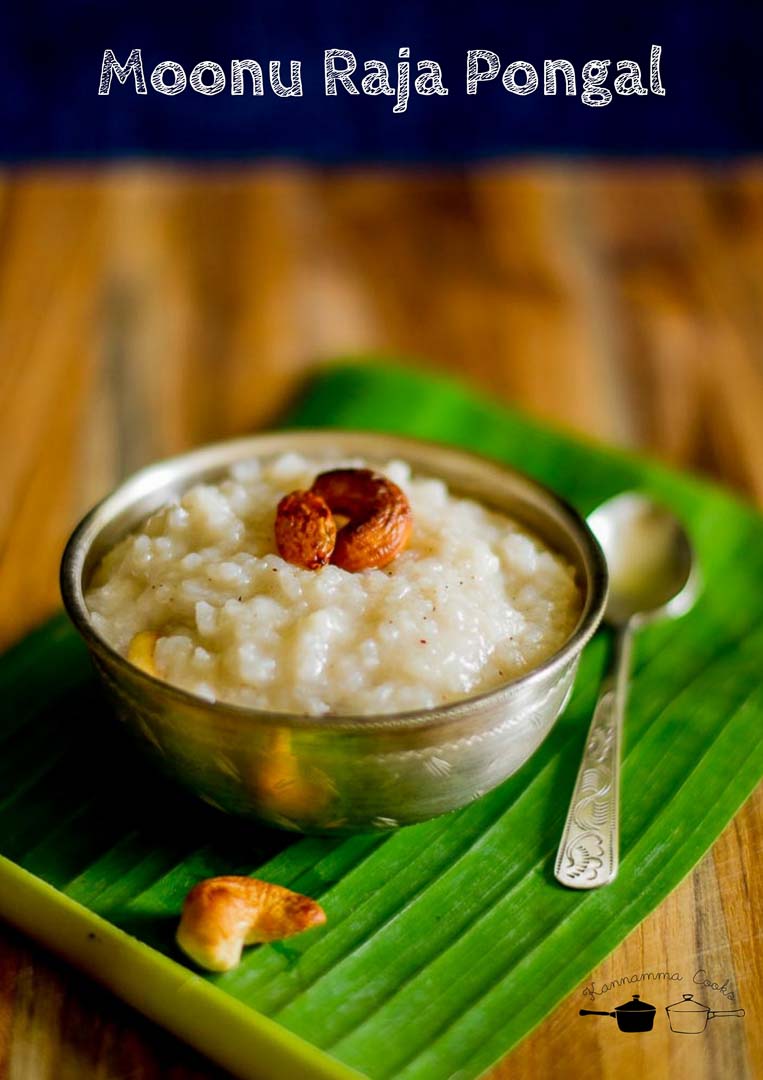
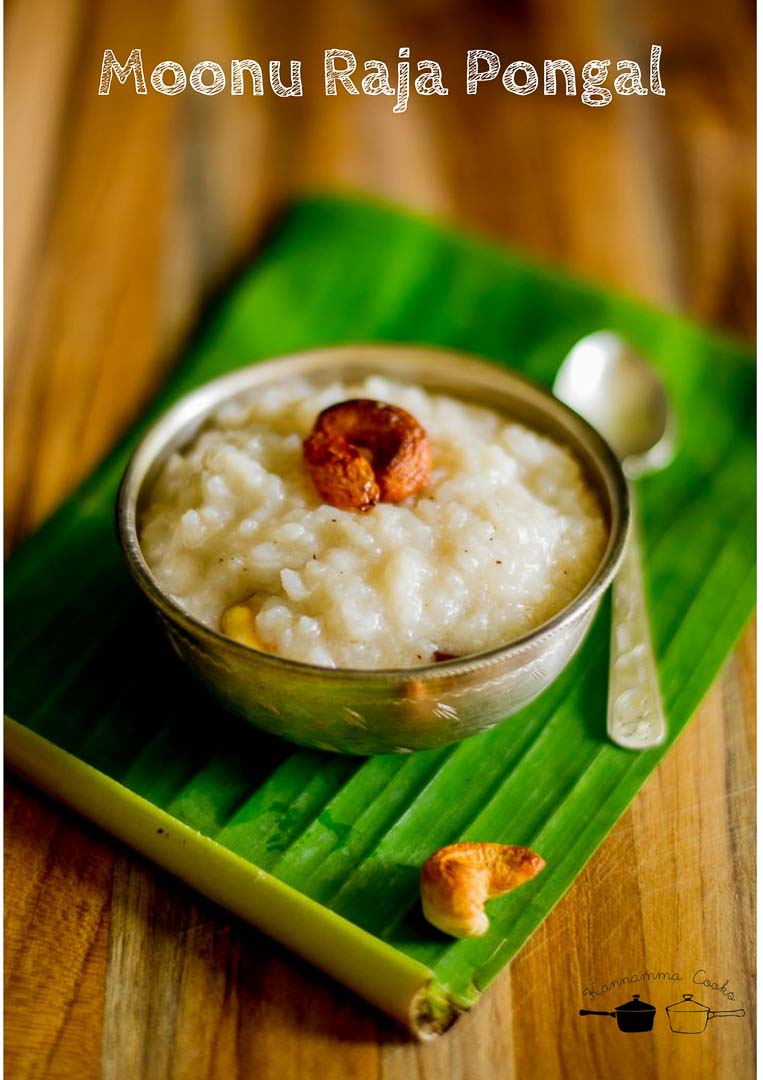
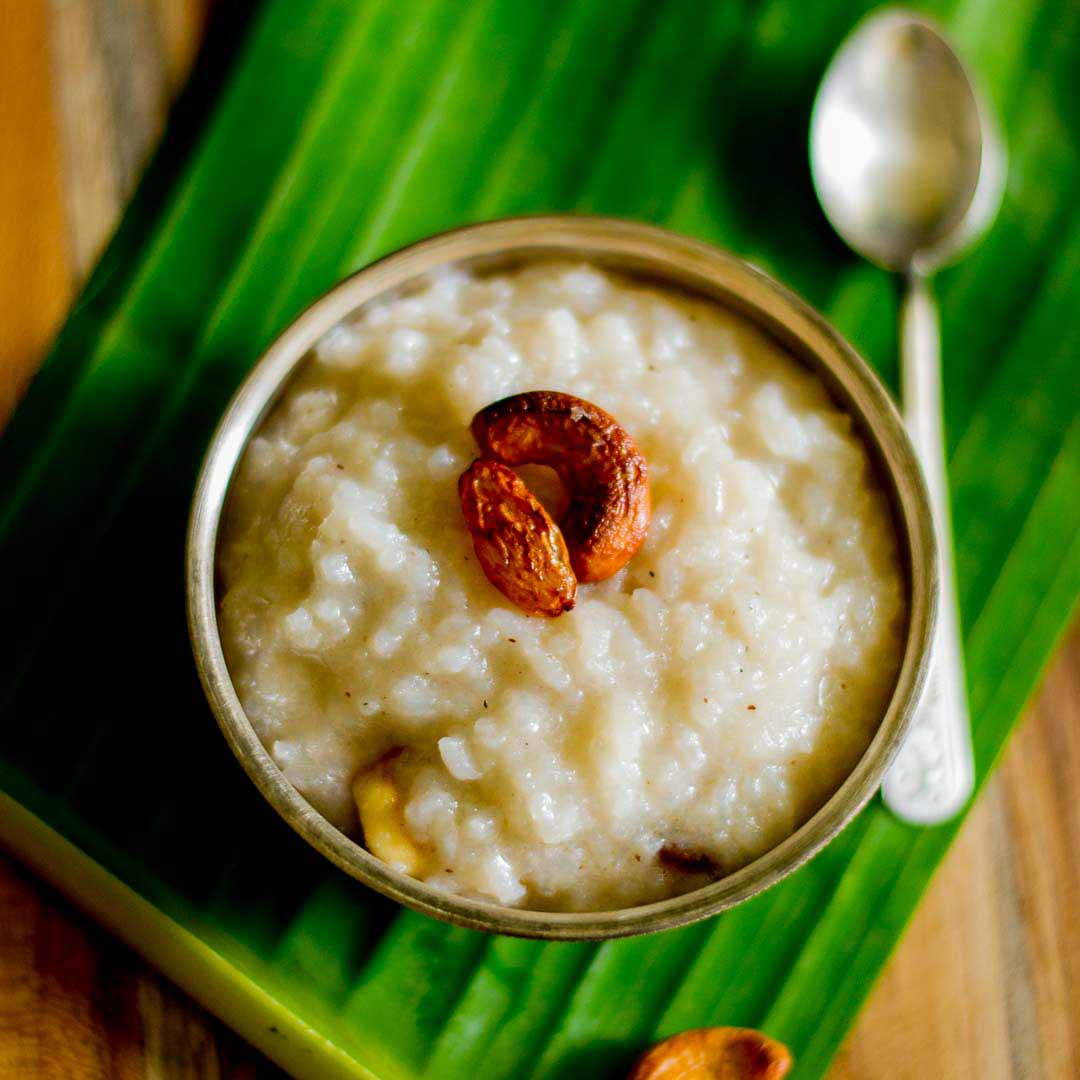
Moonu raja pongal is made in Pondicherry and coastal areas to celebrate Epiphany or three kings festival. Its made with freshly harvested rice and coconut milk. மூன்று ராஜா பொங்கல் பண்டிகை.
This is a traditional recipe made in Pondicherry and Karaikal for the epiphany festival which coincides with the pongal festival in January. Its very interesting to know why its called as Moonu raja pongal. Moonu Raja means three kings. According to the Christian tradition, a group of foreigners, “three wise men or three kings” as they are called visited Jesus after his birth, bearing gifts of gold, Frankincense and myrrh (a resin used in incense and perfumes). They are regular figures in nativity celebrations of Christmas and are an important part of Christian tradition. Epiphany is a christian festival that falls on the twelfth day after Christmas. Epiphany is also called the “Three Kings festival” and is celebrated on January 6th, which is also the pongal season in Tamilnadu (Harvest festival). Christians in Tamilnadu, especially in the coastal areas of Pondicherry and Karaikal (the erstwhile french colonies) celebrate Epiphany as Three Kings festival. The french celebrate Epiphany by making “galette des rois – Three Kings’ cake” and that influence has been passed on where christians settled in Pondicerry make a Three Kings Pongal / Moonu Raja Pongal. Moonu Raja means three kings. On this day people remove the cribs and nativity sets at home that were put up for Christmas.This recipe is made with freshly harvested rice and coconut milk. Its very rich and is offered in churches all over Pondicherry on Three Kings Day.
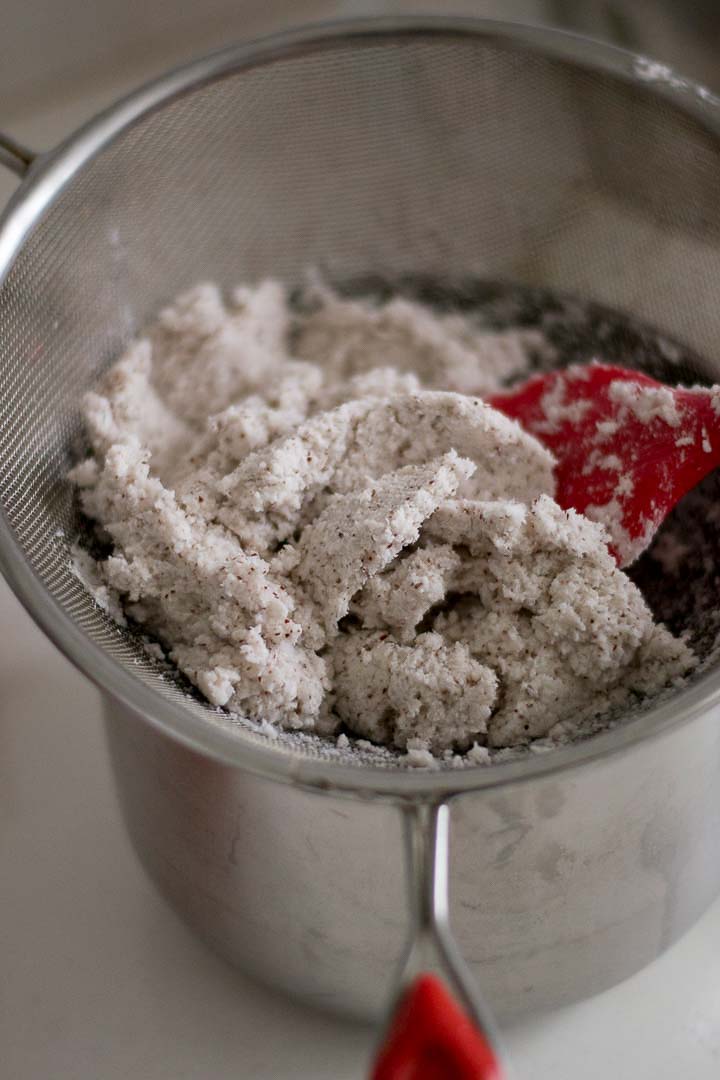
Here is how to do Moonu Raja Pongal. Prep: We will need coconut milk for this recipe. I have used half of a small coconut to make coconut milk. To make coconut milk, please see the recipe here.
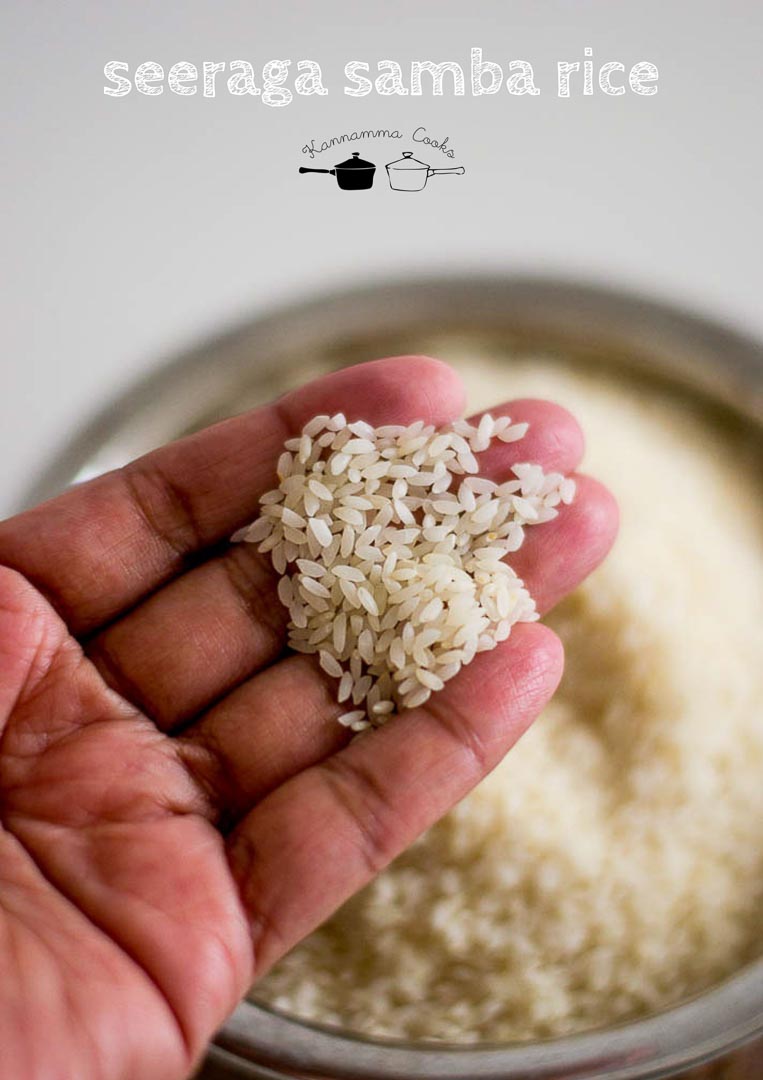
This recipe is made with raw rice. I have used seeraga samba rice today to make the recipe. Any raw rice variety will work for this recipe. Seeraga samba is a short grained aromatic rice that’s really popular in Tamilnadu and works really well for this recipe. The aroma is divine!!!!
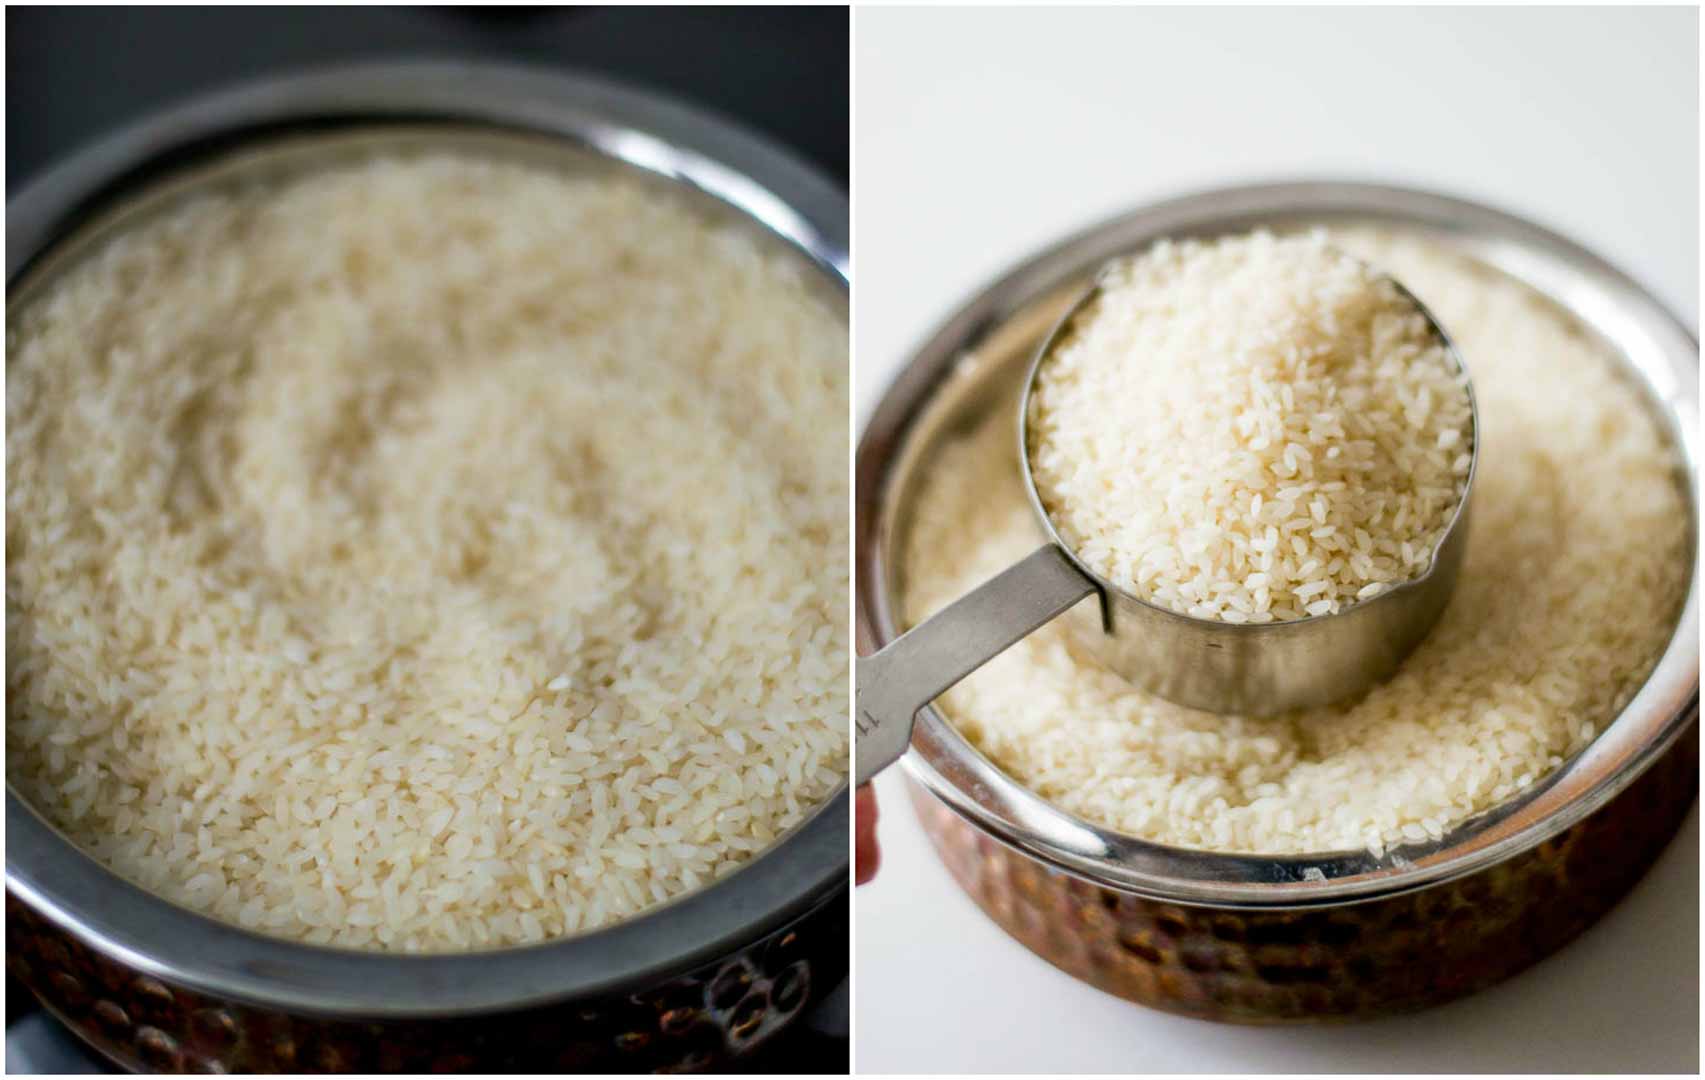
Method We will be using half a cup of rice today for this recipe.
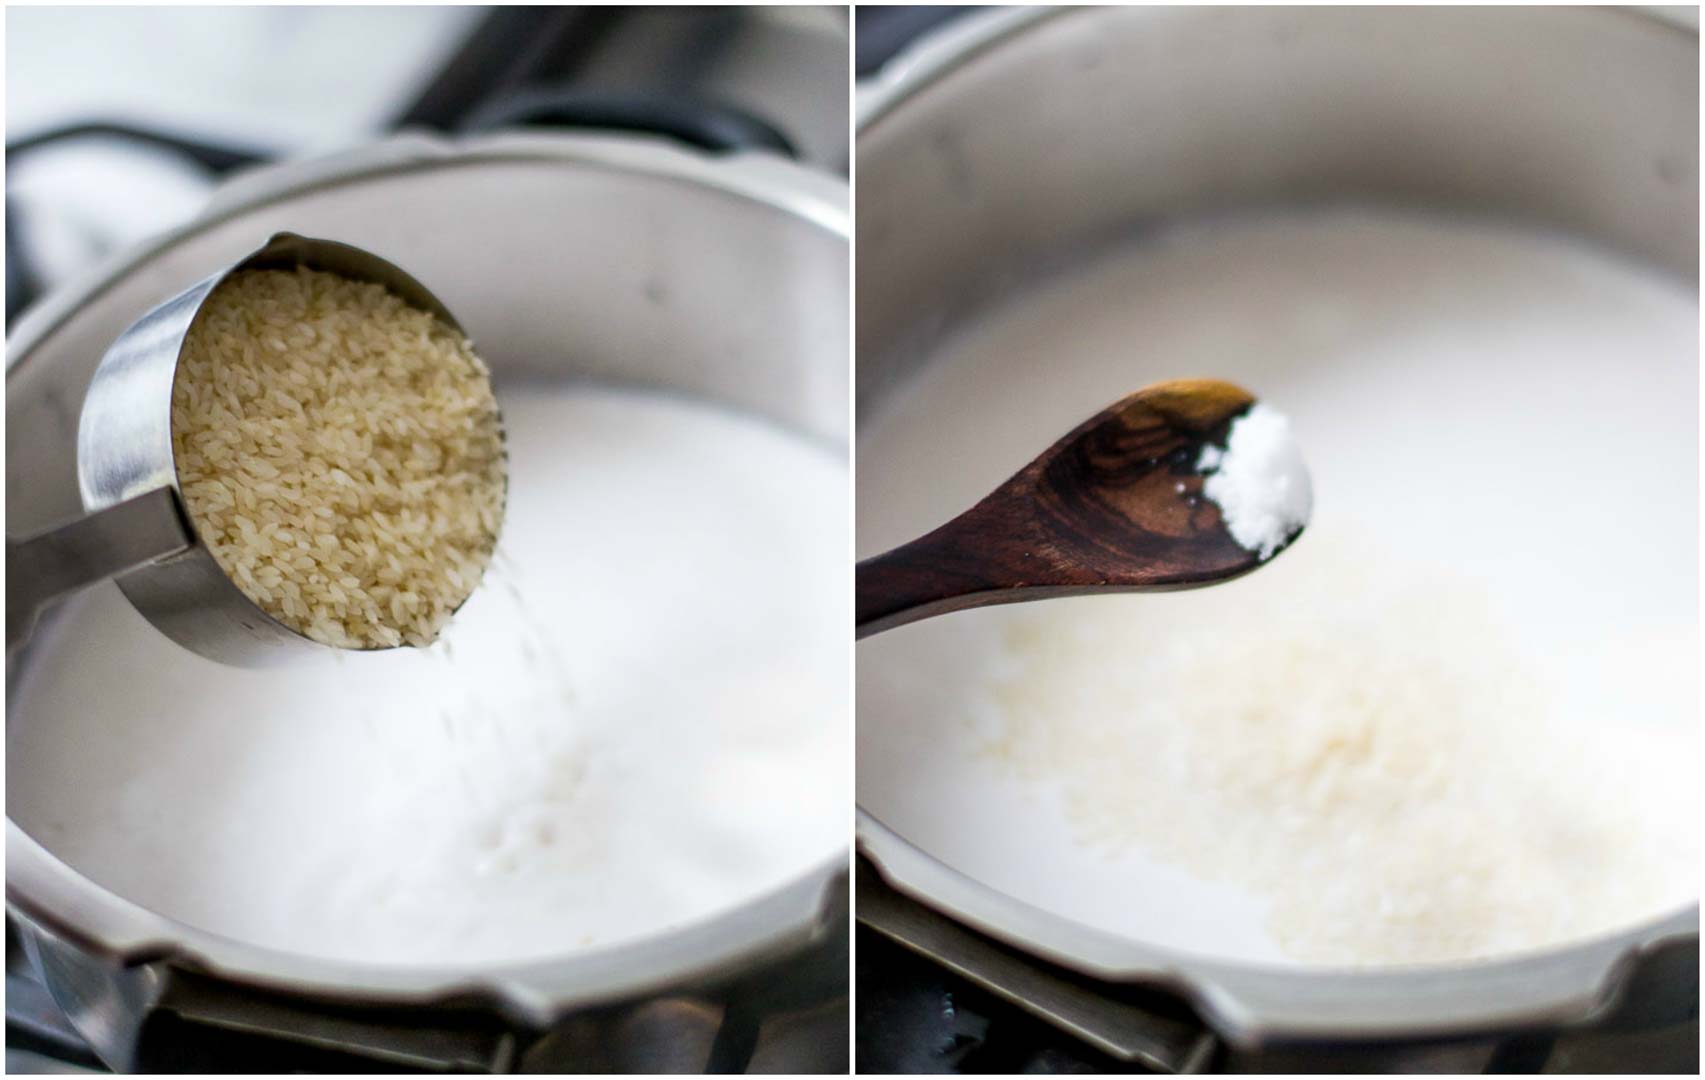
Take a pressure cooker and add in the second pressed + third pressed coconut milk. Add in the rice and the salt.
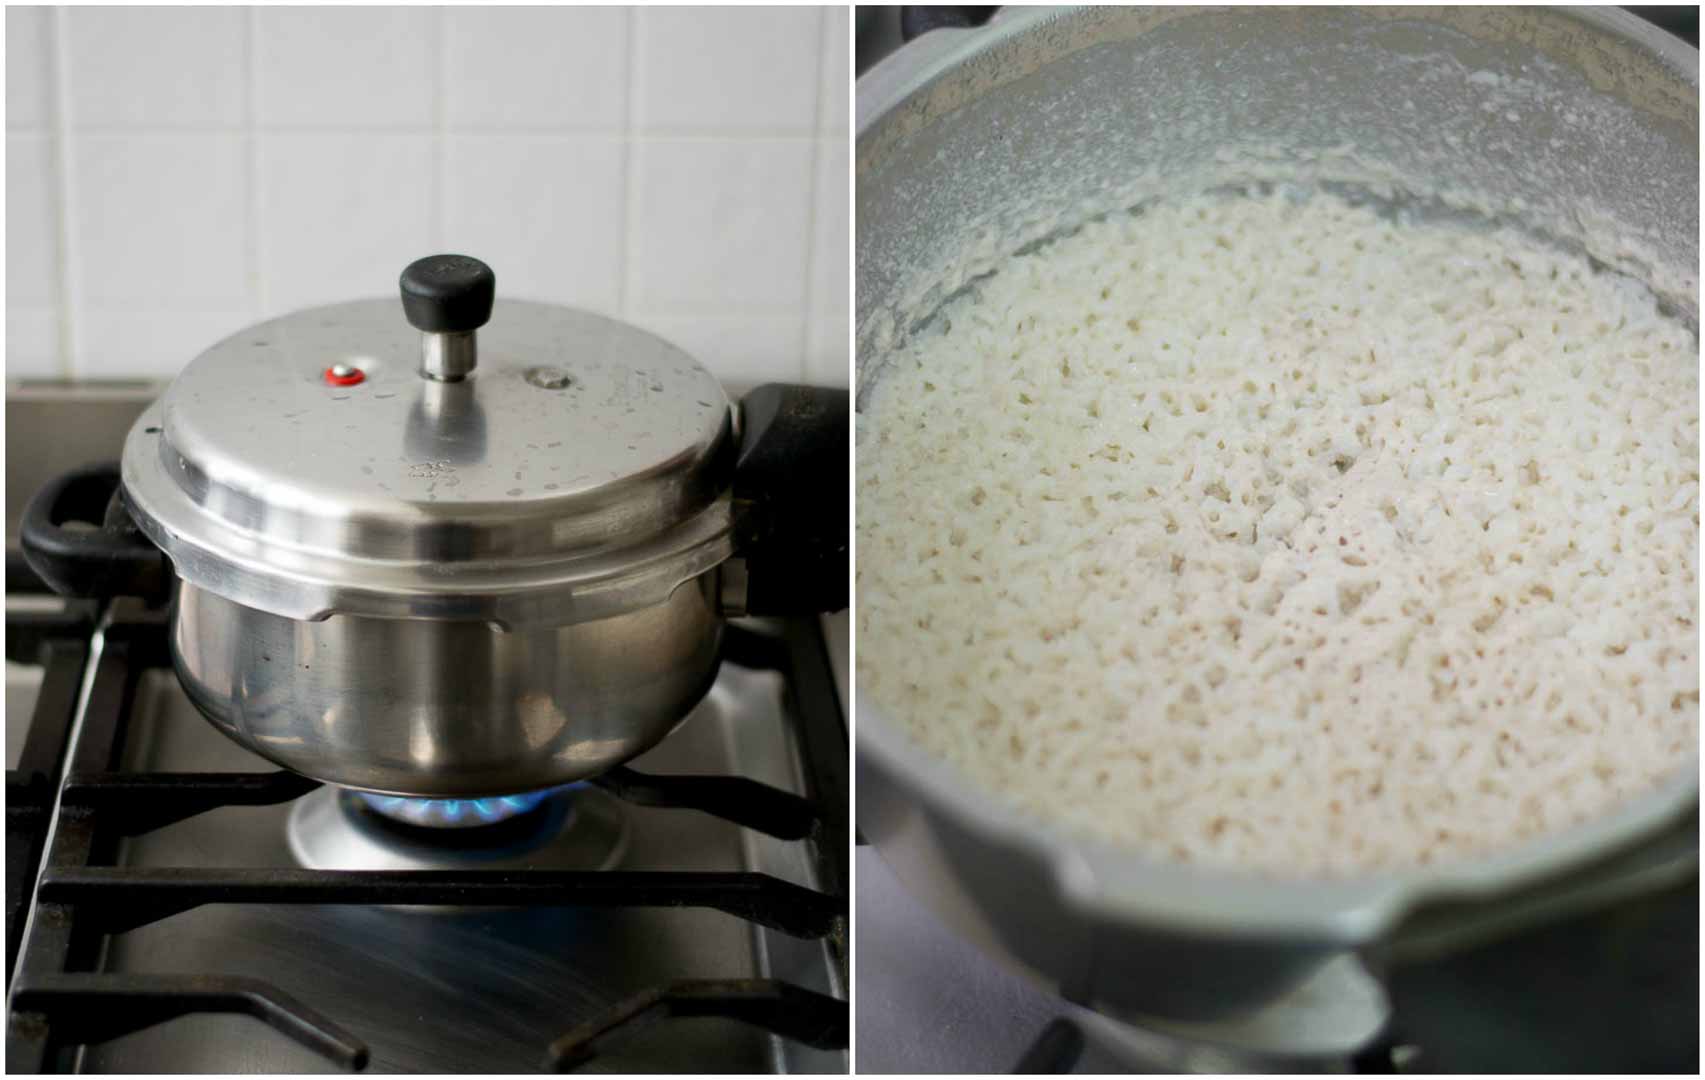
Cover the cooker and cook for 4 whistles on a medium flame. It will take about 7-8 minutes. Remove from heat and wait for the pressure to settle naturally. I used a 3 liter cooker today for making this recipe.
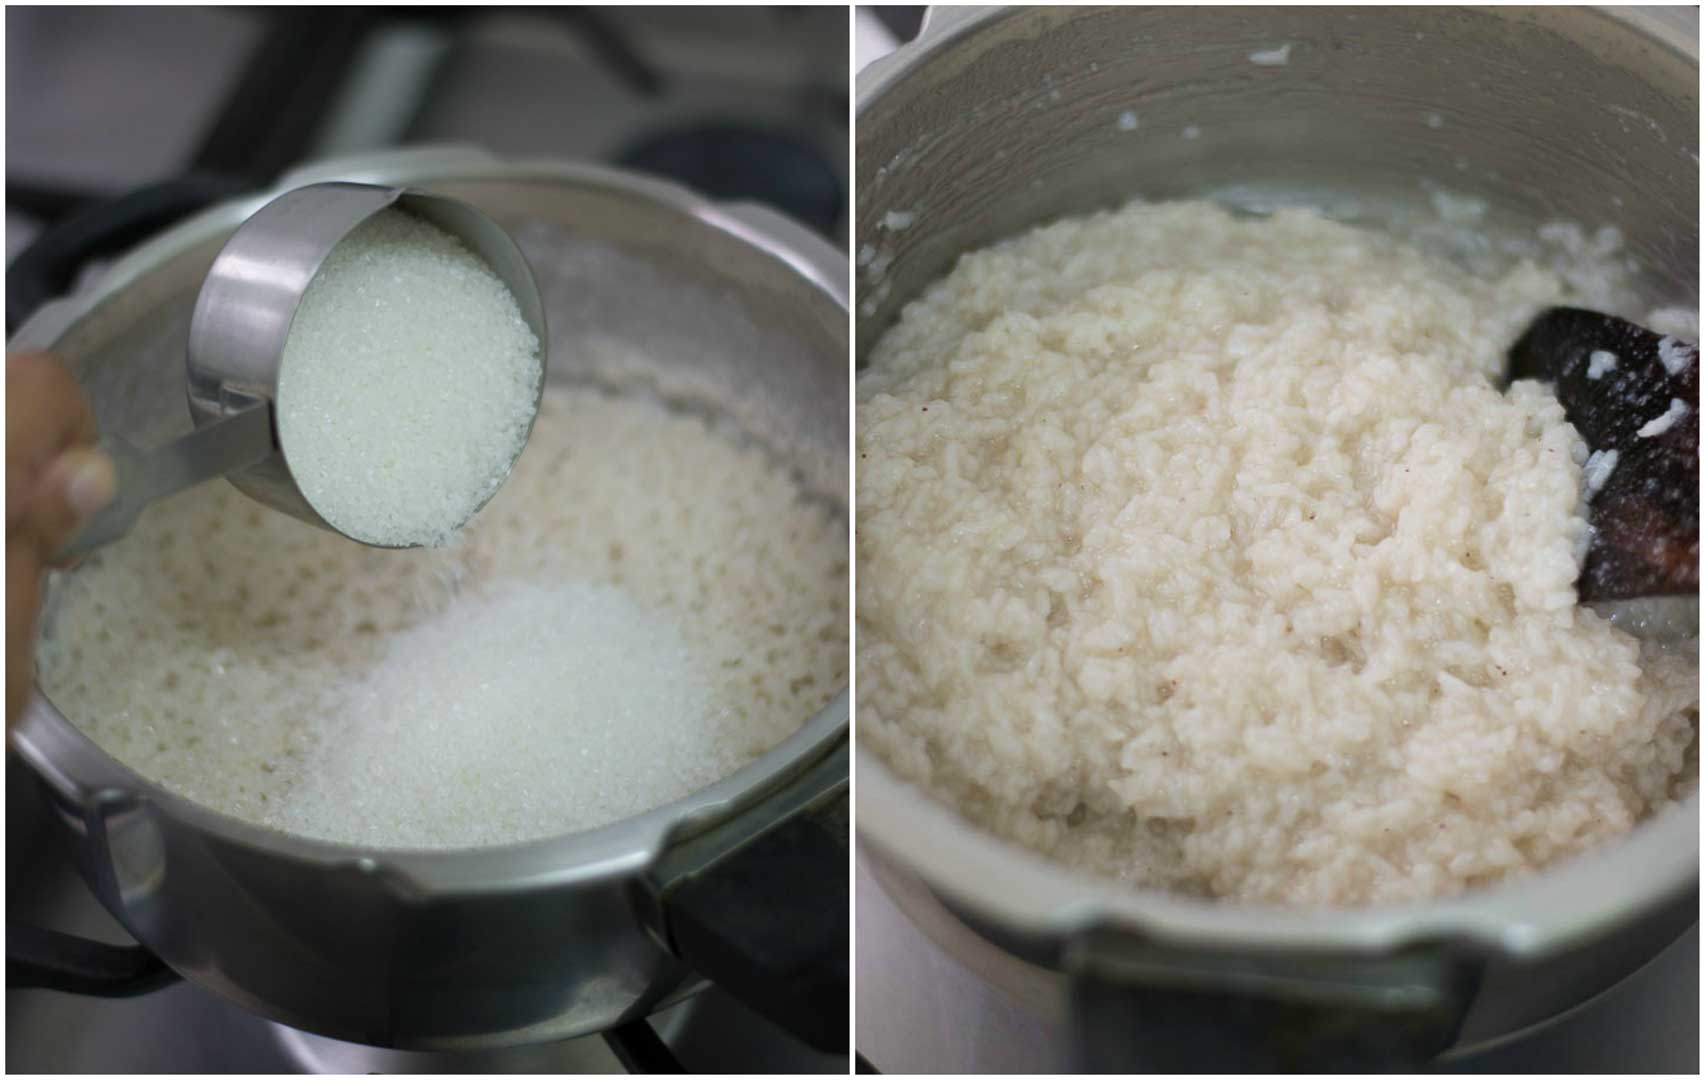
Keep the cooker on a low flame and add in the sugar and cook for a couple of minutes till all the sugar is dissolved.
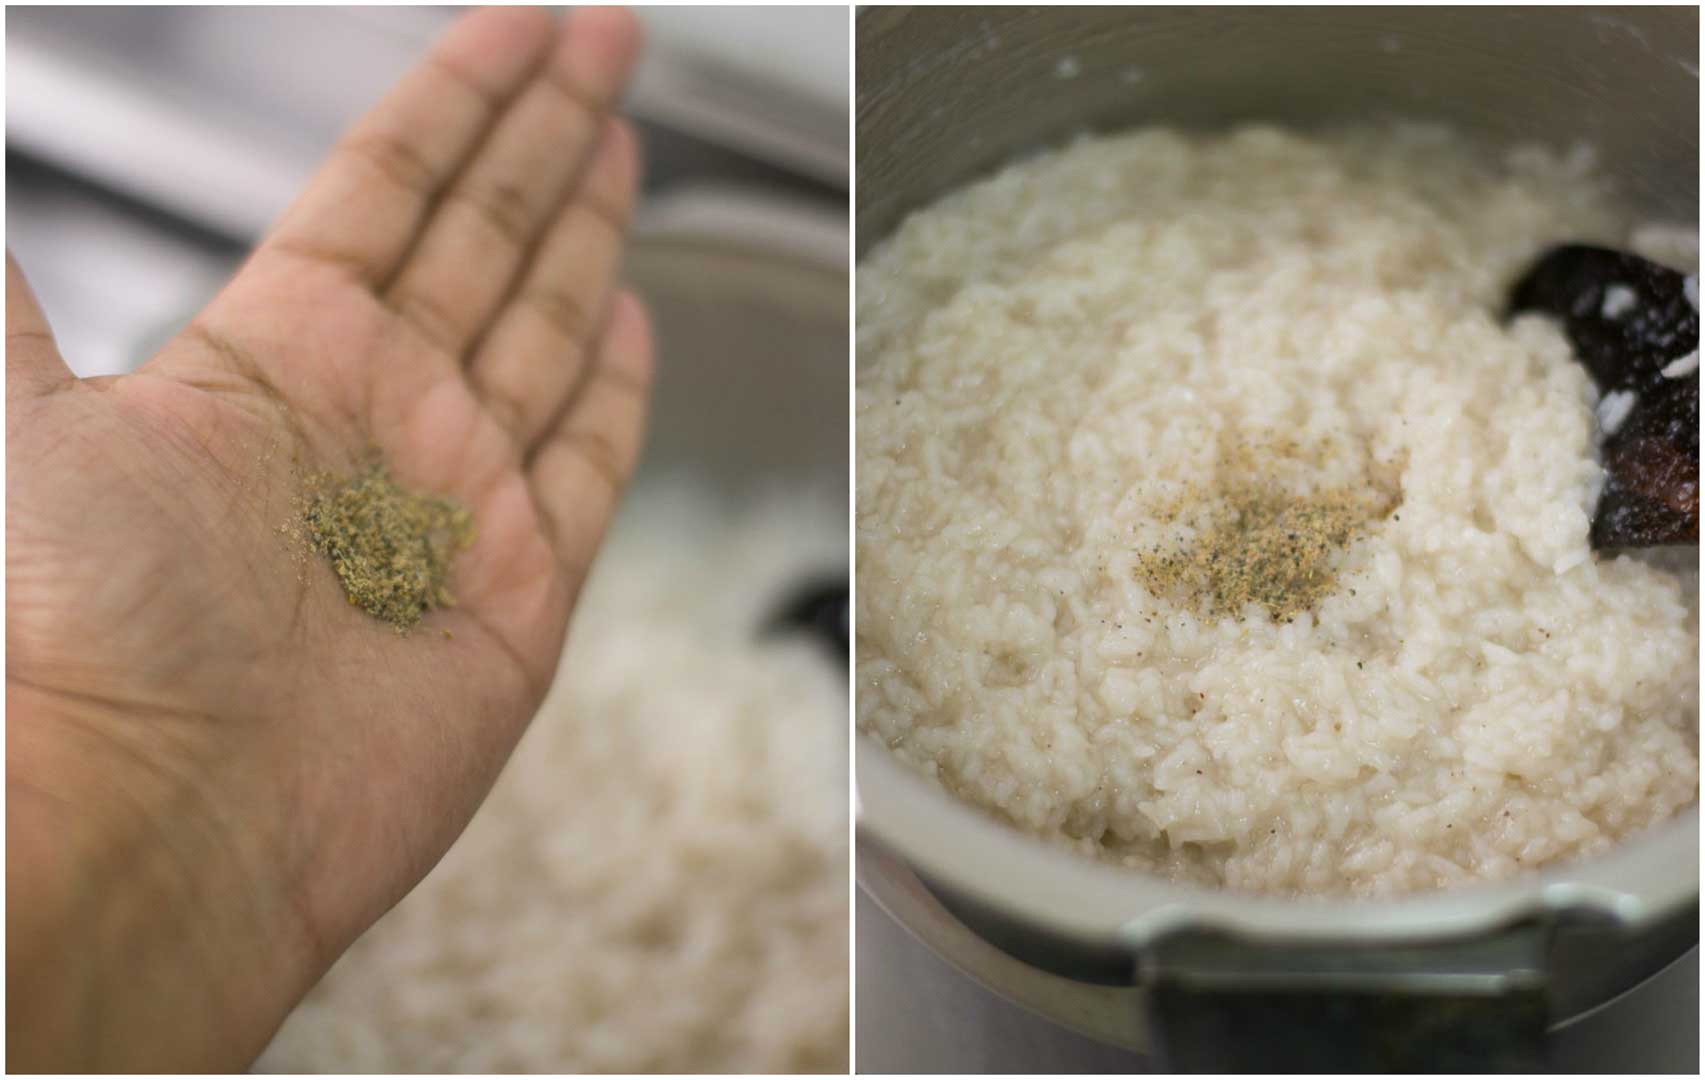
Add in the powdered cardamom. Mix well to combine.
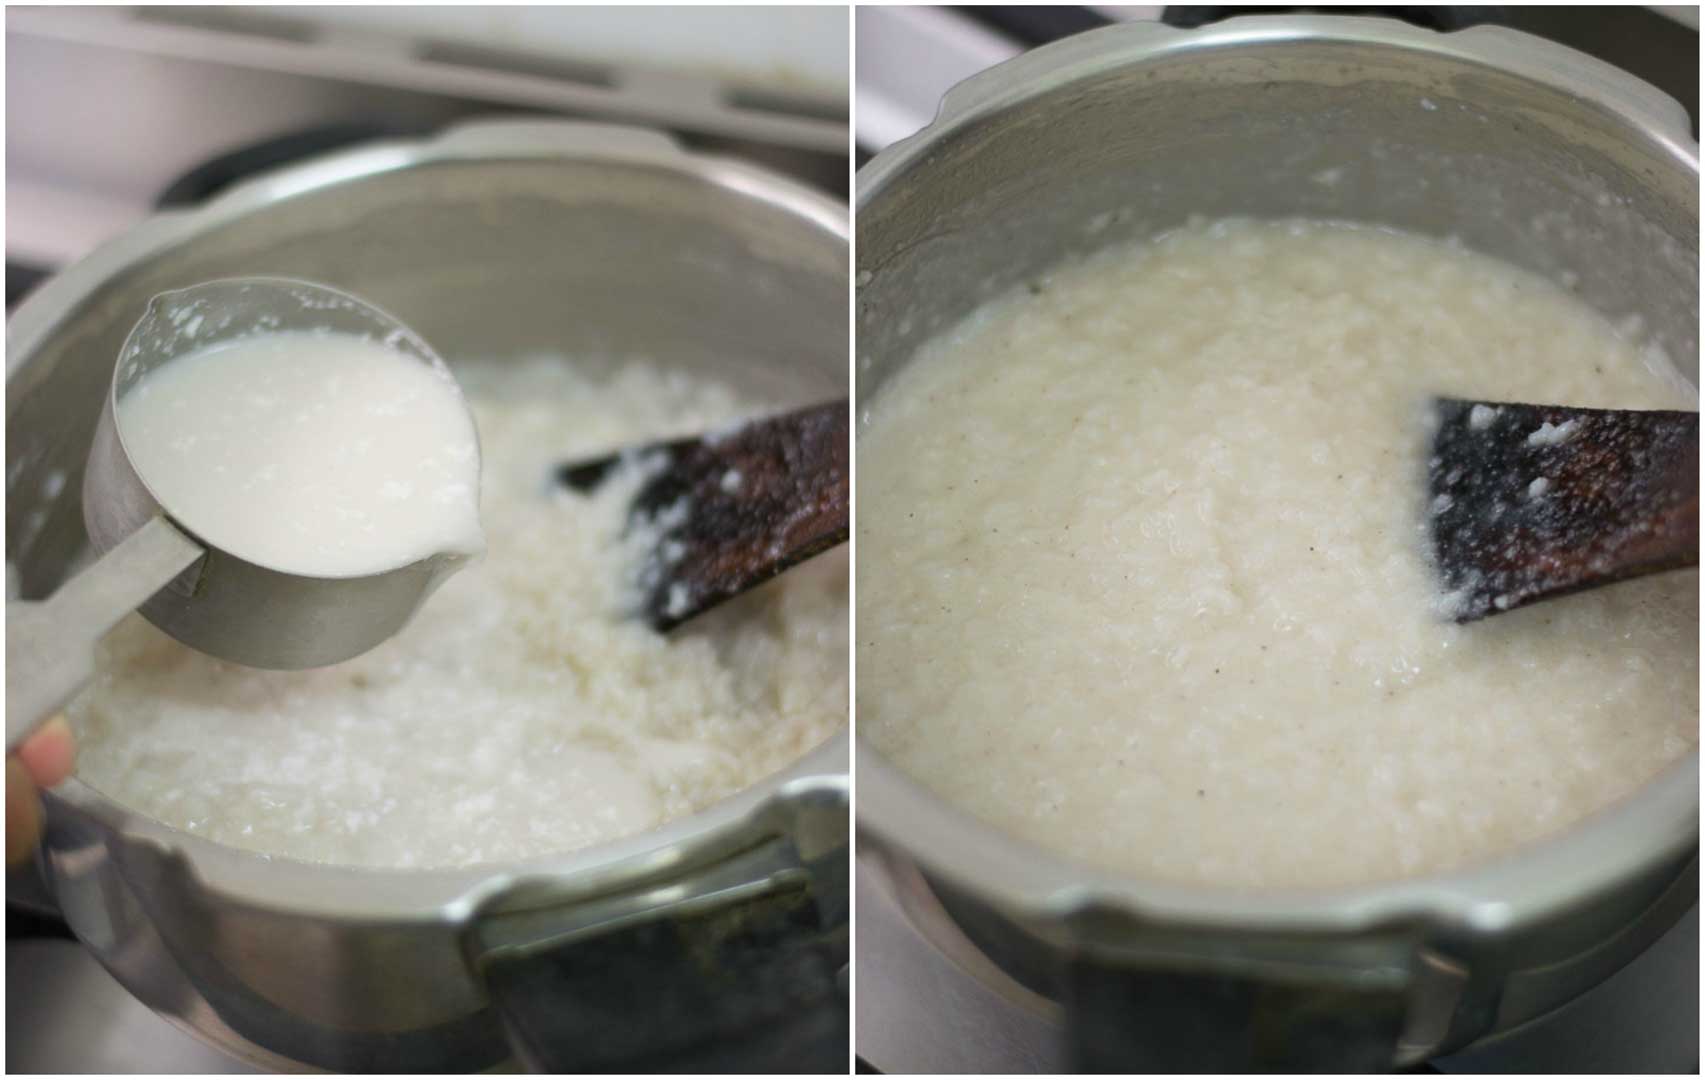
Finally add in the first pressed coconut milk. After adding the first pressed coconut milk, do not cook for a long time. Remove from heat after a gentle simmer for a couple of minutes. The pongal will continue to thicken as it cools.
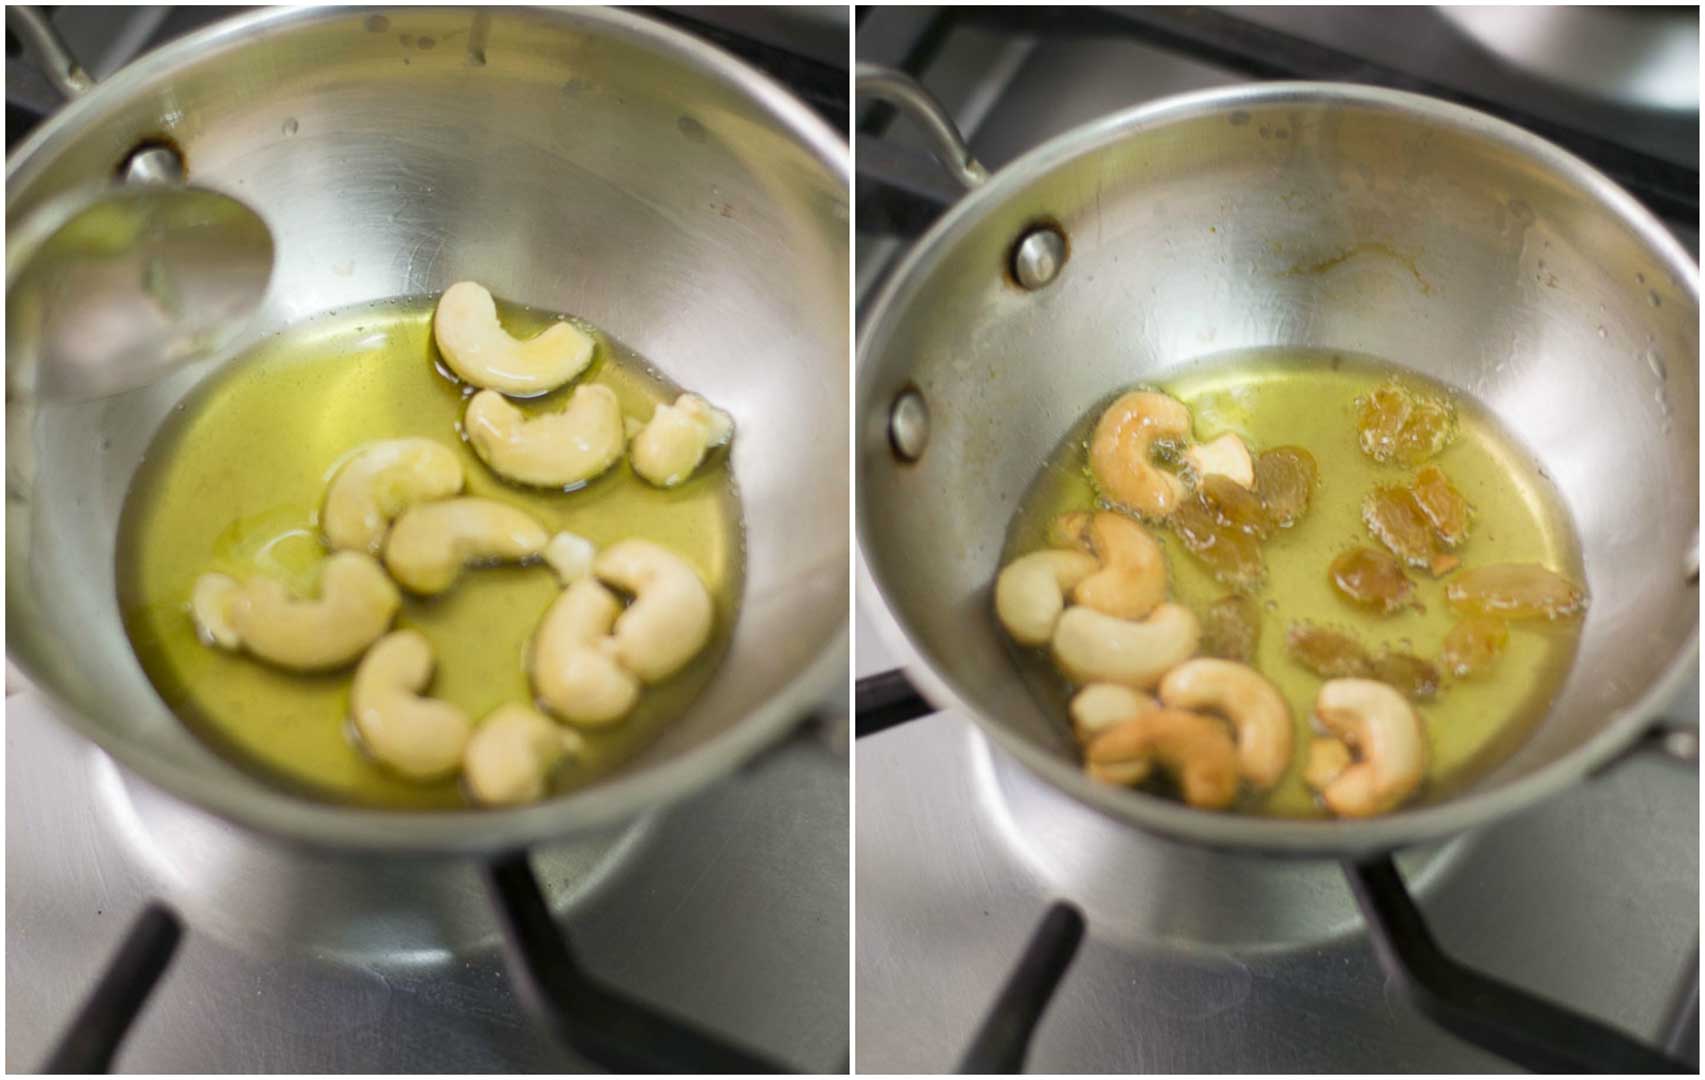
Next, we need to roast the dry fruits in ghee and add it to our pongal. We would need ghee, cashew nuts and raisins. Take a small pan and set it on low. Add in the ghee and the cashew nuts. Roast on low flame until lightly brown. Low flame is the key to good roasted nuts. Add in the raisins and wait for it to plump. Once its plumped up, remove off heat.
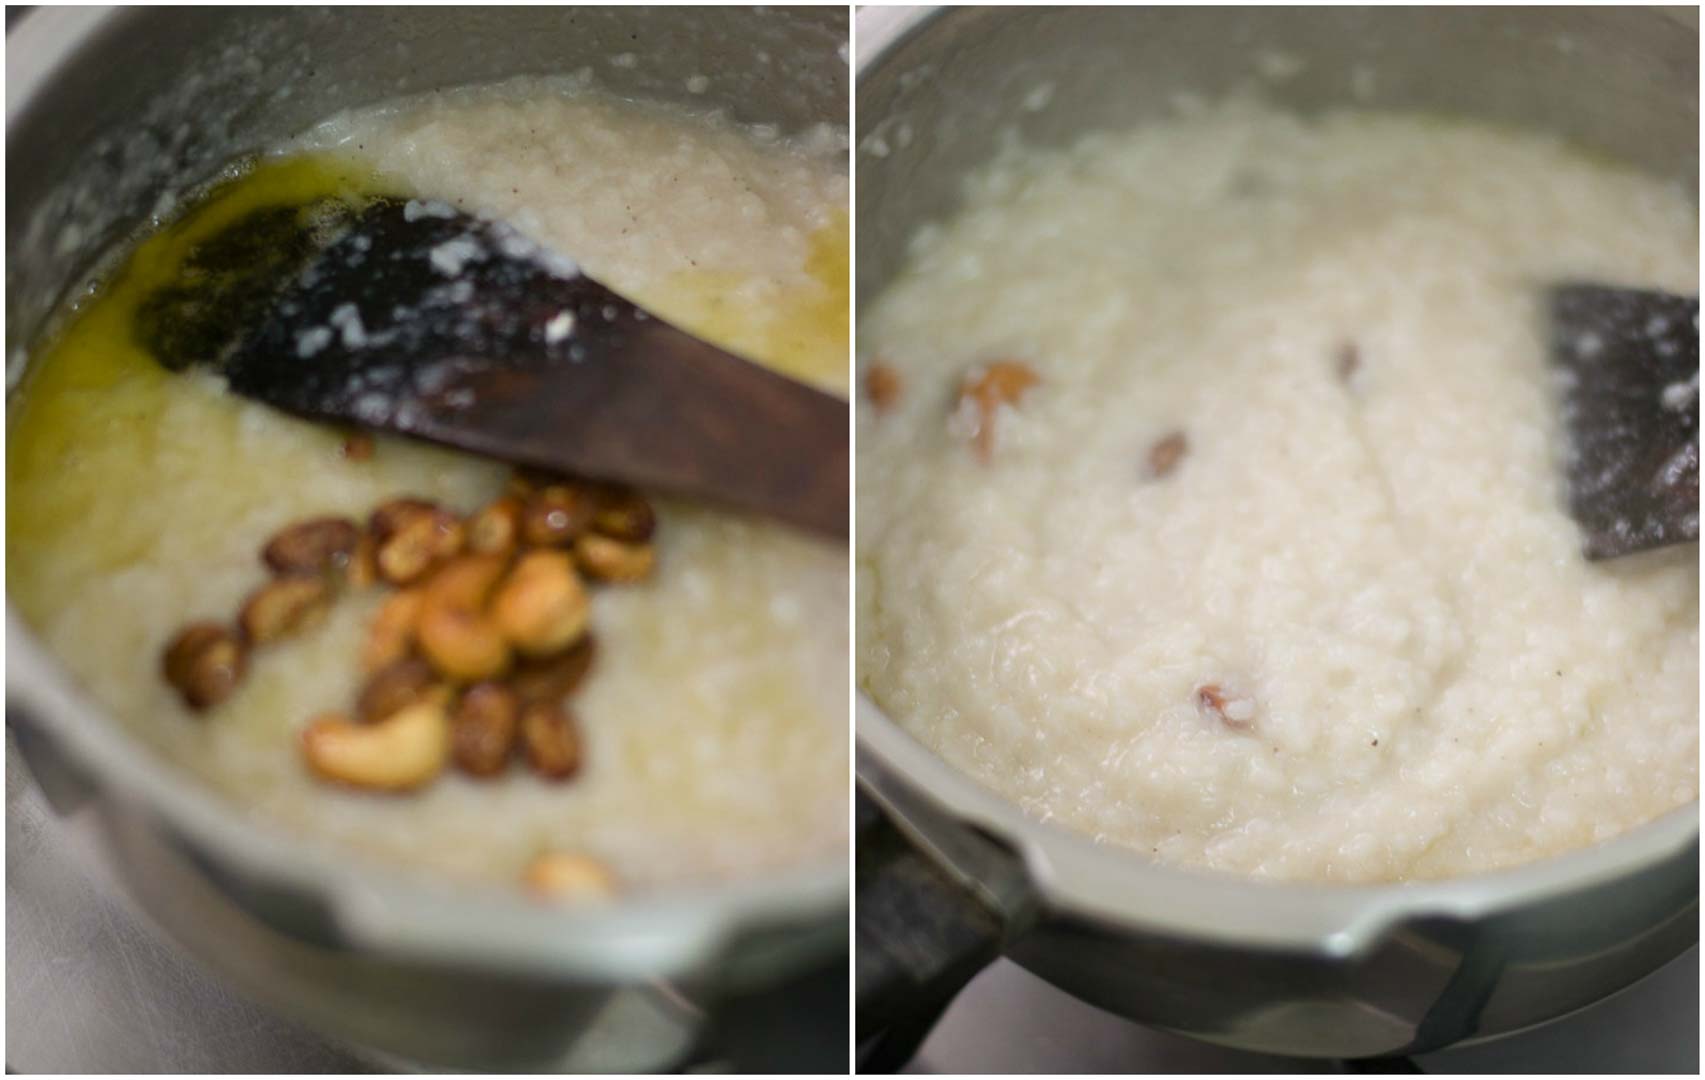
Add it to the pongal. Mix well.
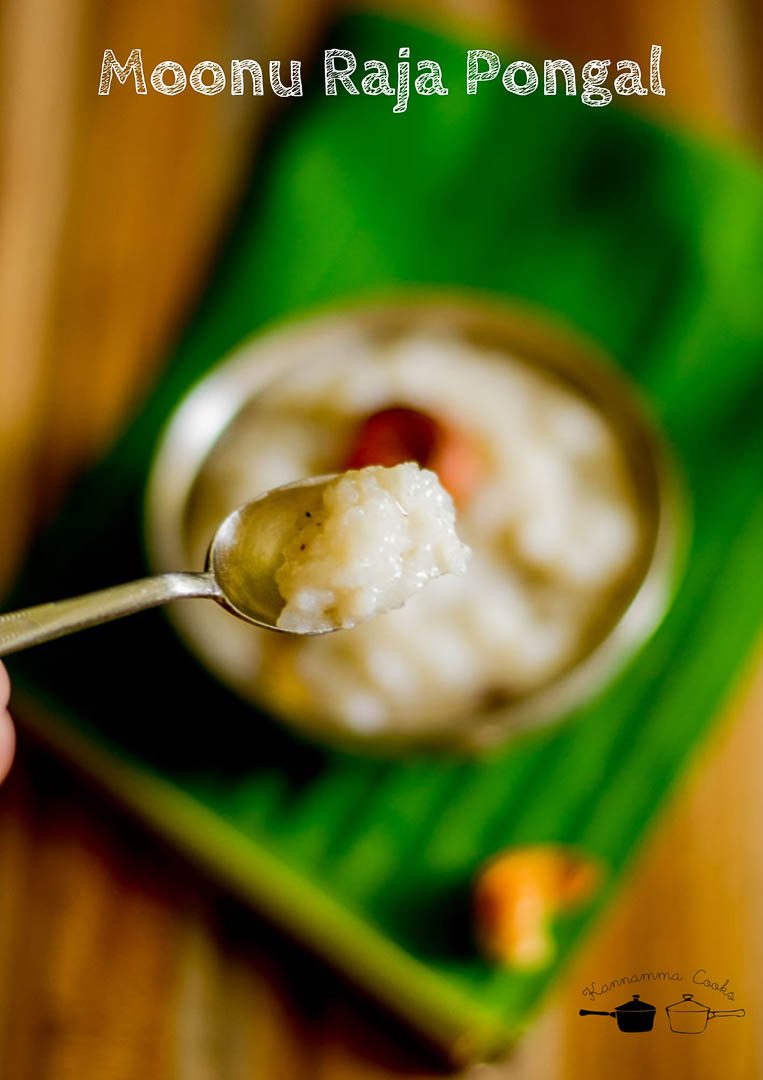
Moonu Raja Pongal is ready. Serve hot / warm immediately.
Coconut Milk :See Recipe
- 1/2 a coconut ground with water and strained to yield below
- ——–1/2 cup first pressed milk (Thick Milk)
- ——–1 cup second pressed milk (Thin Milk)
- ——–1 cup third pressed milk (Very Thin milk)
Other Ingredients
- 1/2 cup raw rice or seeraga samba rice
- 1/4 teaspoon salt
- 1/2 cup sugar
- 1/4 teaspoon cardamom powder
Final tempering
- 2 tablespoon ghee
- 10 cashews
- 10 raisins
- Take a pressure cooker and add in the second pressed + third pressed coconut milk. (Total of two cups ). Add in the rice and the salt.
- Cover the cooker and cook for 4 whistles on a medium flame. Remove from heat and wait for the pressure to settle naturally.
- Keep the cooker on a low flame and add in the sugar and cook for a couple of minutes till all the sugar is dissolved.
- Add in the powdered cardamom. Mix well to combine.
- Finally add in the first pressed coconut milk (half cup). After adding the first pressed coconut milk, do not cook for a long time. Remove from heat after a gentle simmer for a couple of minutes.
- Take a small pan and set it on low. Add in the ghee and the cashew nuts. Roast on low flame until lightly brown. Add in the raisins and wait for it to plump. Once its plumped up, remove off heat.
- Add it to the pongal. Mix well.
- Serve immediately.
- Author: Kannamma - Suguna Vinodh
- Prep Time: 15 mins
- Cook Time: 20 mins
- Category: Sweets
- Cuisine: Tamilnadu
Find it online : https://www.kannammacooks.com/moonu-raja-pongal-pondicherry-three-kings-pongal-recipe/
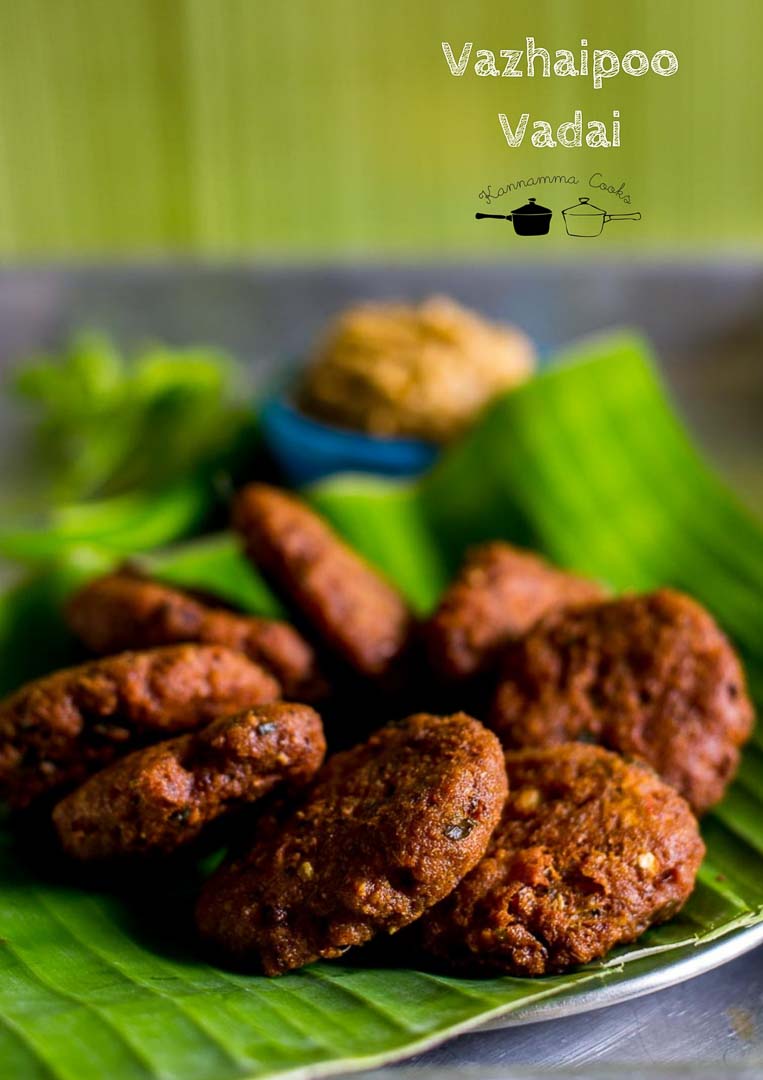
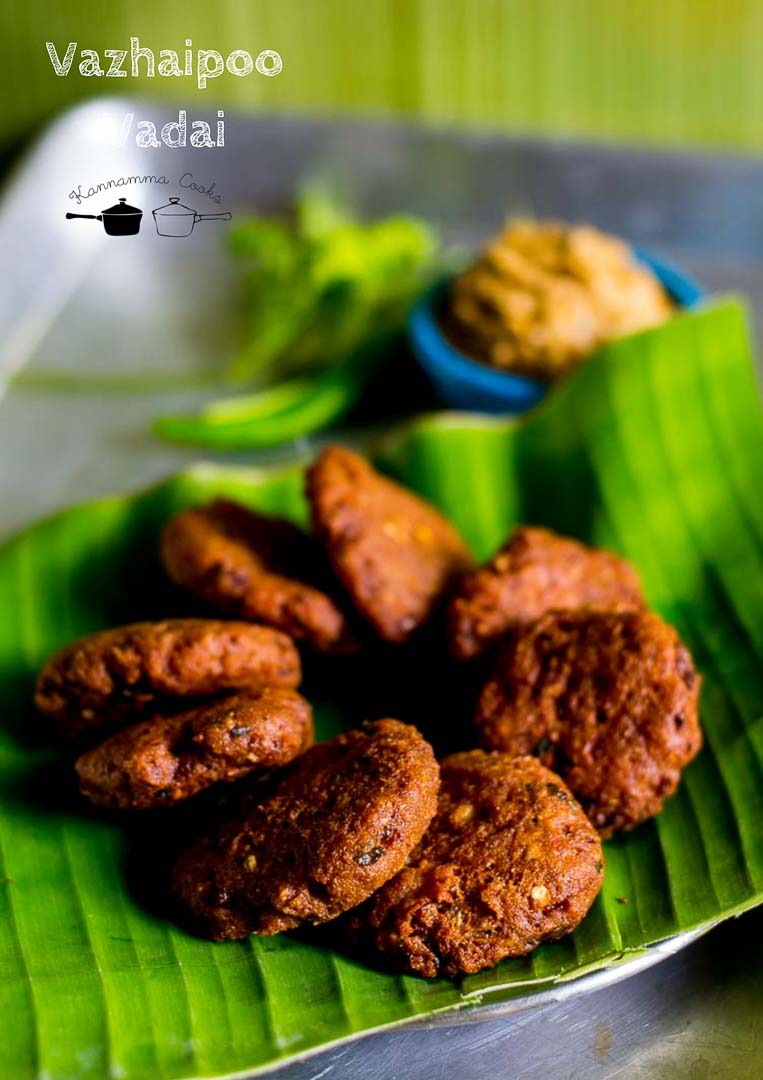
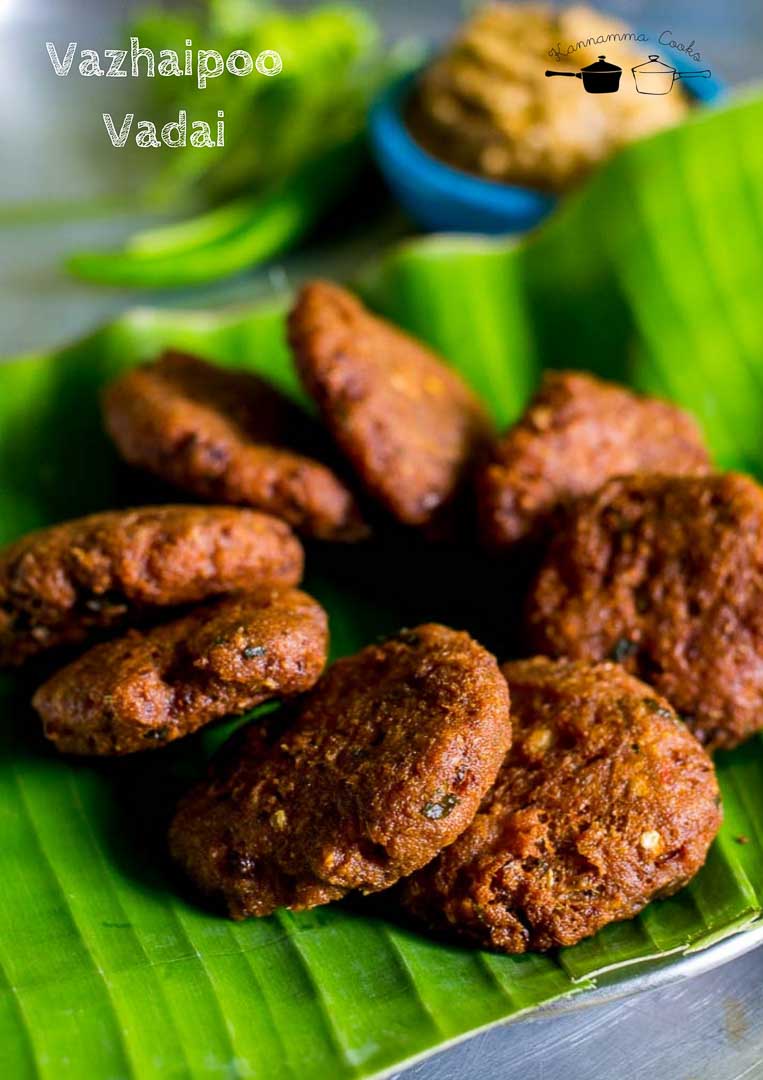
Vazhaipoo Vadai – Banana Blossom Fritters. A very unique and tasty vadai’s prepared with ground banana blossoms. It is one of the tastiest vadais you will make. Crispy on the outside and soft on the inside.
Vazhaipoo vadai / Banana Blossom Vadai is unlike any other common South Indian fritters. The uniqueness of this recipe is that the banana blossoms are ground and added to the batter. Removing the Pistils and the Calyx from the banana blossoms will cut the bitterness from it. This is one of the tastiest vadais. Its very crisp on the outside and soft on the inside. These need to be had hot. Otherwise they lose their crispness when cold. Prepare more than you think you will need as everyone almost always come for second servings. It is perfect for an evening snack.
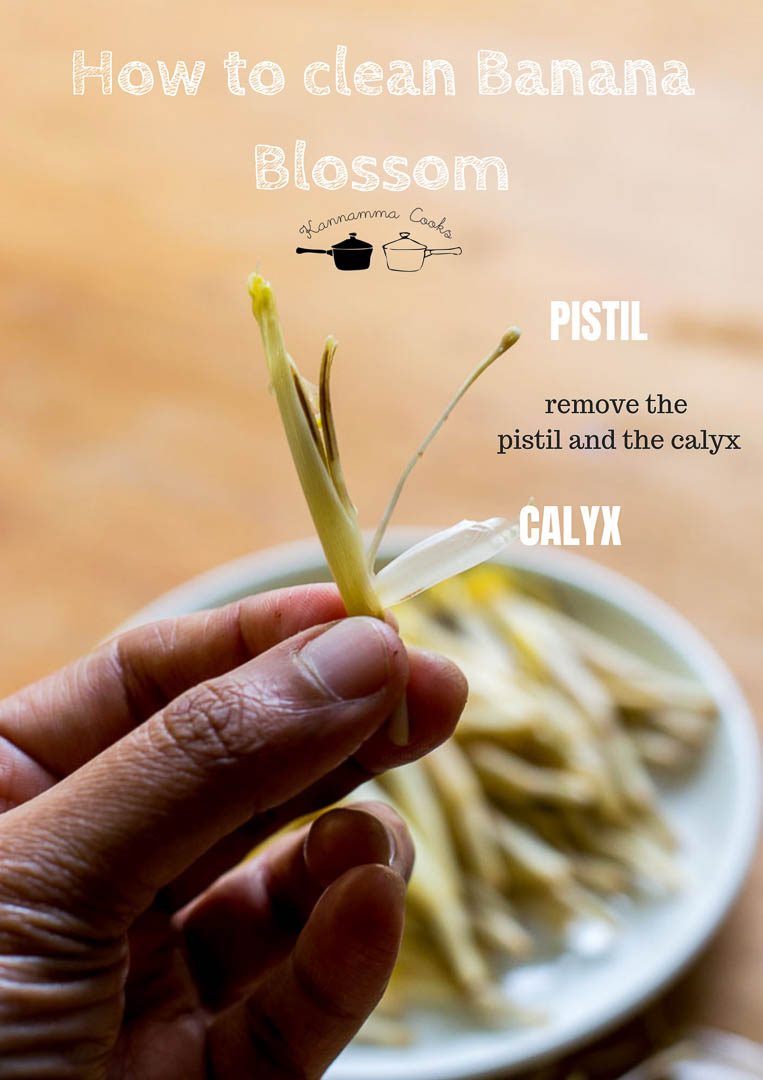
The banana blossoms needs to be cleaned well before it can be cooked with. Here is how to do it. Cleaning the banana blossom may stain your fingers. The black sap that comes from the florets may leave stained fingers and clothes. Apply oil to your hands before cleaning. If you remove the reddish leaves, there will be yellow tipped florets that we will be cooking with. These are soon to be bananas. The florets needs to be cleaned though. Remove each floret and pull the stick like pistil with a bulgy top to the right. This is very bitter and inedible, When you pull the pistil to your right, the calyx (the small, thick, light pink color petal like thing) will come out. Remove that too.
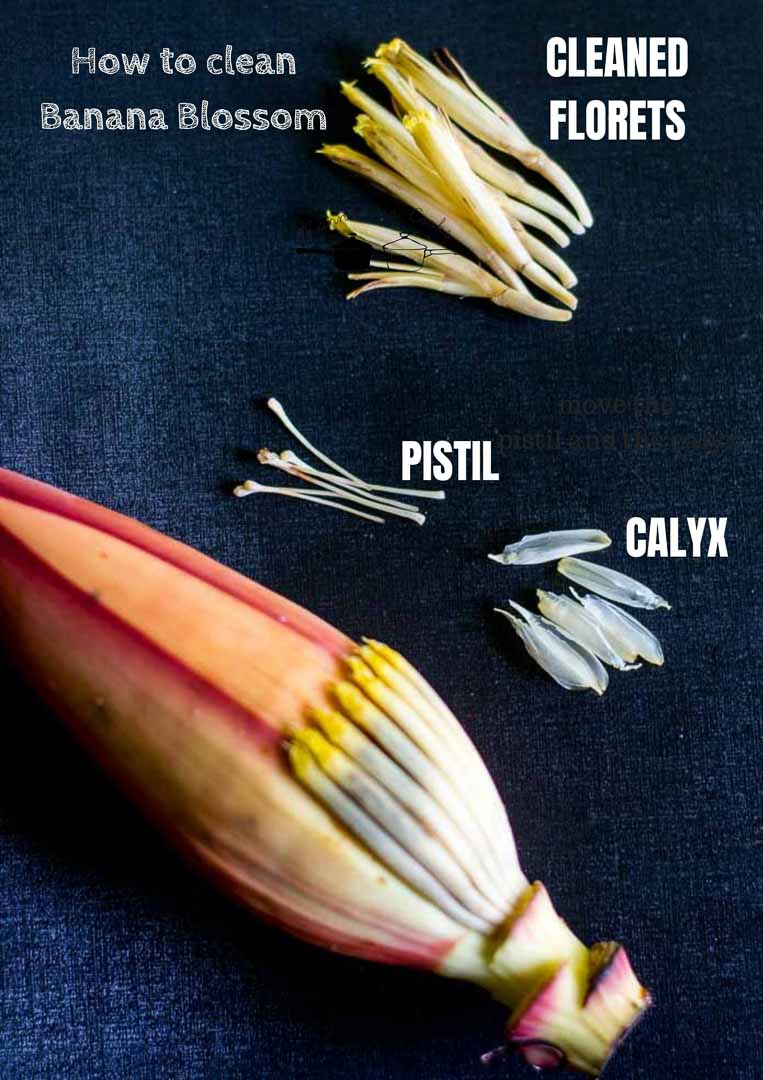
Remove the pistil and calyx and discard. They are inedible. We will be cooking with the florets.
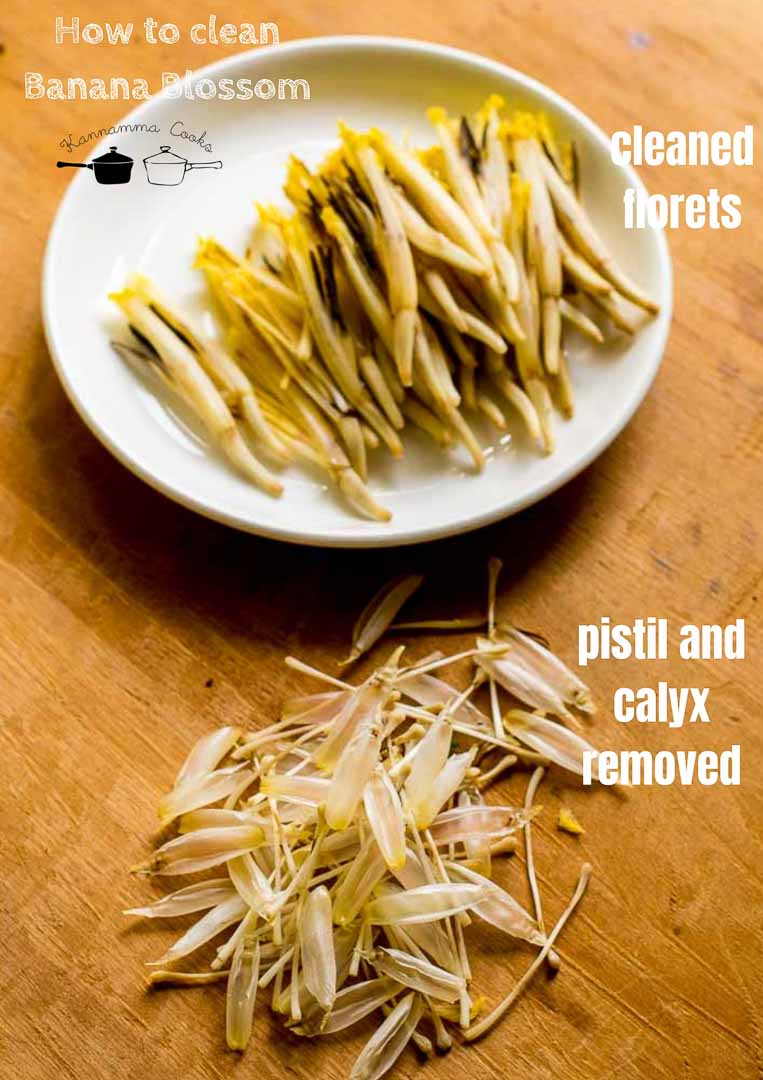
Here is a picture of the cleaned florets.
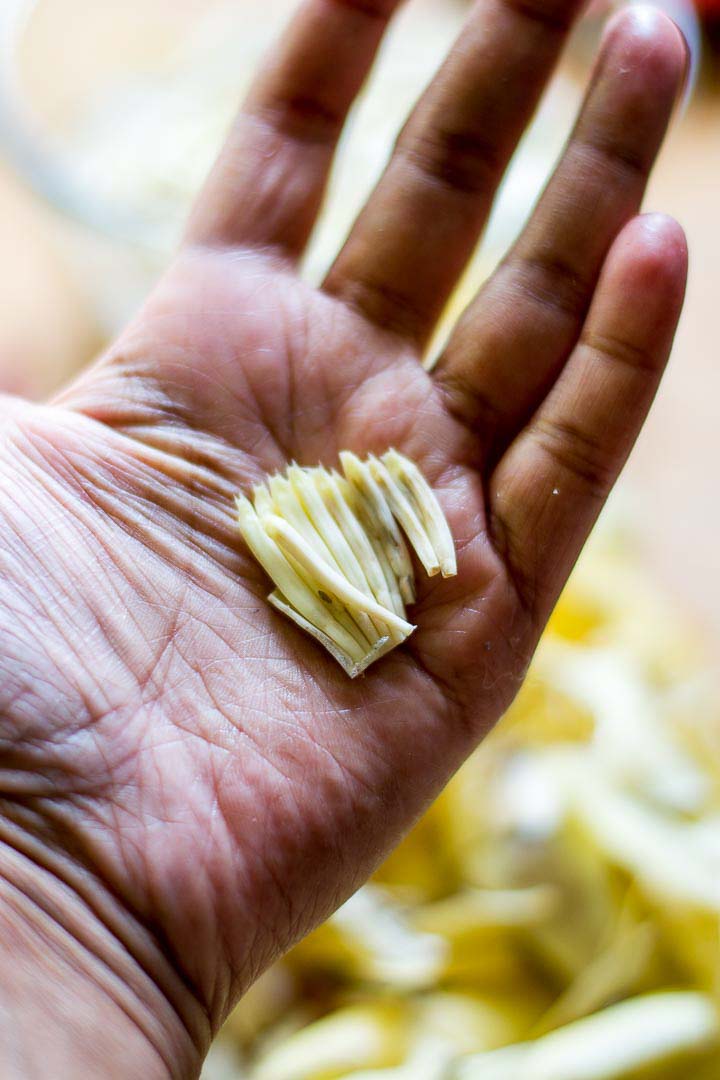
After removing 5-6 layers of the maroon leaves, the florets inside will be very young. They need not be cleaned. They can be used as such. The inner hearts are also edible. They can be cut and used.
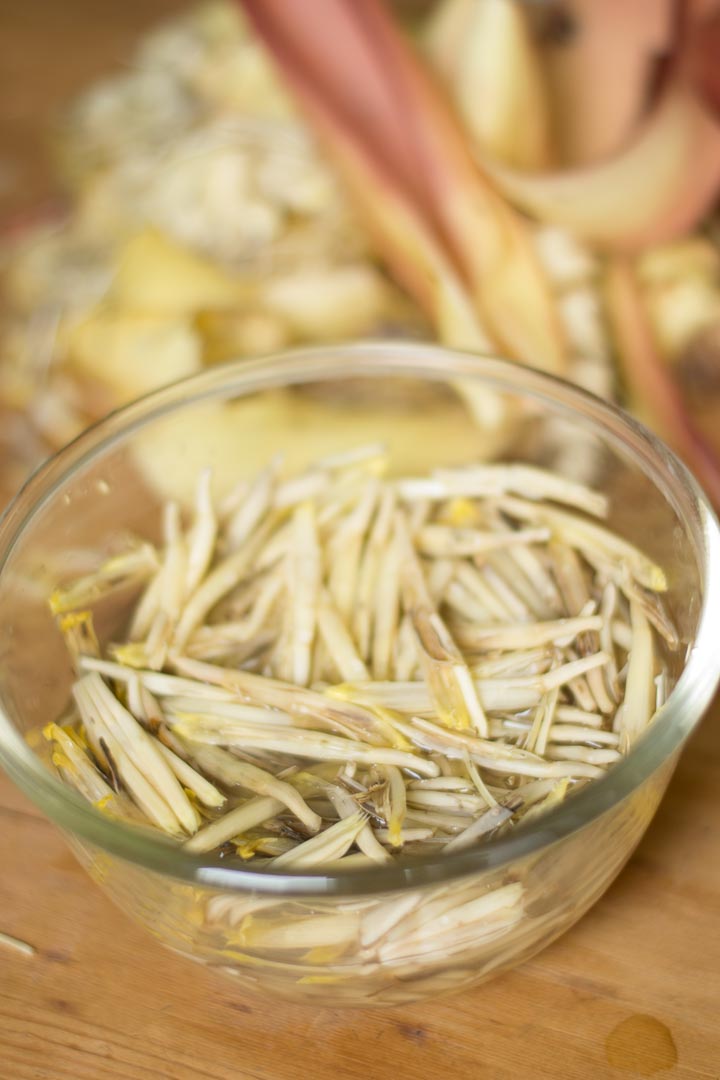
Storing: Take a bowl and add water to it. Add a teaspoon of vinegar to the bowl. Soak the cleaned florets in it. Many people in India use buttermilk. But I have found that vinegar+water solution keeps the florets from becoming bitter and more effective. The florets needs to be immediately soaked in the water+vinegar mixture to avoid discoloring and also to avoid it becoming bitter. You can keep this in the fridge and use it the next day. Drain the water completely before using.
Now lets make the vazhaipoo vadai!

Soak the chana dal in water for 2 hours. Do not soak longer than that or the vadai will consume a lot of oil while frying.
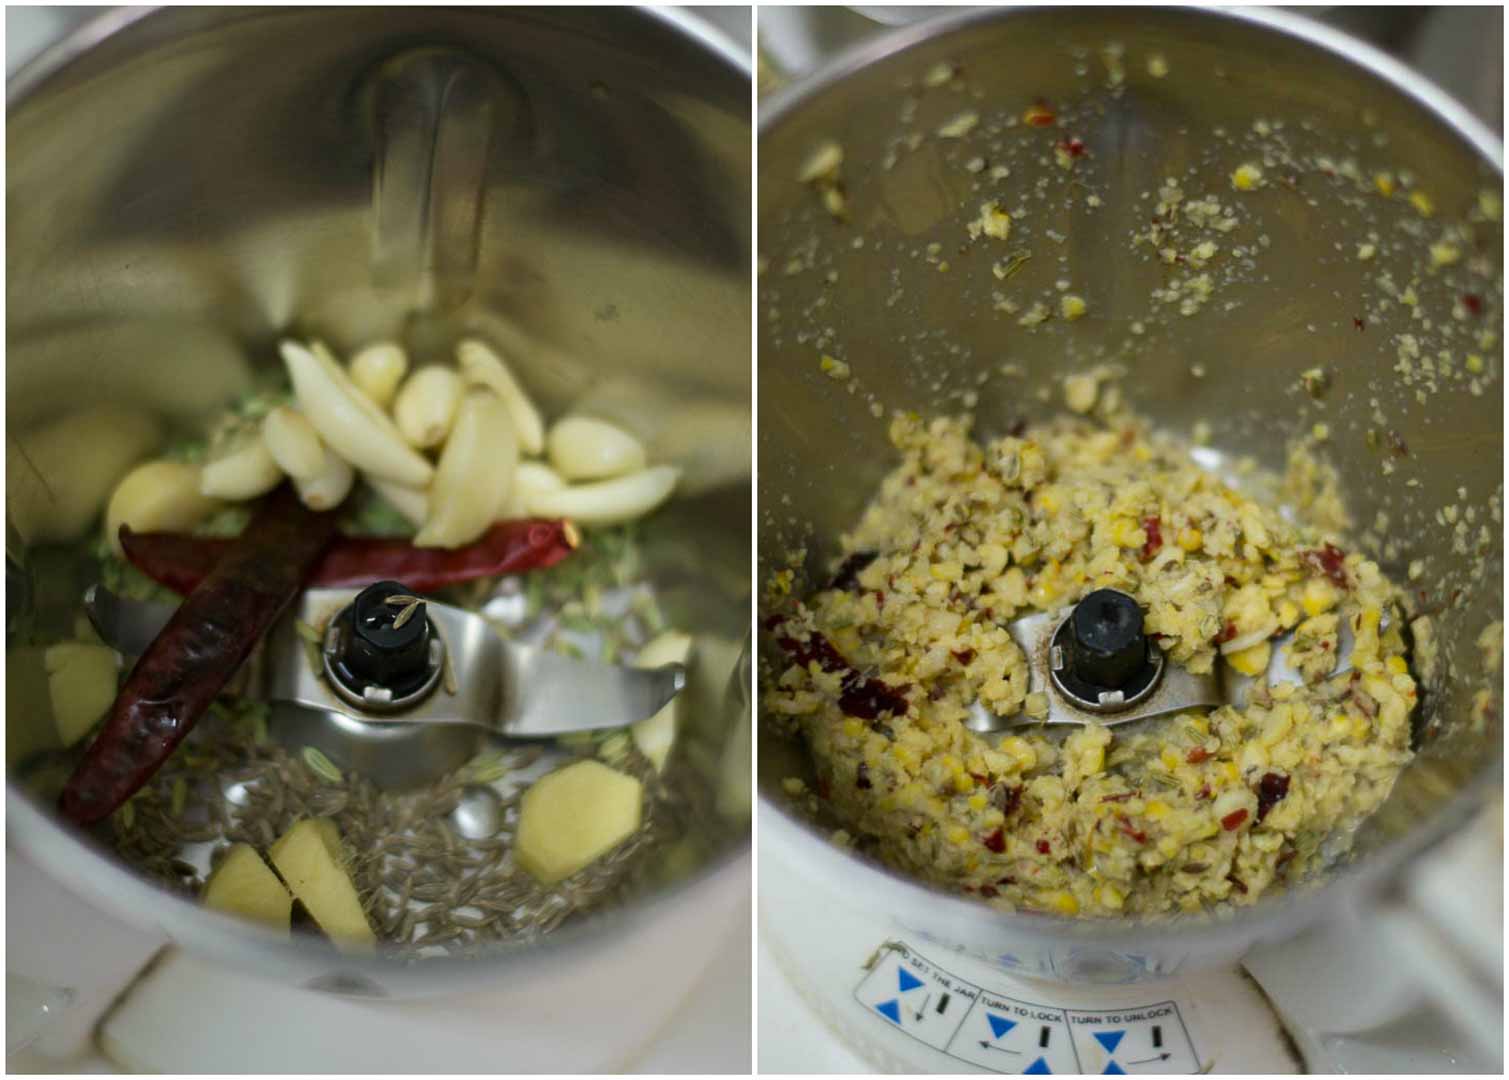
Take a mixie and add in the cumin, fennel seeds, dried red chillies, ginger and garlic. Add a couple of tablespoon of the soaked chana dal and grind to a coarse paste. DO NOT use any water to grind.
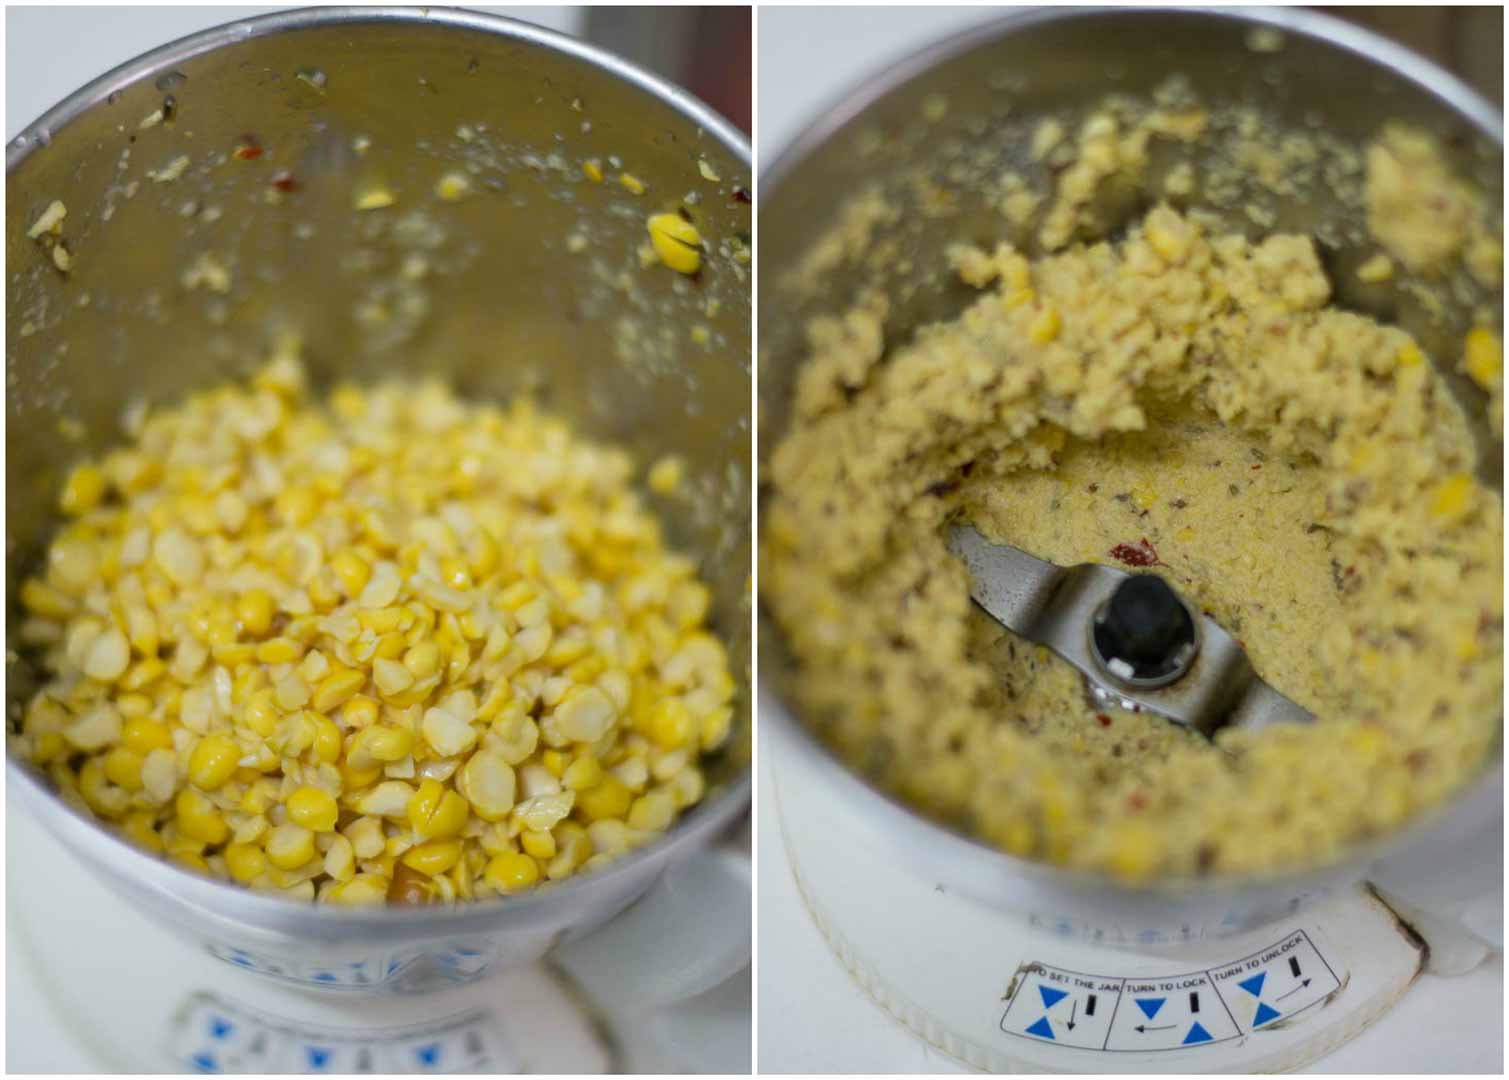
Once the masala is coarsely ground, add drained chana dal on top of the ground masala and grind again. Please do not add water while grinding. Its very important. Pulse several times if necessary. Open the mixie inbetween and clean the sides with a spatula so the batter will be evenly ground.

Now add the banana blossom to the mixie and grind again. If you do not have a heavy duty mixie, chop the banana blossoms before adding.
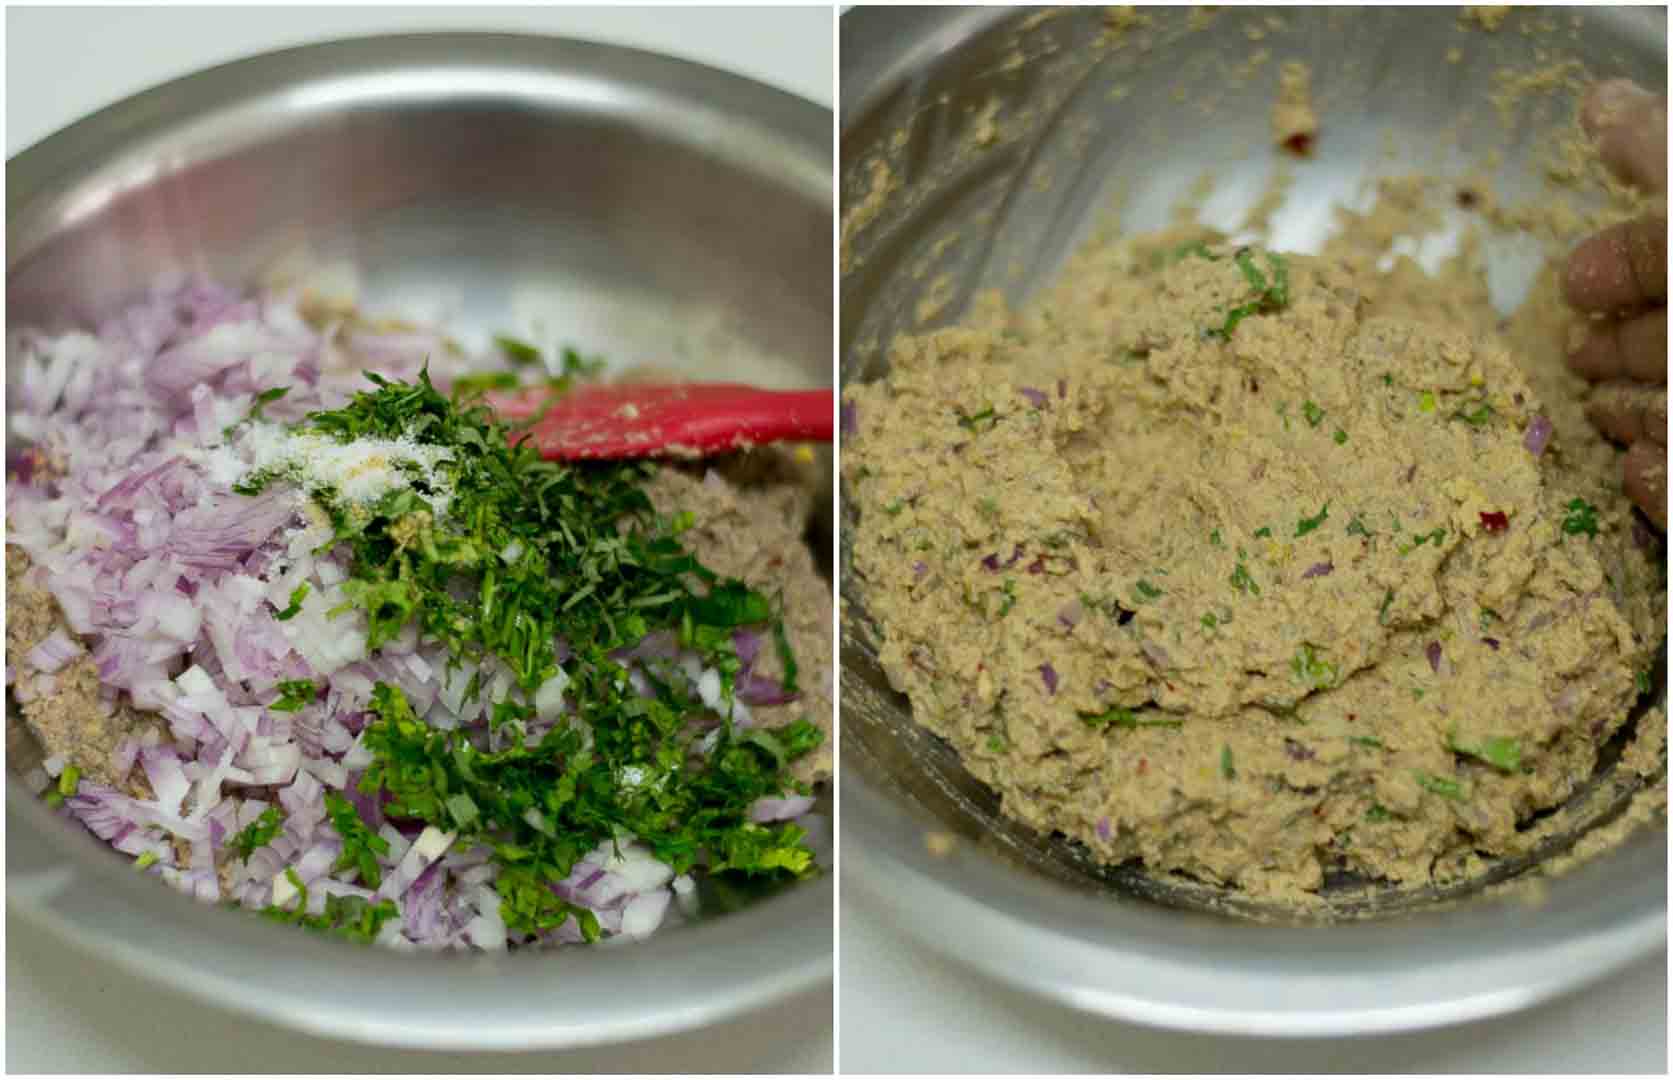
Remove the ground batter to a bowl and add in the chopped onions, coriander leaves, curry leaves, green chillies, a pinch of asafoetida and the salt. Mix well to combine.
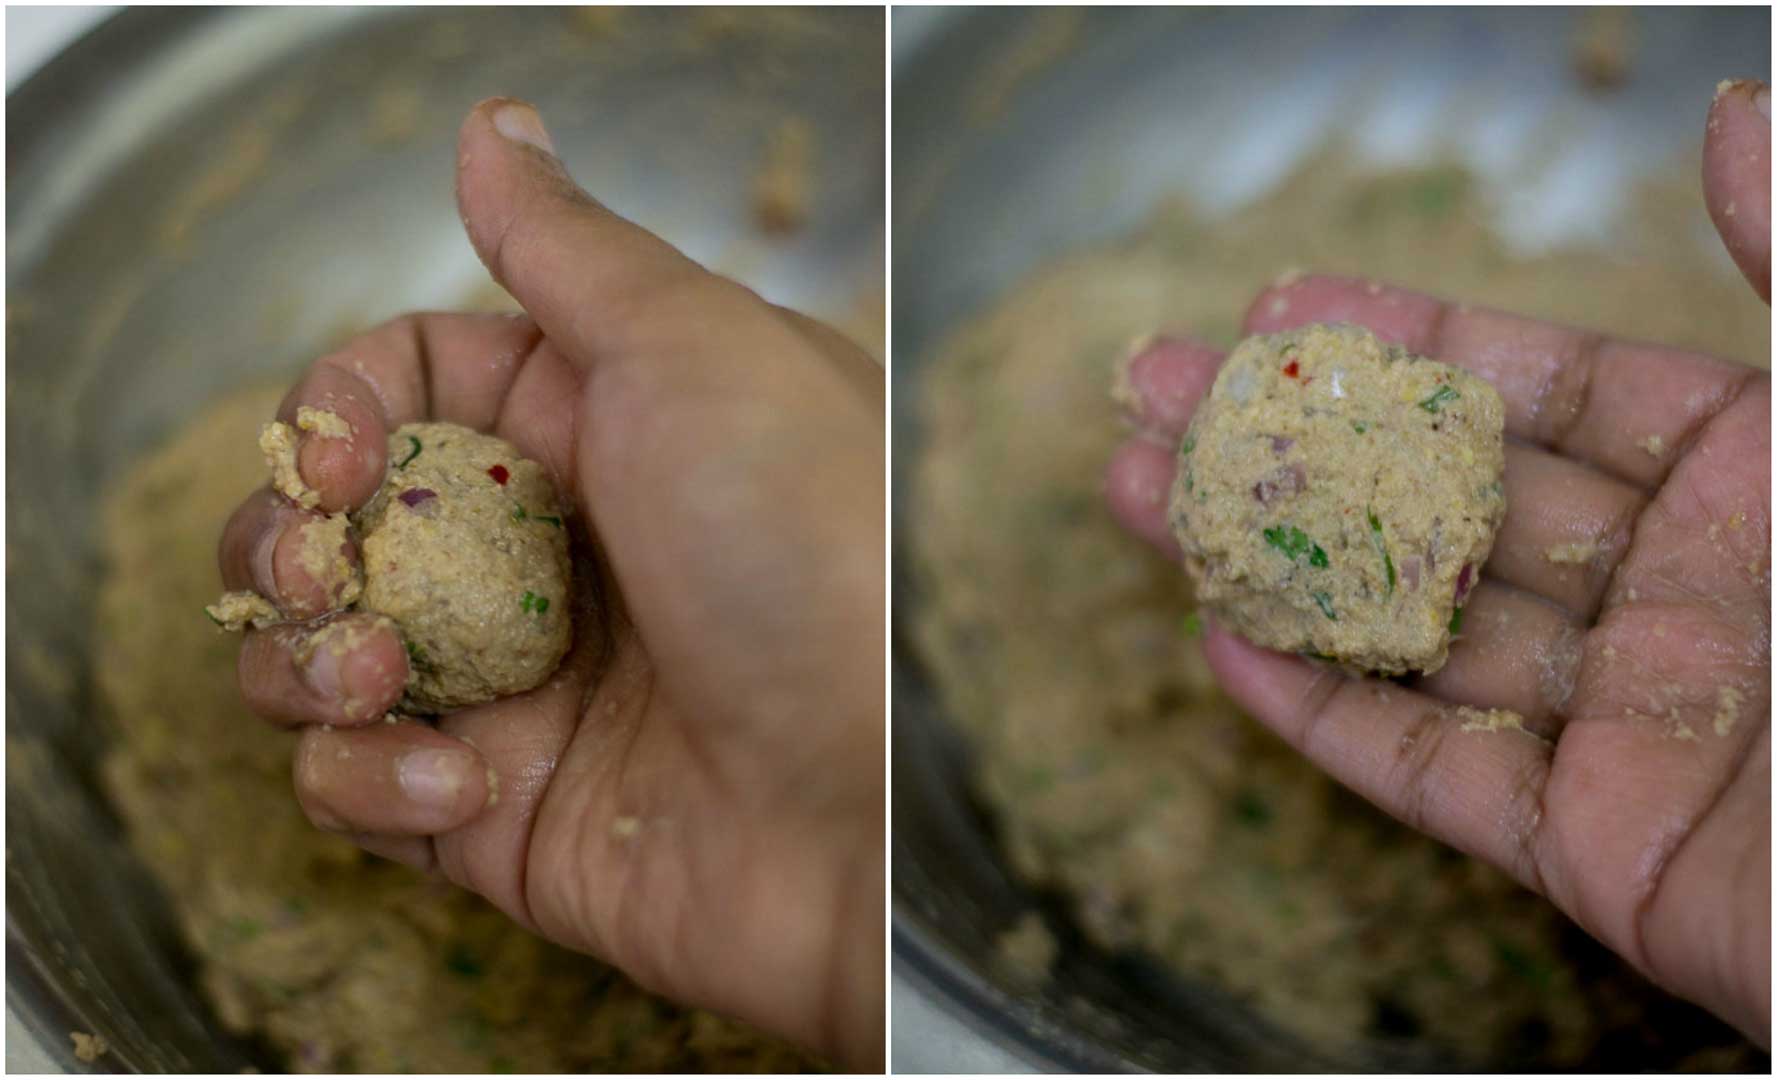
Mix well and check for seasoning. Add extra salt if necessary. Form the vadai. Take a small lime size batter in hand and make a ball. Make small balls. Remember that smaller balls makes for crispier vadai’s. Gently flatten it on the hands. Gather the edges to smoothen. The more you flatten, the more crispier the vadais.

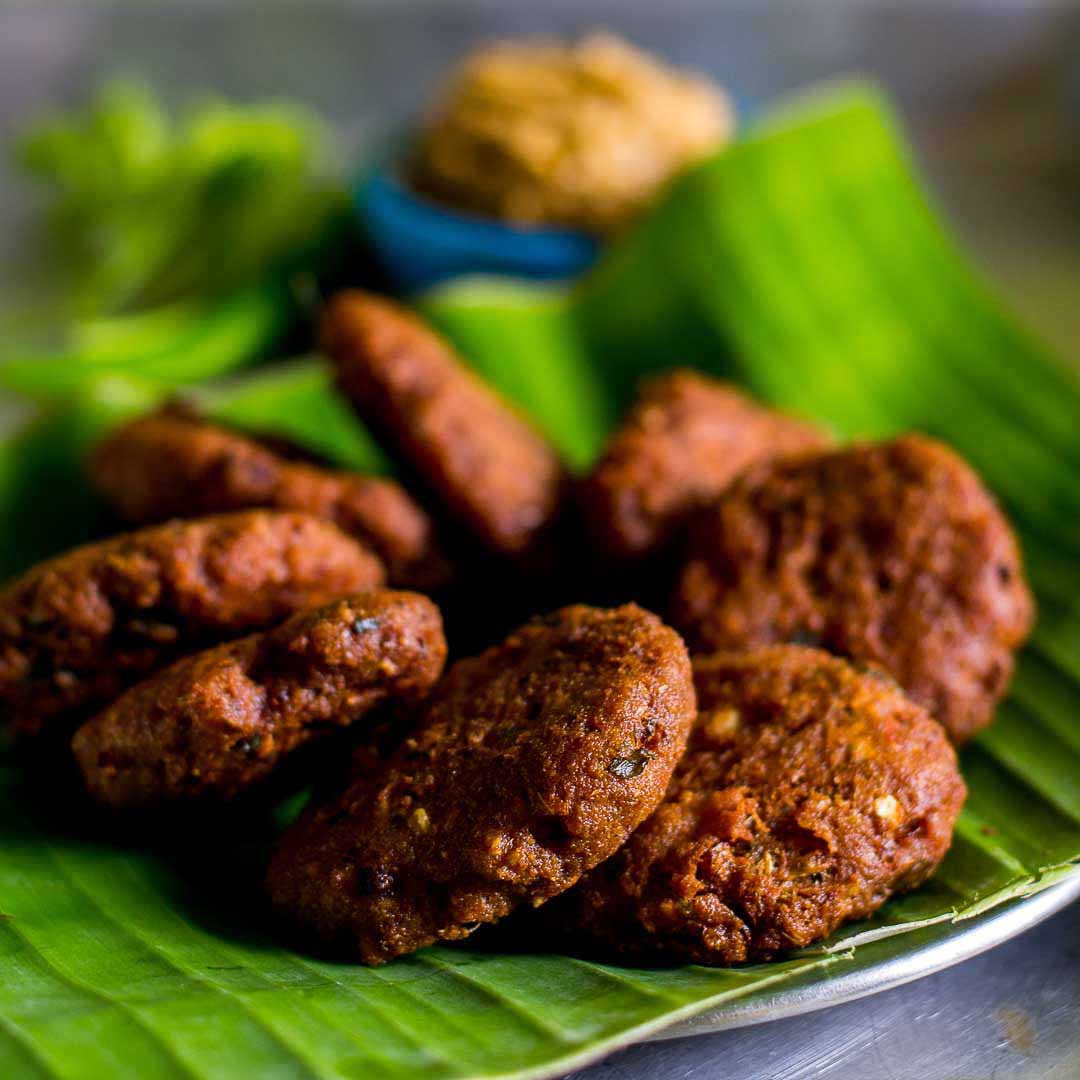
Gently lower the vadais in hot oil and cook the vadai on both sides until golden brown. Drain on paper towel.

After the first batch, check for seasoning. We get to eat first 🙂
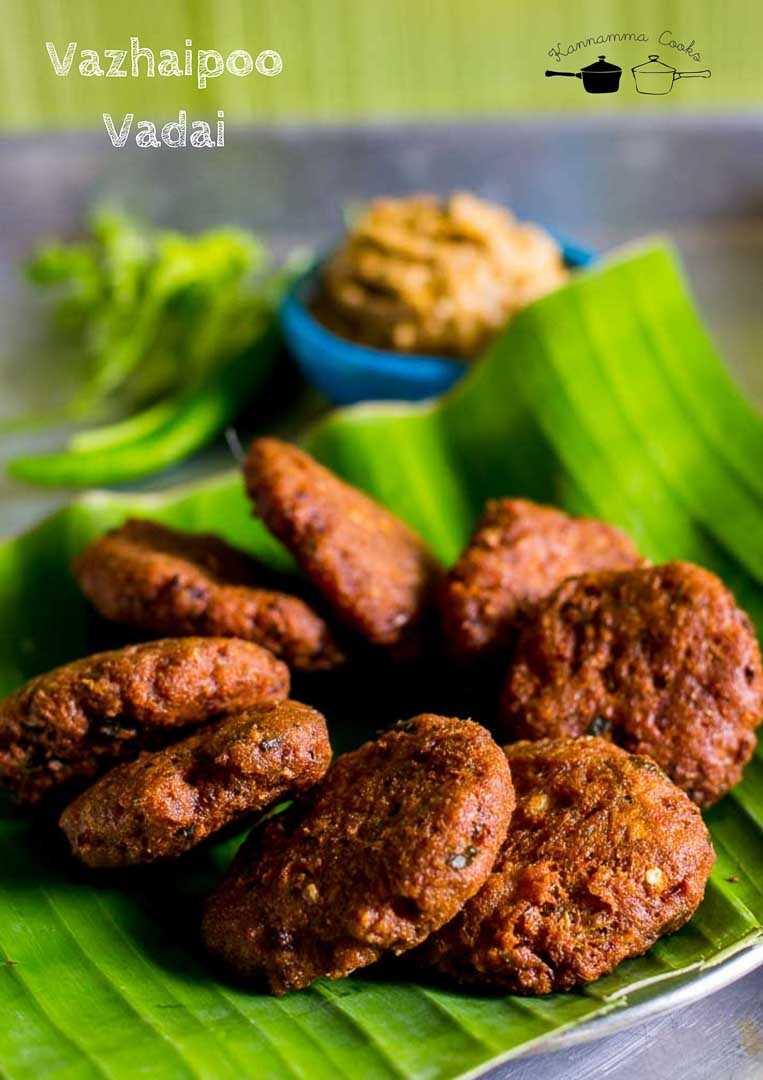
The vadais need to be had hot. They will lose the crispiness when cold. The batter can be stored in the fridge for upto a day. Make vadais hot and serve immediately.
- 1 cup Banana Blossom, cleaned
- 1/2 cup chana dal
- 1/2 teaspoon cumin seeds
- 1/2 teaspoon fennel seeds
- 2 dried red chillies
- 1/2 inch ginger
- 6 cloves garlic
- 2 onions, chopped
- 4 sprigs coriander leaves, chopped
- 2 sprigs curry leaves, chopped
- 2 green chillies, chopped
- a pinch of asafoetida
- 3/4 teaspoon salt
- Vegetable oil to deep fry
- Soak the chana dal in water for 2 hours.
- Take a mixie and add in the cumin, fennel seeds, dried red chillies, ginger and garlic. Add a couple of tablespoon of the soaked chana dal and grind to a coarse paste.
- Once the masala is coarsely ground, add drained chana dal on top of it and grind again. Please do not add water while grinding. Its very important. Pulse several times if necessary.
- Now add the banana blossom to the mixie and grind again. If you do not have a heavy duty mixie, chop the banana blossoms before adding.
- Remove the ground batter to a bowl and add in the chopped onions, coriander leaves, curry leaves, green chillies, a pinch of asafoetida and the salt. Mix well to combine.
- Mix well and check for seasoning. Add extra salt if necessary. Form the vadai. Take a small lime size batter in hand and make a ball. Make small balls. Remember that smaller balls makes for crispier vadai’s. Gently flatten it on the hands. Gather the edges to smoothen. The more you flatten, the more crispier the vadais.
- Gently lower the vadais in hot oil and cook the vadai on both sides until golden brown. Drain on paper towel.
- Serve immediately.
- Author: Kannamma - Suguna Vinodh
- Prep Time: 2 hours
- Cook Time: 15 mins
- Category: Appetizer
- Cuisine: Tamilnadu
Serve hot to your family.
