Are you tired of the same old recipes and craving a burst of flavors? Look no further! In this article, we have an exciting culinary adventure lined up for you with the recipe for Mexican Rice Stuffed Peppers.
This dish is a delightful combination of spicy chiles and Mexican rice, bringing together the best of both worlds. Whether you’re a fan of Mexican cuisine or simply love exploring new flavors, this recipe is a must-try.
Ingredients
4 large Poblano or Anaheim peppers
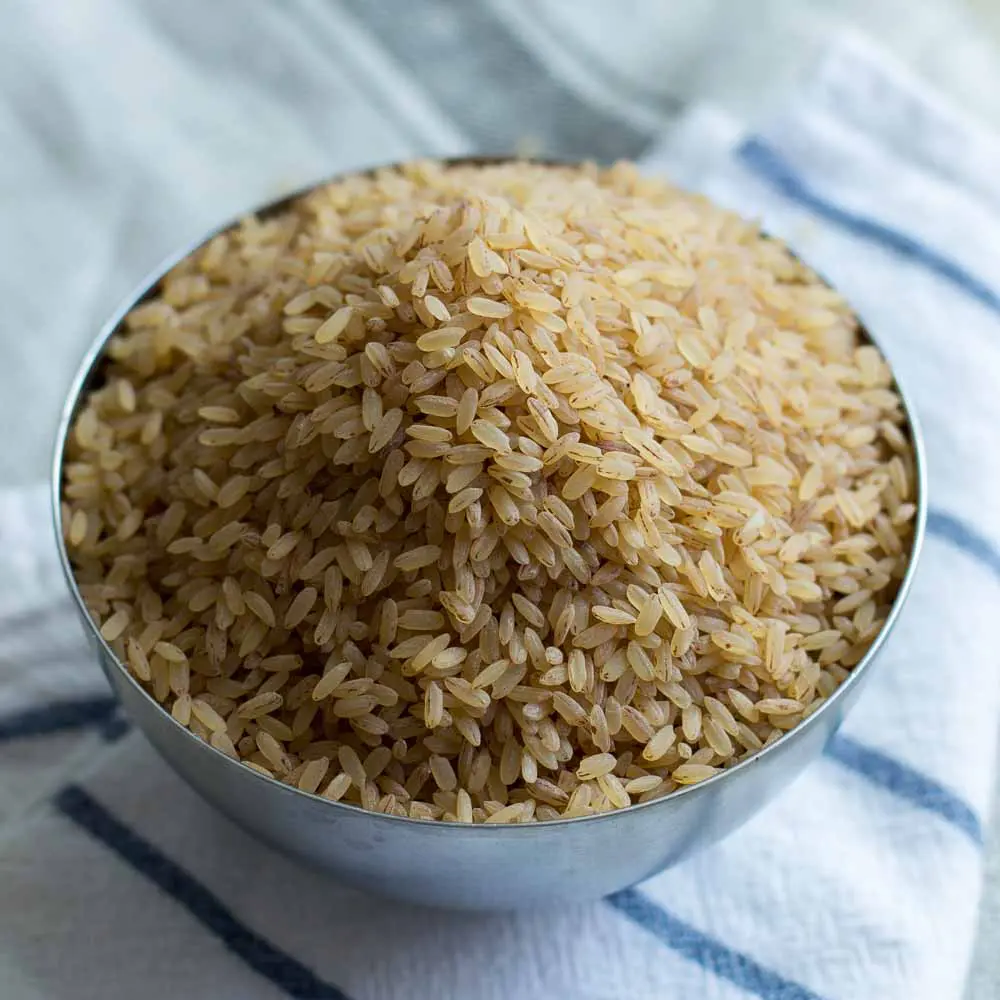
2 cups cooked Mexican rice (using Minute Rice’s Mexican Rice recipe for extra flavor)
1 cup shredded cheese
1/2 cup all-purpose flour
4 eggs, separated
1/2 teaspoon salt
Oil for frying
Instructions
Step 1
Preheat the broiler in your oven. Place the whole peppers on a baking sheet and broil them until the skin becomes charred and blistered, turning them occasionally for even roasting.
Step 2
This process usually takes about 5-7 minutes. Once charred, transfer the peppers to a plastic bag and let them steam for 10 minutes. This will make it easier to remove the skin.
Step 3
After steaming, carefully peel the skin off the peppers. Make a small slit along the length of each pepper and remove the seeds, taking care not to tear the peppers.
Step 4
In a bowl, combine the cooked Mexican rice and shredded cheese. Mix well to ensure the cheese is evenly distributed throughout the rice.
Step 5
Stuff each pepper with the rice and cheese mixture, being careful not to overstuff them. Close the opening of the peppers with toothpicks to secure the filling.
Step 6
In a separate bowl, whisk the egg whites with salt until stiff peaks form. In another bowl, lightly beat the egg yolks.
Step 7
Heat oil in a deep pan or skillet over medium-high heat. While the oil is heating, gently dip each stuffed pepper into the flour, ensuring they are evenly coated. Shake off any excess flour.
Step 8
Next, dip the floured peppers into the beaten egg yolks, coating them thoroughly. Finally, carefully roll each pepper in the beaten egg whites, making sure they are fully covered.
Step 9
Place the coated peppers in the hot oil, one at a time, and fry until they turn golden brown on all sides. This process usually takes about 5-6 minutes. Remove the peppers from the oil and drain them on a paper towel to remove excess oil.
Step 10
Serve the Chiles Rellenos de Arroz Mexicano hot with your favorite salsa, guacamole, or sour cream on the side. These delicious stuffed peppers can be enjoyed as a main course or as a side dish alongside refried beans or a fresh green salad.
Cooking tips
- If you prefer a spicier version, you can use spicier peppers like jalapeños or serranos instead of Poblano or Anaheim peppers.
- Experiment with different types of cheese to add your own twist to the recipe. Cheddar, Pepper Jack, or even crumbled Queso Fresco can be delicious alternatives.
- For a healthier alternative, you can bake the stuffed peppers in the oven at 375°F (190°C) for about 20-25 minutes, or until the cheese is melted and the peppers are tender.
Mexican Rice the secret ingredient
At the core of this tantalizing recipe lies the secret ingredient : Mexican Rice. To truly elevate the flavors and authenticity of your Mexican Rice Stuffed Peppers, we recommend using the renowned recipe for Mexican Rice from Minute Rice.
Their recipe guarantees perfectly cooked rice infused with aromatic spices and savory goodness. You can find the detailed recipe here . The Mexican Rice will serve as the perfect companion to the spicy chiles, adding a delightful texture and enhancing the overall taste of the dish.
Tips for Making the Perfect Mexican Rice Stuffed Peppers
To ensure your Mexican Rice Stuffed Peppers turn out absolutely delicious, here are some tried-and-true tips to guide you through the cooking process:
Choose the Right Chiles
Opt for larger chiles such as Poblano or Anaheim peppers, as they offer a milder heat and a slightly sweet flavor. These chiles are ideal for stuffing and complement the other ingredients perfectly.
Roasting the Chiles
Roasting the chiles is a crucial step to enhance their flavor and make them easier to peel. You can do this by placing them directly over an open flame or under the broiler until the skin is charred and blistered.
Stuffing the Chiles
Once the chiles are peeled, make a small incision to remove the seeds , ensuring you maintain the chiles’ structural integrity.
Batter and Frying
For that irresistible crispy exterior, coat the stuffed chiles in a light and airy batter made from beaten egg whites. This will give the dish a delightful texture and keep the filling intact .
Serving Suggestions
Once your Mexican Rice Stuffed Peppers are perfectly cooked, it’s time to plate them up! Consider serving them with a side of zesty salsa, creamy guacamole, or tangy sour cream.
Benefits of Mexican Rice Stuffed Peppers
Beyond their mouthwatering flavors, Mexican Rice Stuffed Peppers offer several benefits that make them a fantastic addition to your culinary repertoire:
Rich in Flavor: The combination of the smoky, spicy chiles with the savory and aromatic Mexican Rice creates a symphony of flavors that will have your taste buds dancing with delight.
Nutritional Value: Chiles are not only packed with flavor but also offer numerous health benefits. They are rich in vitamins A and C, as well as antioxidants, which help boost the immune system and promote overall well-being.
Versatility: Mexican Rice Stuffed Peppers can be enjoyed as a standalone main course or as a side dish. They are perfect for family dinners, potlucks, or even a festive gathering with friends.
Cultural Experience: By preparing and savoring Mexican Rice Stuffed Peppers , you’re not just indulging in a delicious meal but also immersing yourself in the vibrant culinary traditions of Mexico.
Mexican Rice Stuffed Peppers is an extraordinary dish that brings together the bold and vibrant flavors of Mexico. With the secret ingredient of Minute Rice’s Mexican Rice, you can take this recipe to the next level and impress your family and friends with a truly authentic and delicious meal.
Explore the wonders of Mexican cuisine, savor the bold flavors , and create moments of culinary delight with Mexican Rice Stuffed Peppers.
Article contributed by Anna
Are you looking for a meal that will not only satisfy your hunger but also leave you craving for more? Look no further! In this recipe , we will guide you through the process of creating a mouthwatering baked salmon with pesto gnocchi.
This combination of tender salmon fillets and flavorful pesto gnocchi is sure to impress your loved ones and elevate your dining experience. So, let’s dive into the world of flavors!
Ingredients
For the Baked Salmon
2 fresh salmon filets
2 tablespoons of high-quality olive oil
Salt and freshly ground black pepper to taste
Lemon wedges for garnish
For the Pesto Gnocchi:
1 pound of soft and pillowy gnocchi (if you’re looking for more gnocchi recipes, check out these delicious Gnocchi recipes )
1 cup of fresh basil leaves, carefully packed
1/4 cup of pine nuts, lightly toasted
2 cloves of garlic, minced
1/2 cup of freshly grated Parmesan cheese
1/3 cup of extra-virgin olive oil
Salt and freshly ground black pepper to taste
Instructions
Baked Salmon
Step 1
Preheat your oven to 400°F (200°C) to ensure that your salmon cooks evenly and to perfection.
Step 2
Take your salmon filets and place them on a baking sheet lined with parchment paper. This will prevent the salmon from sticking and make clean-up a breeze.
Step3
Drizzle a generous amount of high-quality olive oil over the salmon filets, making sure to coat both sides evenly. This will help to seal in the moisture and enhance the flavors.
Step 4
Season the salmon with a pinch of salt and freshly ground black pepper according to your taste preferences. This simple seasoning will bring out the natural flavors of the fish.
Step 5
Carefully place the baking sheet with the salmon into the preheated oven and let it bake for approximately 12-15 minutes. The salmon should easily flake with a fork when it’s cooked to perfection.
Step 6
Once cooked, remove the salmon from the oven and allow it to rest for a few minutes. This resting period will help the flavors to settle and the juices to redistribute throughout the fish.
Step 7
Serve the baked salmon filets on a plate, garnishing them with fresh lemon wedges for an extra burst of citrusy flavor.
Pesto Gnocchi
Begin by cooking the soft and delicate gnocchi according to the instructions on the package. This step is crucial to ensure that the gnocchi achieves the perfect texture.
Step 1
While the gnocchi is cooking, let’s prepare the star of our show, the pesto sauce. In a food processor or blender, combine the fresh basil leaves, lightly toasted pine nuts, minced garlic, freshly grated Parmesan cheese, and extra-virgin olive oil.
Step 2
Blend all the ingredients together until they form a smooth and creamy pesto sauce. Take a moment to inhale the aromatic and vibrant scent that fills your kitchen.
Step 3
Once the gnocchi is cooked and drained, heat a drizzle of olive oil in a large skillet over medium heat. Add the gnocchi to the skillet and sauté them for a few minutes until they turn lightly golden.
Step 4
Now, it’s time to introduce the star of our show. Pour the prepared pesto sauce over the sautéed gnocchi, ensuring that every gnocchi is evenly coated with the vibrant green sauce. Gently toss the gnocchi in the skillet, allowing the flavors to meld together beautifully.
Step 5
Continue cooking the gnocchi in the pesto sauce for an additional 2-3 minutes, allowing the flavors to infuse and the gnocchi to soak up the delicious sauce.
Step 6
Once the pesto gnocchi is heated through and well combined, remove the skillet from the heat and prepare to plate your masterpiece.
A little about salmon
Salmon, the backbone of our baked salmon with pesto gnocchi recipe , has a fascinating tale that begins in the vast and untamed waters of rivers and oceans. This incredible fish has captured the hearts and palates of food enthusiasts around the world, thanks to its exceptional flavor and unique culinary characteristics.
Born in the freshwater rivers, salmon begin their lives as tiny, fragile eggs nestled in the riverbed. With time, they hatch into alevins, a stage when they still rely on their yolk sac for sustenance. Gradually, they develop into fry, r eady to explore their surroundings and embark on a remarkable journey.
Tips and Secrets
Marinating the salmon before baking can add an extra layer of flavor. Consider marinating it in a mixture of olive oil , lemon juice, minced garlic, and your favorite herbs for 30 minutes before cooking.
Cooking the gnocchi to perfection is crucial . Be sure to follow the instructions on the package and taste-test to achieve the desired texture. Overcooking can result in mushy gnocchi, while undercooking can leave them too firm.
For a vegetarian twist, you can replace the salmon with a medley of roasted vegetables such as bell peppers, zucchini, and eggplant. Simply season the veggies with olive oil, salt, and pepper, and roast them until tender and slightly caramelized.
Benefits
This delightful recipe offers a range of benefits that go beyond satisfying your taste buds:
Nutritious Salmon: Salmon is not only delicious but also a great source of omega-3 fatty acids, which can contribute to heart health and reduce inflammation in the body.
Wholesome Gnocchi: Gnocchi, made from potatoes or other starchy ingredients, provides a good source of carbohydrates for energy. It also contains essential vitamins and minerals.
Pesto Power: The basil in the pesto sauce offers antioxidant properties that can help protect your cells from oxidative stress. Additionally, pine nuts provide healthy fats and important nutrients.
The baked salmon with pesto gnocchi recipe is a perfect harmony of flavors and textures that will elevate your culinary skills and leave your taste buds craving for more. By following the simple instructions and utilizing the tips and secrets shared here , you can create a restaurant-quality dish in the comfort of your own kitchen.
Be sure to explore the world of gnocchi recipes for more delicious variations and ideas. Whether you’re a seasoned chef or a beginner, this recipe is guaranteed to impress and satisfy.
So, put on your apron, gather your ingredients, and embark on a culinary adventure that will delight your senses and bring joy to your dining table.
Article contributed by Anna
