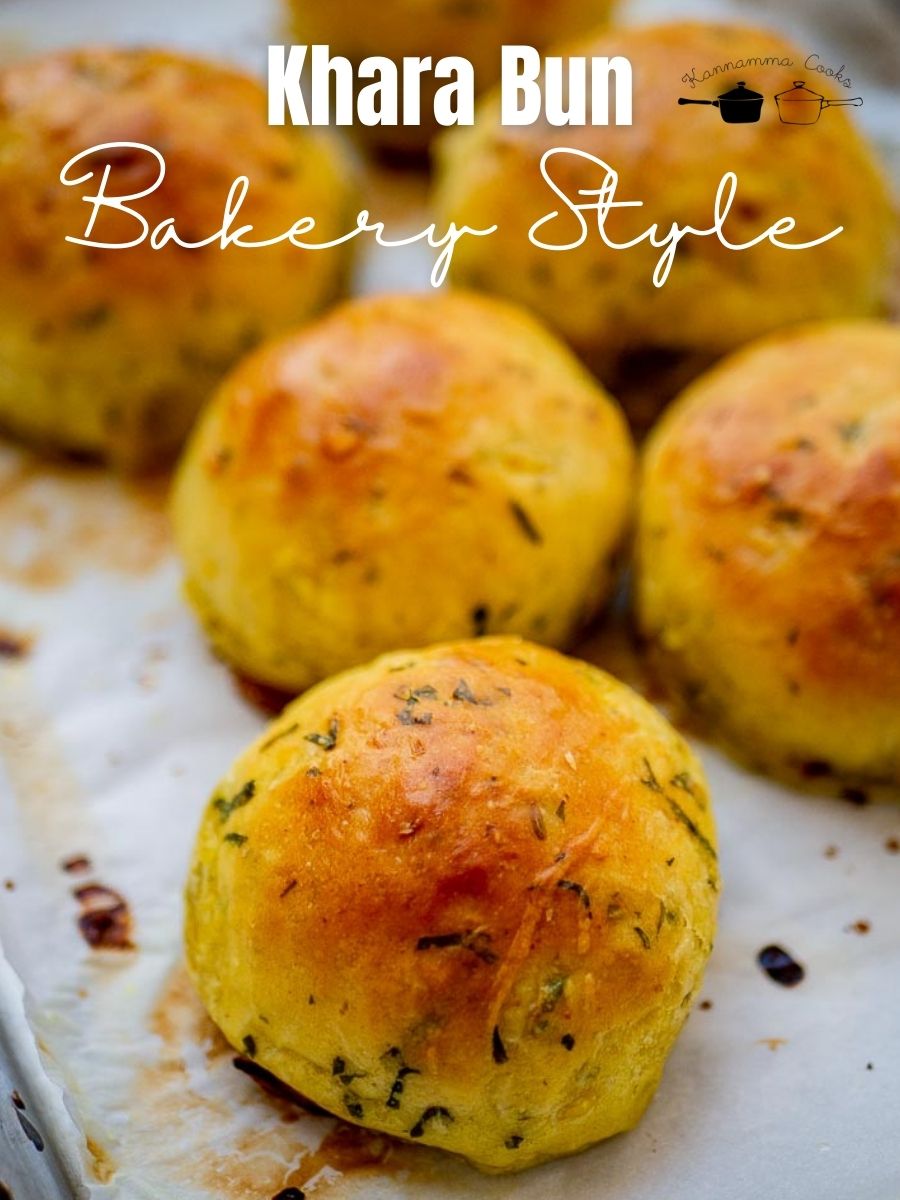
Recipe for Bengaluru bakery style Khara Buns made from scratch at home. Savoury buns spiced with Indian aromatics and chillies. Recipe with video.
Khara Bun is a local Bengaluru Bakery specialty thats a favorite evening pick me up along with tea or coffee. It makes for a quick snack too. “Khara” means savory / spicy and the bun is spiced with aromatics and chillies. This bun can be easily prepared at home and here is the recipe for Bengaluru bakery style Khara Buns.
Ingredients you can buy online for making this recipe
Plastic Bench Scraper https://amzn.to/3Ixa6lQ Instant Dry Yeast https://amzn.to/3fW9hX7 Parchment Paper https://amzn.to/3AtqmRV Baking Sheet Pan https://amzn.to/3FVM7uN Pastry Brush https://amzn.to/3r4utkt Prep Bowls https://amzn.to/3tV4ptQ
Here is the video of how to make Khara Buns at home
Ingredients For The Khara Masala
2 teaspoon peanut oil 1/4 teaspoon cumin seeds 2 sprigs curry leaves, finely chopped 2 tablespoon onion, finely chopped 1/2 teaspoon turmeric powder 1/4 teaspoon dried chilli flakes 1 teaspoon green chillies, minced 2 tablespoon coriander leaves, finely chopped
Other Ingredients
1/2 cup warm water 1 teaspoon sugar 1.5 teaspoon active dry yeast 1/4 cup warm milk 1.5 cups / 210 grams maida / all purpose flour 1/2 teaspoon salt 1/2 teaspoon peanut oil 2 tablespoon milk – for brushing buns
Extras
3 teaspoon ghee – for final brushing Flour for dusting and kneading
For the Khara Masala
Heat oil in a small kadai and add in the cumin seeds, curry leaves and the onions. Saute for a few seconds. Add in the turmeric powder, chilli flakes and the green chillies. Saute for a few seconds more. Finally add in the coriander leaves and saute till the leaves are wilted. Set aside.
For the Dough
Form a dough and knead the dough by hand for a good five minutes. The dough will be very soft and will stick to the hands. Dust the dough with little flour while kneading. But do not add too much flour while kneading as the dough will become dry and the buns will become very hard. Resist your temptation to add flour while kneading. Do not add more than a couple of tablespoons of flour while kneading. The dough will come together and start to stick less after kneading. Once the dough is smooth, transfer to an oiled bowl and cover with a plastic wrap or a shower cap.
Let the dough rise until doubled. It will take anywhere between 45 minutes to an hour depending on how humid the place you live is. Once the dough is doubled, remove the dough from the bowl and gently deflate it and knead briefly for a few seconds. Dust it with a sprinkle of flour to avoid the dough from sticking to the bench.
Divide the dough into eight equal pieces. Form each dough into a tight ball. Refer to the video as to how each ball is formed. Its important that there are no cracks while forming the dough else the final bun will show these cracks.
Let the balls rise on a sheet pan for 15-20 minutes.
Brush the buns evenly with milk.
In the mean time preheat the oven to 200 degree Celsius / 390 degree Fahrenheit for about 10-15 minutes. Bake the buns for 20 minutes.
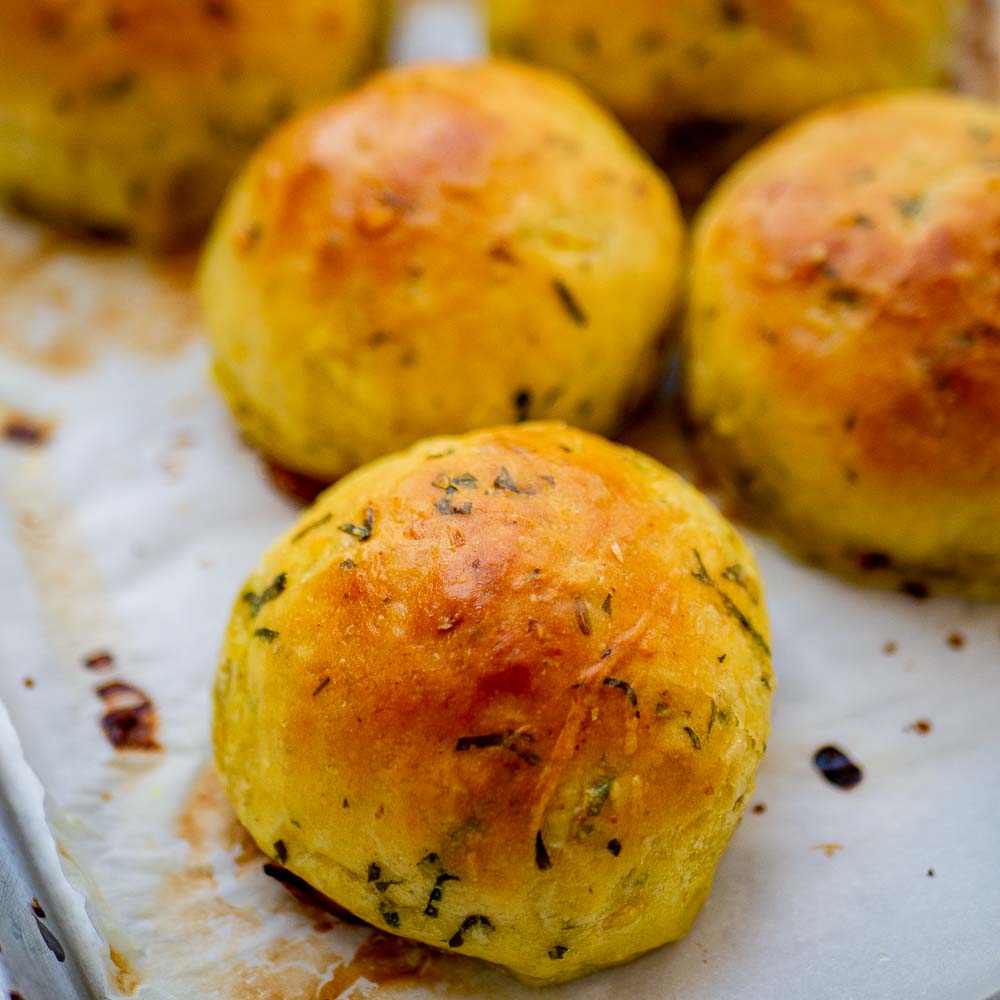
Remove the buns and brush the buns with ghee / melted butter while its still hot.
Enjoy!!
- Author: Suguna Vinodh
- Prep Time: 60m
- Cook Time: 20m
Ingredients For The Khara Masala
2 teaspoon peanut oil 1/4 teaspoon cumin seeds 2 sprigs curry leaves, finely chopped 2 tablespoon onion, finely chopped 1/2 teaspoon turmeric powder 1/4 teaspoon dried chilli flakes 1 teaspoon green chillies, minced 2 tablespoon coriander leaves, finely chopped
Other Ingredients
1/2 cup warm water 1 teaspoon sugar 1.5 teaspoon active dry yeast 1/4 cup warm milk 1.5 cups / 210 grams maida / all purpose flour 1/2 teaspoon salt 1/2 teaspoon peanut oil 2 tablespoon milk – for brushing buns
Extras
3 teaspoon ghee – for final brushing Flour for dusting and kneading
For the Khara Masala
Heat oil in a small kadai and add in the cumin seeds, curry leaves and the onions. Saute for a few seconds. Add in the turmeric powder, chilli flakes and the green chillies. Saute for a few seconds more. Finally add in the coriander leaves and saute till the leaves are wilted. Set aside.
For the Dough
Form a dough and knead the dough by hand for a good five minutes. The dough will be very soft and will stick to the hands. Dust the dough with little flour while kneading. But do not add too much flour while kneading as the dough will become dry and the buns will become very hard. Resist your temptation to add flour while kneading. Do not add more than a couple of tablespoons of flour while kneading. The dough will come together and start to stick less after kneading. Once the dough is smooth, transfer to an oiled bowl and cover with a plastic wrap or a shower cap.
Let the dough rise until doubled. It will take anywhere between 45 minutes to an hour depending on how humid the place you live is. Once the dough is doubled, remove the dough from the bowl and gently deflate it and knead briefly for a few seconds. Dust it with a sprinkle of flour to avoid the dough from sticking to the bench.
Divide the dough into eight equal pieces. Form each dough into a tight ball. Refer to the video as to how each ball is formed. Its important that there are no cracks while forming the dough else the final bun will show these cracks.
Let the balls rise on a sheet pan for 15-20 minutes.
Brush the buns evenly with milk.
In the mean time preheat the oven to 200 degree Celsius / 390 degree Fahrenheit for about 10-15 minutes. Bake the buns for 20 minutes.
Remove the buns and brush the buns with ghee / melted butter while its still hot.
Enjoy!!
- Author: Suguna Vinodh
- Prep Time: 60m
- Cook Time: 20m
Find it online : https://www.kannammacooks.com/khara-bun/
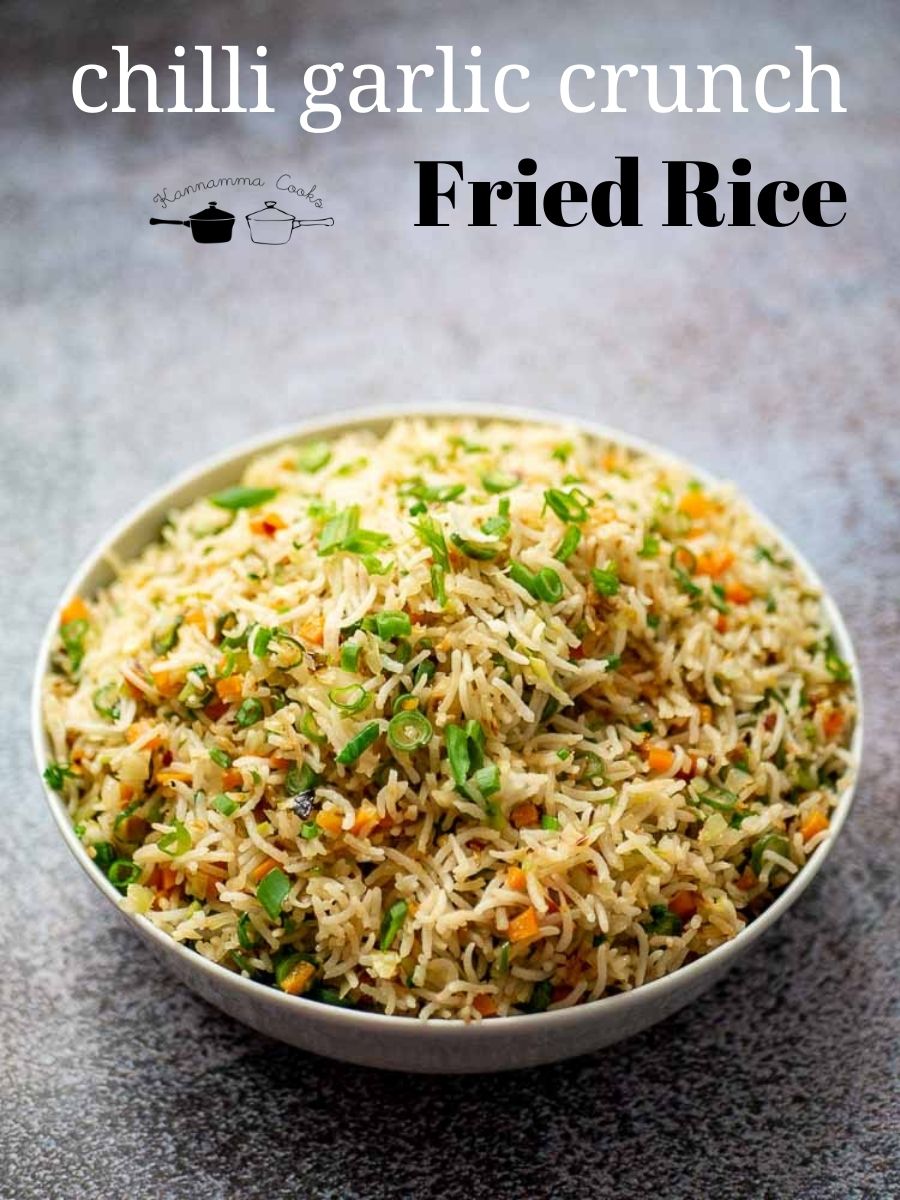
Recipe for garlic and chilli loaded fried rice made with veggies and garlic crunch. Recipe with video.
This is a garlic lover’s ultimate fried rice recipe. Minced garlic and chillies are fried in oil on a low flame until crisp and finally added to rice. This fried rice is very fragrant and carries a punch.
This recipe has three steps 1. cooking the rice 2. making the Chilli Garlic Crunch 3. making the fried rice
Rice – I cook the rice in the pressure cooker. Soaking the rice before cooking is one of the essential steps that ensures that the rice does not turn mushy while cooking. The quality of rice that one uses is very important for the final texture of the dish. I use Daawat or Lal Qila Basmati rice as I feel they cook soft yet don’t get mushy.
Cooking the veggies – High heat is very important in Chinese cooking. Chinese restaurants use heavy burners that can cook and slightly char the veggies and meat in seconds. Even though we cannot replicate that at home, keep the flame of the gas stove to the maximum it will go. Cooking the veggies on high heat will give it a slight char and flavor that’s desirable.
Chilli garlic crunch – The chilli garlic crunch can be made ahead, bottled and stored in the refrigerator. It stays good for weeks. You can also use this while making stir-fry, as a condiment to serve with momos, steamed veggies etc..
Here are some of the products you can buy online to make this recipe
Kikkoman Soy Sauce https://amzn.to/32vCkhp Carbon Steel Wok https://amzn.to/3fT0Yvl Basmati Rice https://amzn.to/3AwYtrW Red Chilli Flakes https://amzn.to/3KFLxos
Here is the video of how to make Chilli Garlic Crunch Fried Rice
To cook rice
1.5 cups basmati rice 2.25 cups water 1/2 teaspoon salt
For making chilli garlic crunch
3 tablespoon peanut oil 1 bay leaf 1 piece cinnamon 5 cloves 2 star anise 1/3 cup garlic 2 teaspoon red chilli flakes 1.5 tablespoon soy sauce 1 teaspoon sugar
For making fried rice
1 teaspoon peanut oil 1/2 cup carrots, finely chopped 1/2 cup green beans, finely chopped 2 cups cabbage, finely chopped 1/2 teaspoon salt 1/4 cup green capsicum, finely chopped 1/4 cup spring onions, finely chopped 1 teaspoon unsalted butter
Rice – Wash and soak the rice in water for about 15 minutes. Drain the rice and add it to a pressure cooker. Add in the water and the salt. I use 1 rice : 1.5 water for cooking basmati rice. Cook for about 2 whistles. After the said whistles, remove from heat and let the pressure settle on its own. Open the cooker and fluff up the rice. Transfer the rice to plates and let it cool down. Set aside.
Crunch – Heat oil on a low flame. Garlic crunch needs to be made on a low flame. Add in the spices and the minced garlic. Saute on a low flame for about 3-4 minutes till it’s lite golden in colour. Add in the red chilli flakes and saute for a few seconds. Finally add in the soy sauce and the sugar. Saute for a minute more. Remove from heat and set aside to cool. Discard the big spices like bay leaf, cinnamon etc..
Making the fried rice – Heat a teaspoon of oil in a wok. Add in the finely chopped vegetables. Saute on a high flame for about 4-5 minutes. Once the veggies are half cooked, add in the salt and the casicum. We already salted the rice and the crunch has soy sauce that is salty. So go easy on the salt. We can always adjust the seasoning later if need be.
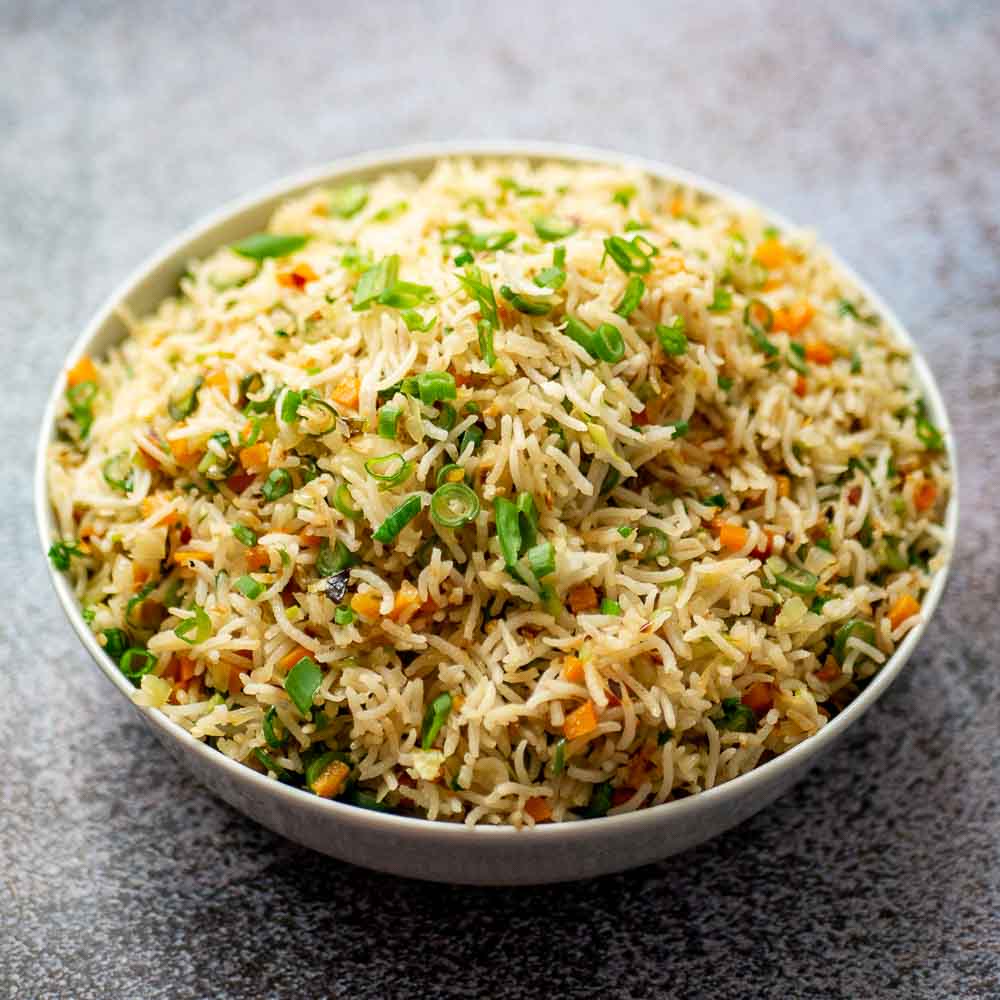
Add in the rice, garlic crunch, spring onions and the butter. Stir well. The little butter will make the rice very velvety.
Spicy chilli garlic crunch fried rice is ready.
- Author: Suguna Vinodh
- Prep Time: 15m
- Cook Time: 30m
