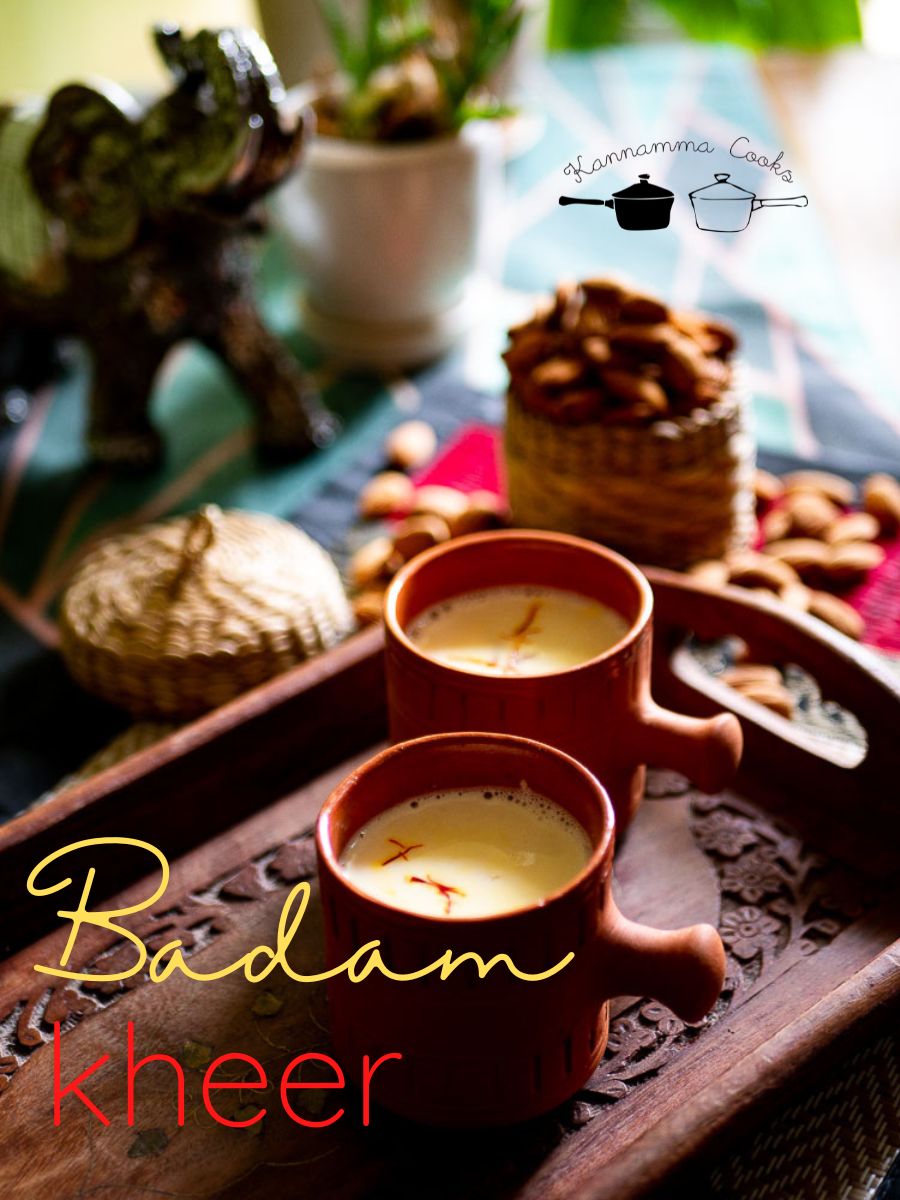
Recipe for Badam Kheer made from scratch. No artificial colours added. Recipe with video.
Here is an easy summer dessert that can be made effortlessly at home and this chilled dessert is a favorite among kids. The richness from the almonds and milk along with the aroma of the spices makes this kheer a winner. It’s a very simple recipe and can be put together in under 60 minutes.
Here are the things you can buy online for making this recipe Microplane Grater https://amzn.to/3Iell3C Kashmiri Saffron https://amzn.to/3aeu2y2
Here is the video of how to make Badam Kheer
For making Almond Paste
1/2 cup almonds 1/2 cup milk hot water to soak almonds
For Badam Kheer
1 liter full fat milk 1 pinch saffron 1/4 teaspoon cardamom powder 1 pinch nutmeg, grated 1/3 cup sugar pinch of turmeric (optional)
First we will get the almonds prepped and ready for the recipe. Add about half a cup of almonds to a bowl. These are raw almonds. Do not use roasted almonds for this recipe. Soak the almonds in hot water for about 30 minutes. Soaking the almonds will help peel the skin easily. The almonds should be easy to peel after soaking. Just press the almonds and the peel should come off easily. Peel the skin of all the almonds and set aside. You can store the almonds in the freezer at this stage and use it whenever required. Peeled almonds come in handy for a lot of recipes. Add the peeled almonds to a blender. Add about half a cup of milk to it. Grind this to a coarse paste. It’s important that the paste is ground to a coarse texture. It should resemble the texture of beach sand. Do not grind to a smooth paste. Set aside.
Now let’s make badam kheer. Add about one litre of milk to a heavy bottomed pan. I like to use full fat milk for making milk based desserts. Full cream milk is preferred for this recipe. Full fat milk will give a nice creamy texture to our finished badam kheer. So always use full fat milk while making Indian desserts. After all, fat is equal to flavour.
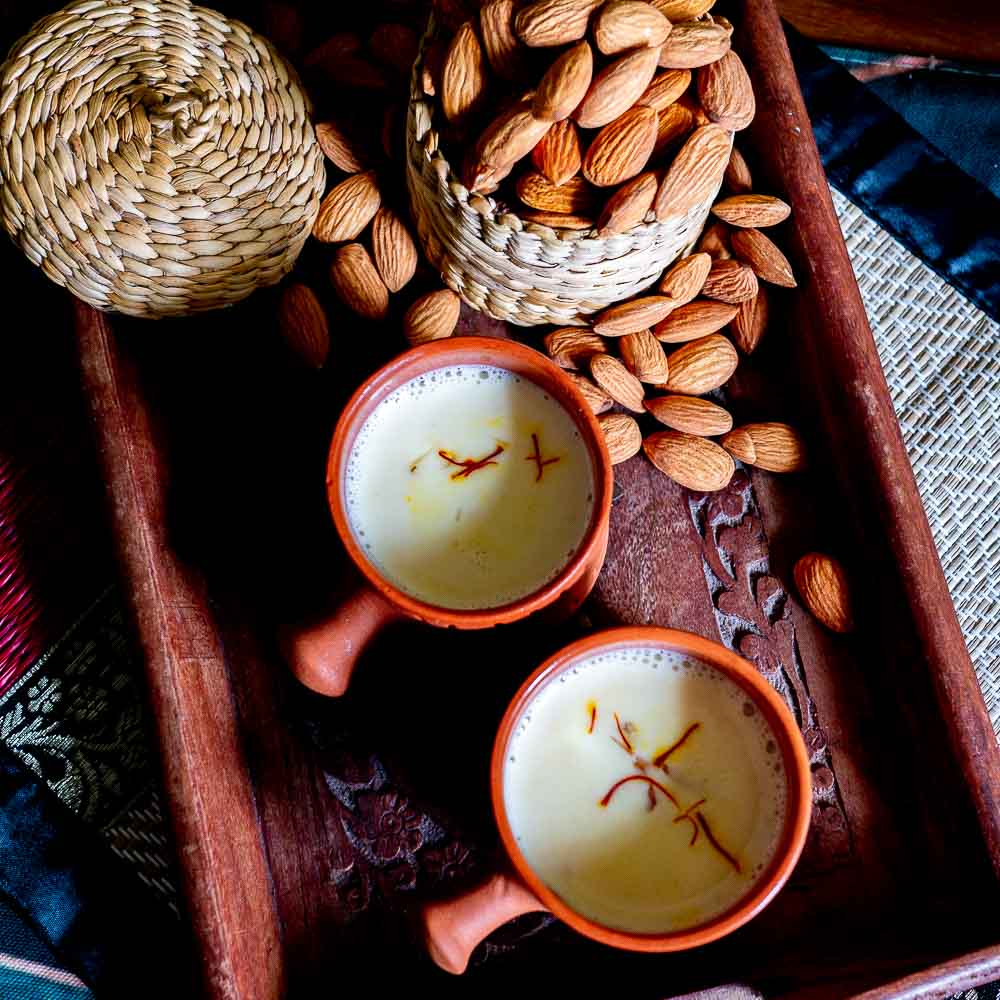
Bring the milk to a slow boil. Add in a pinch of saffron to the milk. Mix well to combine. The saffron will stain the milk to a faint yellow colour. If you like your badam kheer to be a little brighter, add a pinch of turmeric. Do not add more or the flavour will change. Try to avoid artificial coloring as much as possible. This badam kheer will not be as bright as the ones you get in restaurants as we have not added any artificial food coloring today. Add a little cardamom powder for flavour and grate a dash of nutmeg using a microplane grater. Use very little nutmeg. Nutmeg has a tendency to overpower, so use just a pinch of it. Mix everything well to combine and let it cook for five minutes. Keep stirring else the milk will scorch at the bottom. After five minutes of cooking, add in the sugar. I used one third cup of sugar for this recipe today. If you like your badam kheer to be sweeter, add up to half a cup of sugar. Mix well to combine. The milk will become a little watery after adding the sugar. Cook the mixture for about 10 minutes. Now add in the ground almond paste and mix well. Take some milk and add it to the blender and get all the almond paste sticking to the sides of the jar into the pan. Mix well to combine. Cook this mixture for a couple of more minutes. Taste the milk at this stage and adjust the sugar if needed. Our delicious badam kheer is ready. Once the badam kheer is cool, refrigerate for atleast six hours and serve chilled.
Notes
Tip: Here is a small tip while making milk based desserts. Try to avoid wooden spatulas and use only metal spatulas. The wooden spatulas may have some food stains, masalas etc… sticking to it. However good you clean, it might still be there. There is a chance that the milk might curdle while using a wooden spatula. So always avoid wooden spatula while making milk based desserts. So make sure to use only stainless steel spatulas and cookware for making milk based dishes at home.
- Author: Suguna Vinodh
- Prep Time: 30m
- Cook Time: 30m
For making Almond Paste
1/2 cup almonds 1/2 cup milk hot water to soak almonds
For Badam Kheer
1 liter full fat milk 1 pinch saffron 1/4 teaspoon cardamom powder 1 pinch nutmeg, grated 1/3 cup sugar pinch of turmeric (optional)
First we will get the almonds prepped and ready for the recipe. Add about half a cup of almonds to a bowl. These are raw almonds. Do not use roasted almonds for this recipe. Soak the almonds in hot water for about 30 minutes. Soaking the almonds will help peel the skin easily. The almonds should be easy to peel after soaking. Just press the almonds and the peel should come off easily. Peel the skin of all the almonds and set aside. You can store the almonds in the freezer at this stage and use it whenever required. Peeled almonds come in handy for a lot of recipes. Add the peeled almonds to a blender. Add about half a cup of milk to it. Grind this to a coarse paste. It’s important that the paste is ground to a coarse texture. It should resemble the texture of beach sand. Do not grind to a smooth paste. Set aside.
Now let’s make badam kheer. Add about one litre of milk to a heavy bottomed pan. I like to use full fat milk for making milk based desserts. Full cream milk is preferred for this recipe. Full fat milk will give a nice creamy texture to our finished badam kheer. So always use full fat milk while making Indian desserts. After all, fat is equal to flavour.
Bring the milk to a slow boil. Add in a pinch of saffron to the milk. Mix well to combine. The saffron will stain the milk to a faint yellow colour. If you like your badam kheer to be a little brighter, add a pinch of turmeric. Do not add more or the flavour will change. Try to avoid artificial coloring as much as possible. This badam kheer will not be as bright as the ones you get in restaurants as we have not added any artificial food coloring today. Add a little cardamom powder for flavour and grate a dash of nutmeg using a microplane grater. Use very little nutmeg. Nutmeg has a tendency to overpower, so use just a pinch of it. Mix everything well to combine and let it cook for five minutes. Keep stirring else the milk will scorch at the bottom. After five minutes of cooking, add in the sugar. I used one third cup of sugar for this recipe today. If you like your badam kheer to be sweeter, add up to half a cup of sugar. Mix well to combine. The milk will become a little watery after adding the sugar. Cook the mixture for about 10 minutes. Now add in the ground almond paste and mix well. Take some milk and add it to the blender and get all the almond paste sticking to the sides of the jar into the pan. Mix well to combine. Cook this mixture for a couple of more minutes. Taste the milk at this stage and adjust the sugar if needed. Our delicious badam kheer is ready. Once the badam kheer is cool, refrigerate for atleast six hours and serve chilled.
Notes
Tip: Here is a small tip while making milk based desserts. Try to avoid wooden spatulas and use only metal spatulas. The wooden spatulas may have some food stains, masalas etc… sticking to it. However good you clean, it might still be there. There is a chance that the milk might curdle while using a wooden spatula. So always avoid wooden spatula while making milk based desserts. So make sure to use only stainless steel spatulas and cookware for making milk based dishes at home.
- Author: Suguna Vinodh
- Prep Time: 30m
- Cook Time: 30m
Find it online : https://www.kannammacooks.com/badam-kheer-recipe/
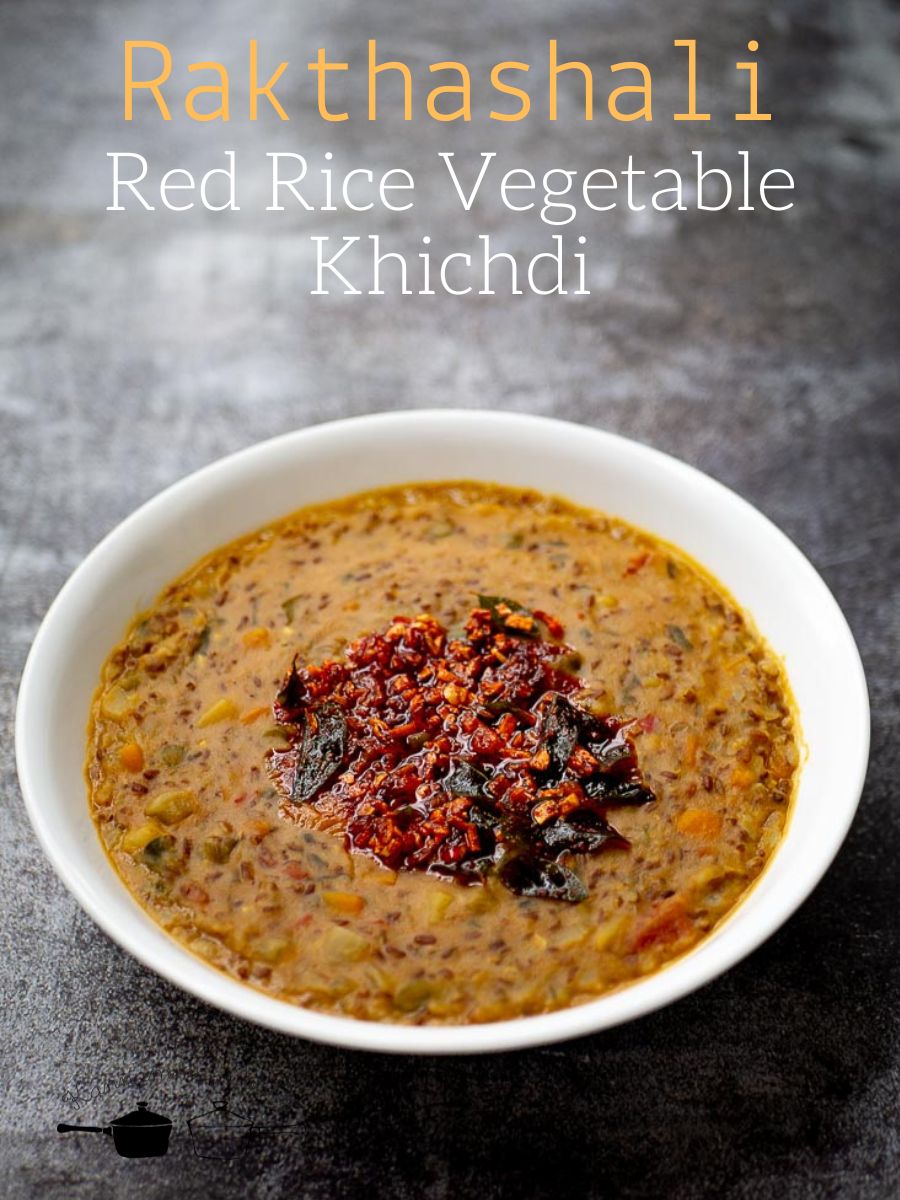
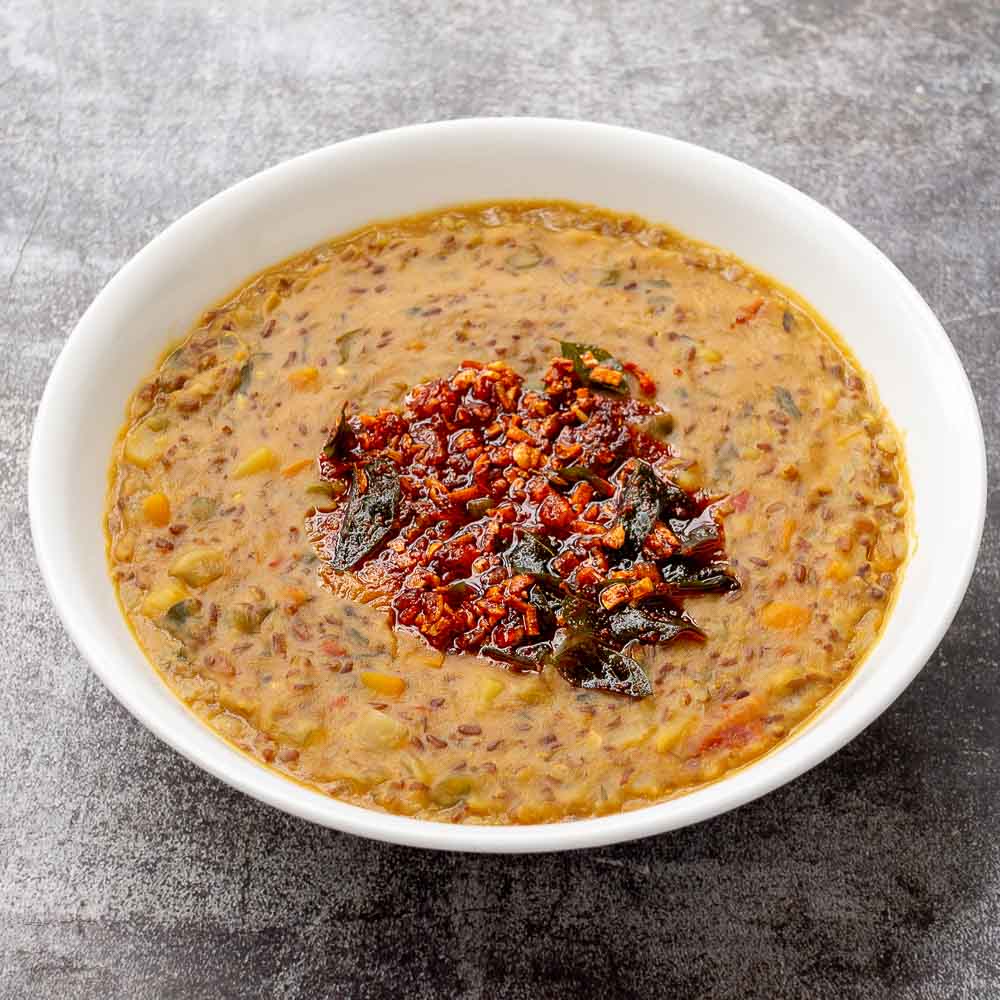
Vegetable loaded khichdi recipe made with unpolished Rakthashali red rice, mixed lentils and spices. This khichdi is a healthy whole grain fiber loaded recipe.
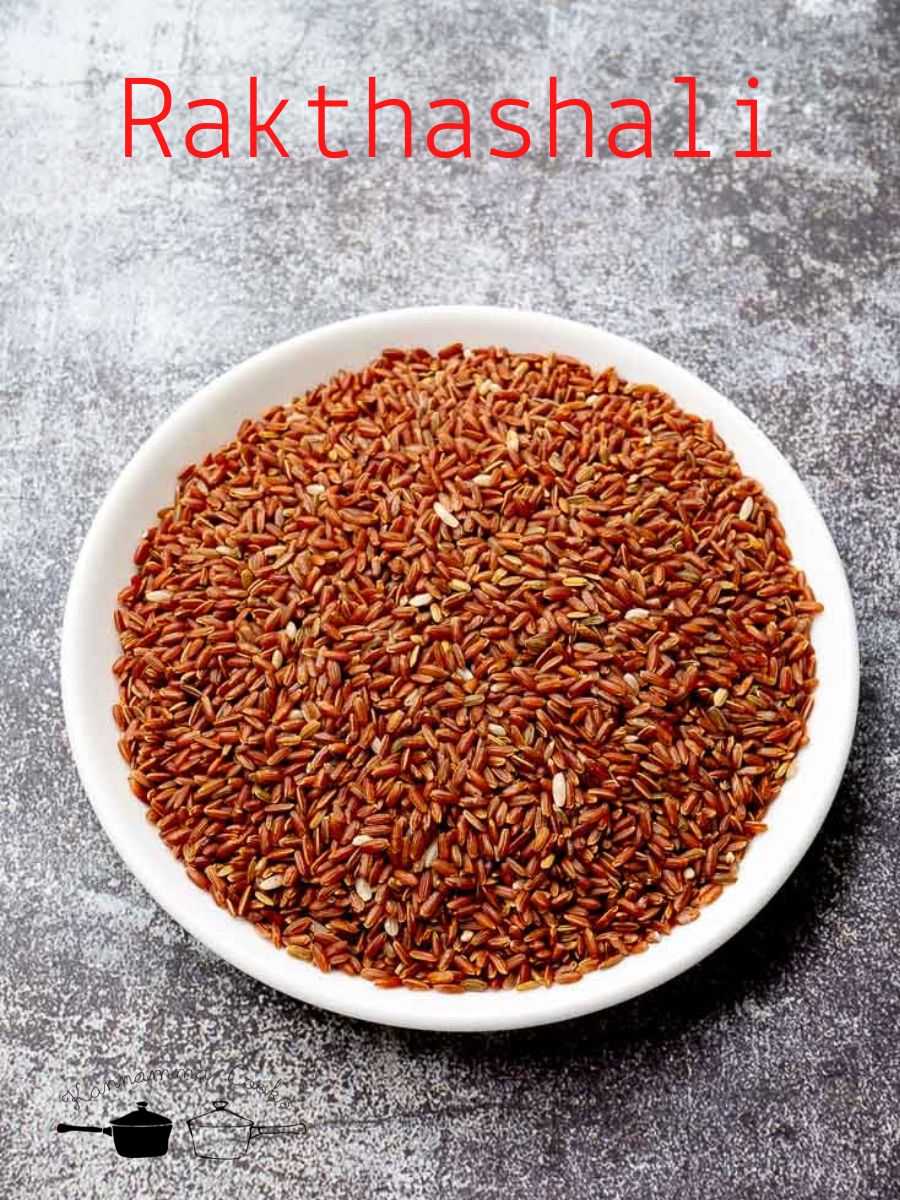
When I was talking to Devi @biobasics recently, something she said stuck with me. “The farmers are ready to cultivate these indigenous varieties of rice – no problem there, but we as consumers are not yet open to eating them. Only if we start eating different varieties of rice, can the indigenous varieties be saved.” Why will a farmer produce something that he cannot sell? It just stuck me so hard that day. The problem with these rice is that it’s new to a lot of us. There are a lot of inhibitions as to whether the family will like the rice, whether the kids will approve, will elders in the family give a thumbs up etc.. If you are reading this post, there is one takeaway for you today. Buy a small quantity of rice to start with. Pick any rice based on its colour or a name that sounds good to you, or something you heard about somewhere… buy 500 grams to start with and make it at home. See how you like it and slowly start building your pantry with these healthy rice varieties. My recent liking is for this Rakthashali Red Rice. This variety has innumerable health benefits. It’s recommended for pregnant women and lactating mothers. This is one of the rarest varieties that is even mentioned in Ayurveda. Charaka Samhita, a text on ayurvedic medicine mentions its healing properties for someone who is anaemic. “Raktha” means blood. Bio Basics considers Rakthashali to be one of the top five rices that they possess.
Here are the things you can buy online for making this recipe Bergner Pressure Cooker 5.5 liters https://amzn.to/3bO1BYn Rakthashali Red Rice https://amzn.to/3bO0rft A2 Cultured Ghee https://amzn.to/3IqHGLv High Curcumin Lakadong Turmeric Powder https://amzn.to/3a99yHh
Here is the video of how to make Rakthashali Red Rice Vegetable Khichdi | Unpolished Red Rice Khichdi with Vegetables | Whole Grain Recipe Print
Main Ingredients
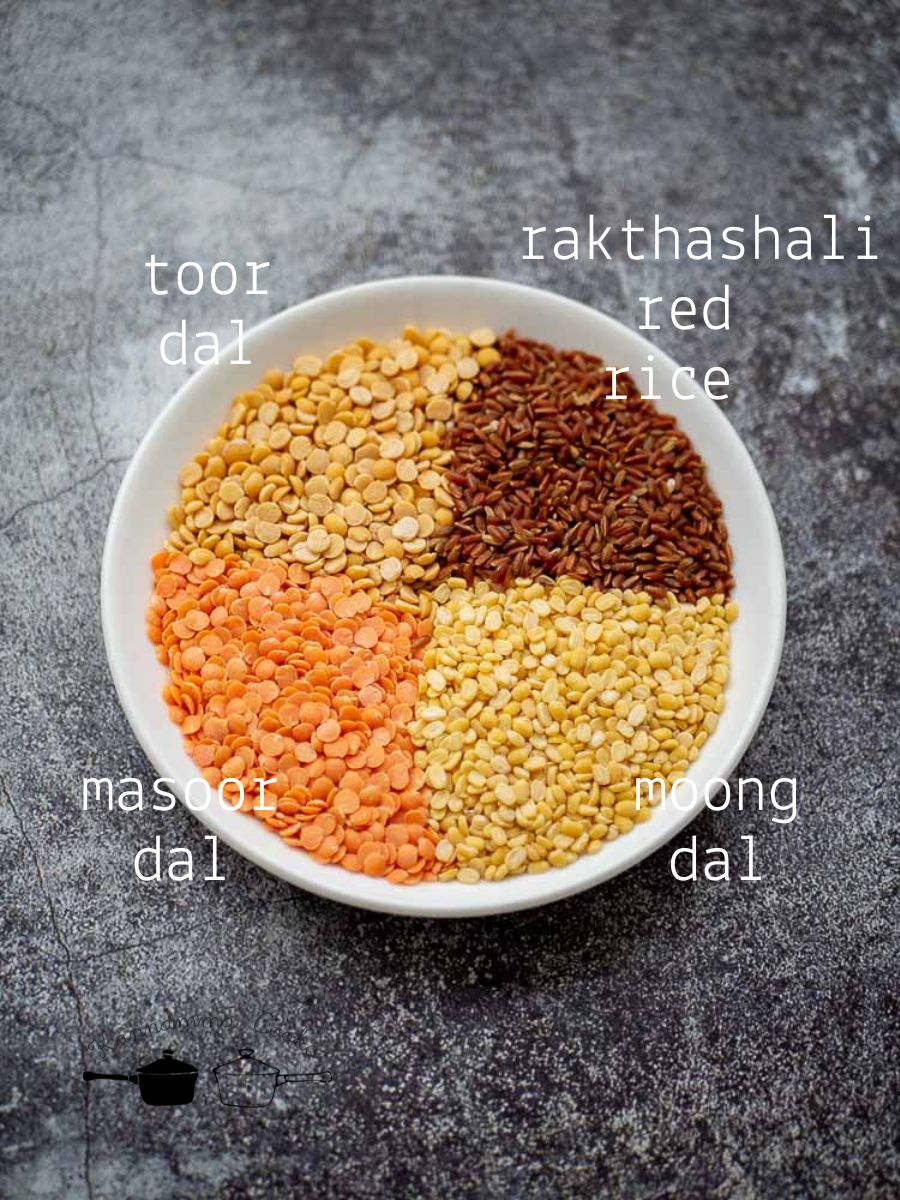
3/4 cup rakthashali rice 1/4 cup moong dal 1/4 cup toor dal 1/4 cup masoor dal 1 tablespoon coconut oil 1/2 teaspoon cumin seeds 4 cloves garlic, finely chopped 1/2 inch ginger, finely chopped 1 sprig curry leaves, chopped 1/4 teaspoon asafoetida 1/2 cup onion, chopped 1 green chilli, chopped 1/2 teaspoon turmeric powder 1/2 teaspoon red chilli powder 1/2 cup tomatoes, chopped 1 teaspoon salt 3 cups mixed vegetables of choice 5 cups water
For Tempering
2 teaspoon ghee 3 cloves garlic, finely chopped 3 shallots, sliced 1 sprig curry leaves 1 teaspoon Kashmiri red chilli powder
I am using rakthashali, a variety of unpolished red rice, for making the khichdi today. Any unpolished red rice or brown rice variety will work for this recipe. Add in about a quarter cup each of moong dal, toor dal and masoor dal. Wash the rice and lentils well a couple of times. If you cannot source red rice, brown rice works perfectly too. Wash and soak the rice and lentil mixture in water for atleast an hour. Soaking the rice is important as unpolished rice needs to be soaked, so they cook to a soft texture. Heat coconut oil in a pressure cooker. Add in little cumin seeds, finely chopped garlic, finely chopped ginger, chopped curry leaves and some asafoetida. Saute for a few seconds so the spices and herbs get toasted in oil. Add the chopped onions to the pan. Add in the chopped green chillies. Saute for a few minutes till the onions are soft. Once the onions are soft, add in the turmeric powder and the red chilli powder. Saute for a few seconds for the spice powders to get roasted in oil. Add in the chopped tomatoes. Add in the salt. Salt will help the tomatoes to cook faster. Saute for a few minutes till the tomatoes are soft and mushy. We will be using about 3 cups of vegetables today. Use whatever you have in your refrigerator. I have used a combination of roughly chopped spinach, chopped carrots, chopped green beans, some potatoes – potatoes add a nice texture and flavour to your khichdi. So definitely, use some potatoes, and finally some chopped radish. The kind of vegetables you use is completely up to you. Add the veggies to the pan and mix well so the masalas coat the veggies evenly. Add in about five cups of water and mix well to combine. After mixing well, wait for the water to come to a slow boil. Once the water comes to a boil, add in the soaked and drained rice and lentil mixture. Mix once. Cover the pressure cooker and add in the weight. Cook for 20 minutes. After the first whistle, reduce the flame to low and cook for the remaining time. Ignore the number of whistles. Cooking on a low flame is important so the khichdi does not scorch at the bottom. After the said time, wait for the pressure to settle naturally. Once the pressure settles, open the cooker and mix well to combine. The rice and lentil mixture should be cooked to a soft and creamy consistency. The khichdi will slightly thicken up as it cools. Now let’s do a quick tempering for the khichdi. Heat ghee in a small kadai and add in the chopped garlic, sliced shallots and curry leaves. Saute till the shallots are golden and crisp. At this stage, switch off the flame and add in the kashmiri red chilli powder. Let the chilli powder bloom in hot oil. Add in the hot tempering to the khichdi. Our super healthy vegetable khichdi is ready. Serve hot!
- Author: Suguna Vinodh
- Prep Time: 60m
- Cook Time: 40m
