Recipe for South Indian Tamilnadu style Badam Halwa with step by step pictures. Best halwa ever.
I really don’t like to use things like ” the worlds best recipe”, “the best thing I ever ate” and things like that. But I do not know how else to describe this amazing Badam Halwa. Its the best thing I have ever eaten. Two years back, we celebrated Diwali with all our family together at Ooty. Vinodh’s aunt had come to Ooty and she had brought this Badam Halwa. It was the best best best ever Badam Halwa. Vinodh’s Aunt Shantha Amma makes the most delicious sweets. This is her signature Badam Halwa dessert. She got married when she was 16 years old. At that time, she did not know how to cook. Her husband was living away from home in a place near Coimbatore called Palani due to work. She joined him there to be with him. They appointed a cook. But his food turned out to be awful. She was so disappointed that the food was bad but she did not have any other option. She was away from home, very young and longed for simple home cooked good food. Restaurant scene was almost non-existent those days. It was the 1960’s – 1970’s period. Finally, she was done with the cook’s food. She took matters in her own hand and entered the kitchen. She got help over phone from her mother and sisters and that is how her culinary journey began. She has mastered her recipes well over the years. Really well. There were no good cookbooks available and that was also the age of no internet. So if you wanted to know something, you learn from someone in person. Those were the golden days where there was no wi-fi and people spoke with each other. Shantha Amma is an extremely sweet person and I am so so happy to share her recipe here. I wish her loads of health in the coming years. We love you Amma.
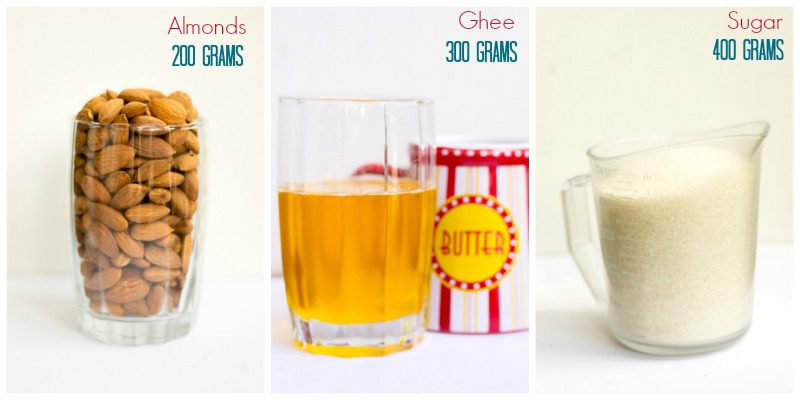
Here is how to do the most authentic Badam Halwa. Dishes with very simple ingredients are the most difficult to make. This is one such dish. Its all about the technique for Badam Halwa . This Badam Halwa has Almonds, Ghee, Sugar, saffron and little milk. That’s about it. But when these ingredients cooked in a right way can transform into something genius.
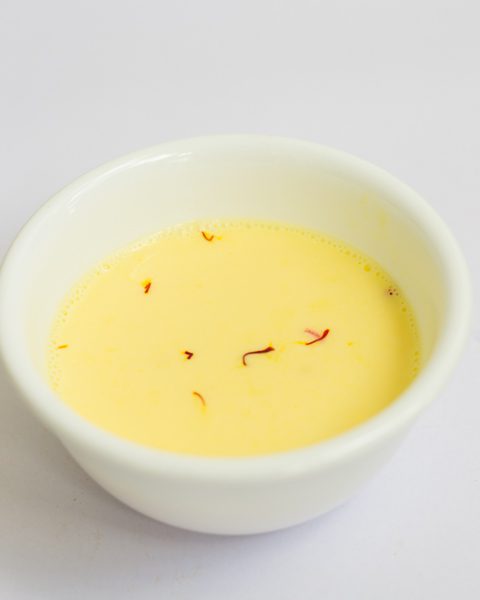
First soak a generous pinch of saffron in half a cup (125 ml) of milk. Set aside.
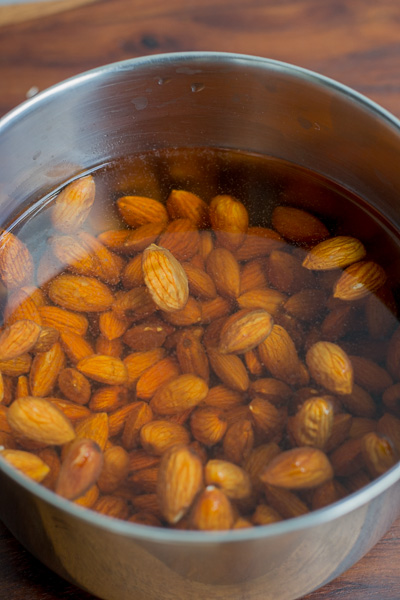
Then, soak Almonds in boiling hot water for 20 minutes.
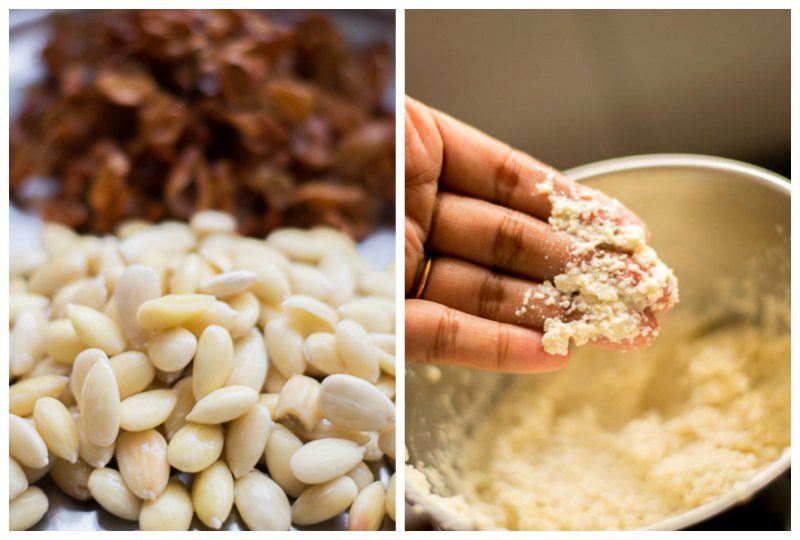
Now, drain the water and peel the almonds. After 20 minutes, it should peel off easily. If it does not peel, add more boiling hot water and leave it for 5-10 minutes. Drain the water and peel all the almonds. Once its peeled, grind it in a mixer/blender with a cup of milk (250 ml). Do not grind it to a fine paste. It is important to have the texture of the ground almond paste to resemble semolina / upma rava. So keep checking the mixer and stop when the almonds are grainy. This is a very important step. So eyes on the mixer please…..
Next, lets talk about the pan in which we are going to cook the Badam Halwa. You definitely need a heavy bottomed pan. Sugar burns fast. So heavy bottomed pan is very essential for any indian dessert. If you do not have a heavy pan, you can use the pressure pan ( cooker ) for making this Badam Halwa. One more important thing. The flame should be at low at all times. So do not get tempted and increase flame. You need to cook low and slow.

Mix the almond paste and sugar in the pan and keep it on stove on low flame. Keep stirring continuously.

Slowly some foam will start forming on top of the pan. Keep stirring. Stirring is key. Be at the stove at all times.
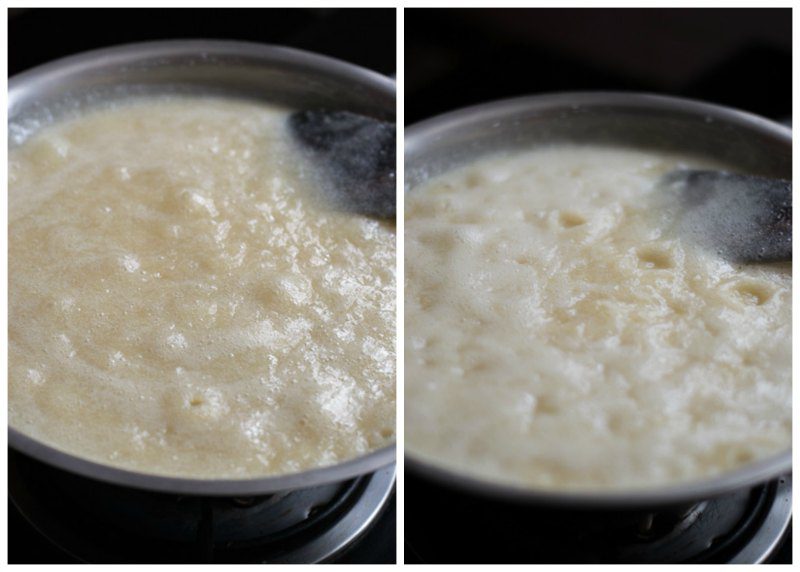
Once the foam subsides, little bubbles will form. If you stir vigorously, the bubbles might splash. So slowly, but constantly, keep stirring until all the bubbles have subsided and very few bubbles are remaining. Add in the saffron milk mixture. You can notice the color change into yellow soon after the saffron is added.
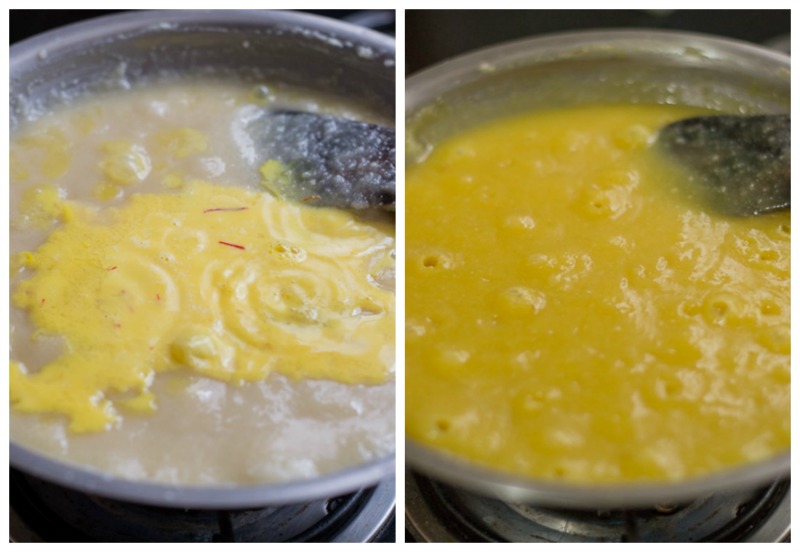
Bubbles will start to appear again after saffron milk is added. Keep stirring until all the bubbles have mostly subsided. One or two bubbles here and there is fine.

Now is the time to add ghee. Don’t add all the ghee at once. Add 1/4 cup of ghee at a time. Once the ghee is added, keep stirring and notice that the ghee is totally absorbed into the Badam Halwa.
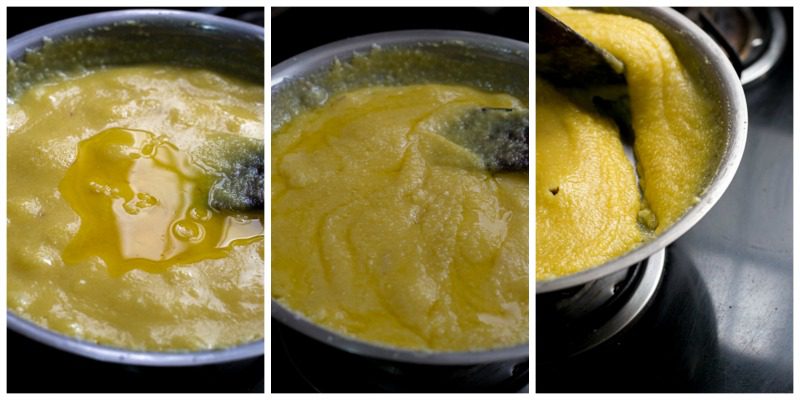
Once the first addition of ghee is absorbed, add the next 1/4 cup of ghee. Wait for the ghee to be absorbed before adding more ghee. Repeat the procedure until all the ghee has been added.

After all the ghee has been added, keep stirring until the mixture is slightly thick like below.
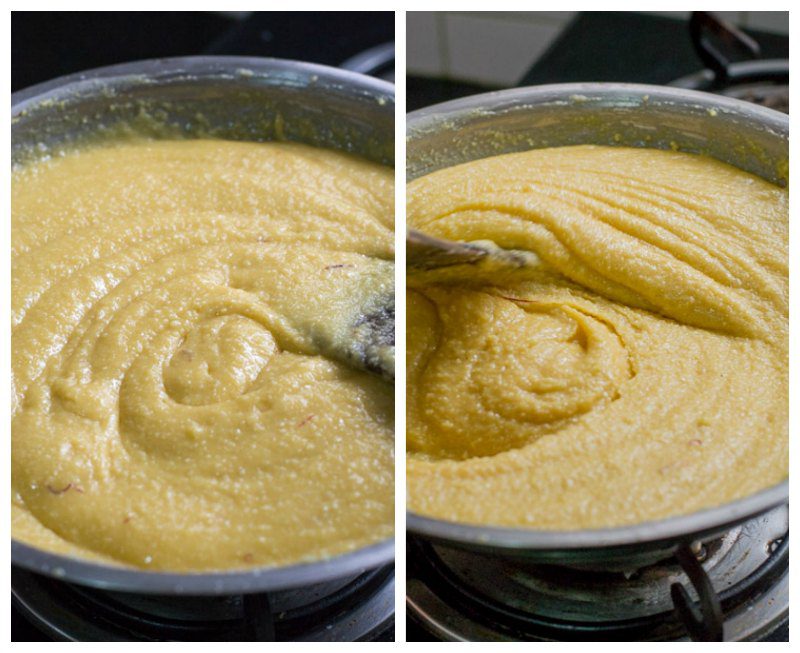
When the consistency of Badam Halwa is thick but not solid like above, Switch off the flame. Badam Halwa will thicken when it cools. Remove the pan to the kitchen counter and start mixing the Badam Halwa with a spatula. Use a folding motion to mix. Keep mixing Badam Halwa until its warm.
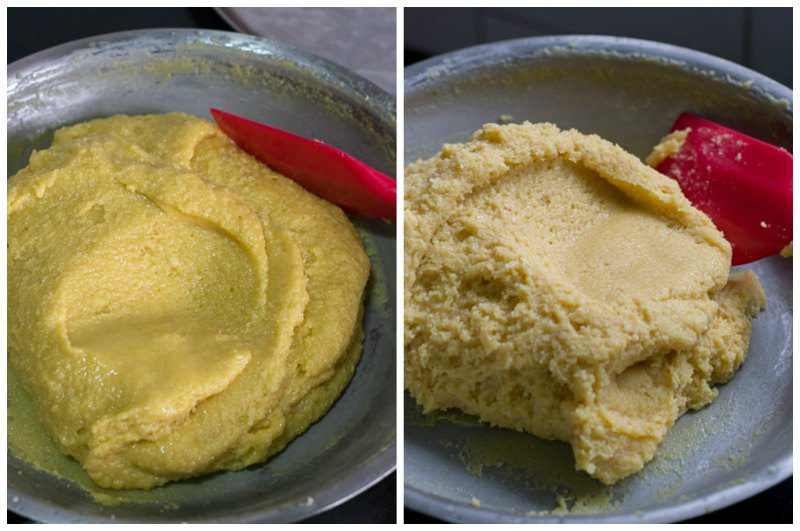
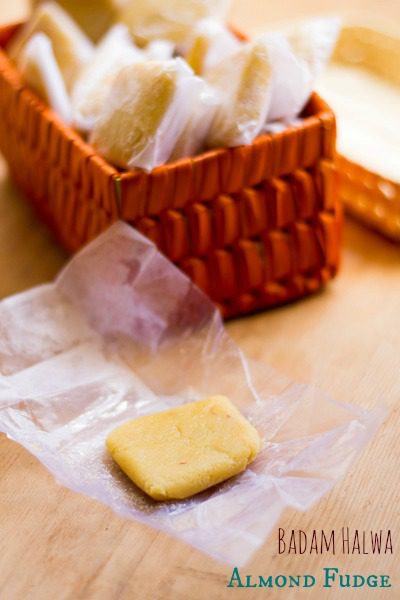
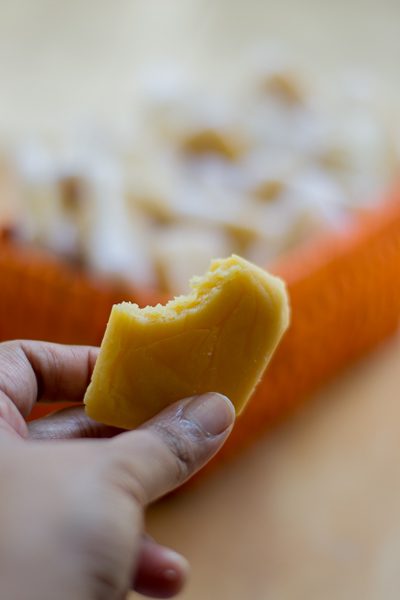
Once its warm, take big bite size pieces of the Badam Halwa mixture and pack like a candy on a parchment paper.
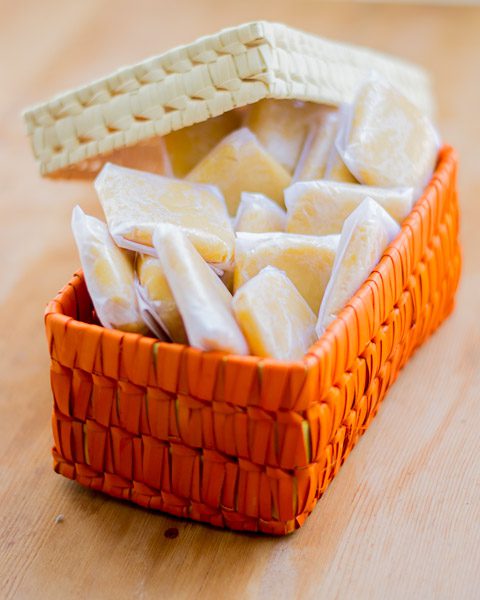
Enjoy the Badam Halwa!

- 200 grams Almonds
- 300 grams Ghee
- 400 grams Sugar
- 1 cup ( 250 ml ) milk for grinding Almonds
- A big pinch Saffron
- 1/2 cup ( 125 ml) warm milk for soaking saffron
- Soak a generous pinch of saffron in half a cup (125 ml) of warm milk. Set aside.
- Then, soak Almonds in boiling hot water for 20 minutes. Drain the water and peel the almonds. Once its peeled, grind it in a mixer/blender with a cup of milk (250 ml) to a grainy paste.
- Mix the almond paste and sugar in the pan and keep it on stove on low flame. Keep stirring continuously. Slowly some foam will start forming on top of the pan. Keep stirring. Stirring is key. Be at the stove at all times. Once the foam subsides, little bubbles will form. keep stirring until all the bubbles have subsided and very few bubbles are remaining.
- Add in the saffron milk mixture. You can notice the color change into yellow soon after the saffron is added. Keep stirring until all the bubbles have mostly subsided.
- Add 1/4 cup of ghee at a time. Once the ghee is added, keep stirring and notice that the ghee is totally absorbed into the halwa. Once the first addition of ghee is absorbed, add the next 1/4 cup of ghee. Wait for the ghee to be absorbed before adding more ghee. Repeat the procedure until all the ghee has been added.
- After all the ghee has been added, keep stirring until the mixture is slightly thick.
- Switch off the flame. Remove the pan to the kitchen counter and start mixing with a spatula. Use a folding motion to mix. Keep mixing until its warm. Once its warm, take big bite size pieces of the mixture and pack like a candy on a parchment paper.
- Author: Kannamma - Suguna Vinodh
- Prep Time: 20 mins
- Cook Time: 90 mins
- Category: Dessert
- Cuisine: South Indian
Find it online : https://www.kannammacooks.com/worlds-best-badam-halwa/
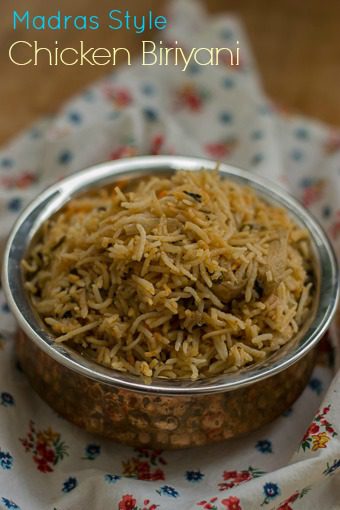
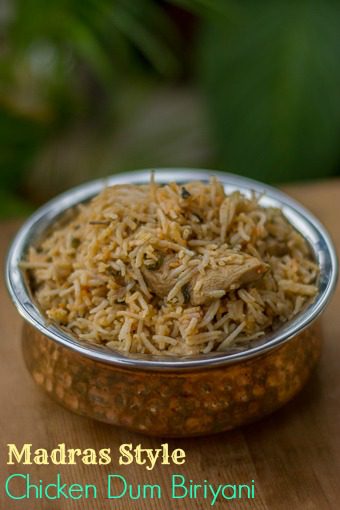
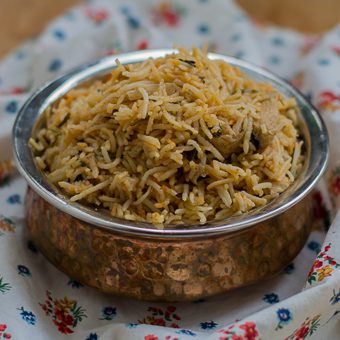
Chennai Madras Style Spicy Chicken Biryani. Made using the Dum method. Tastes good with mutton too.
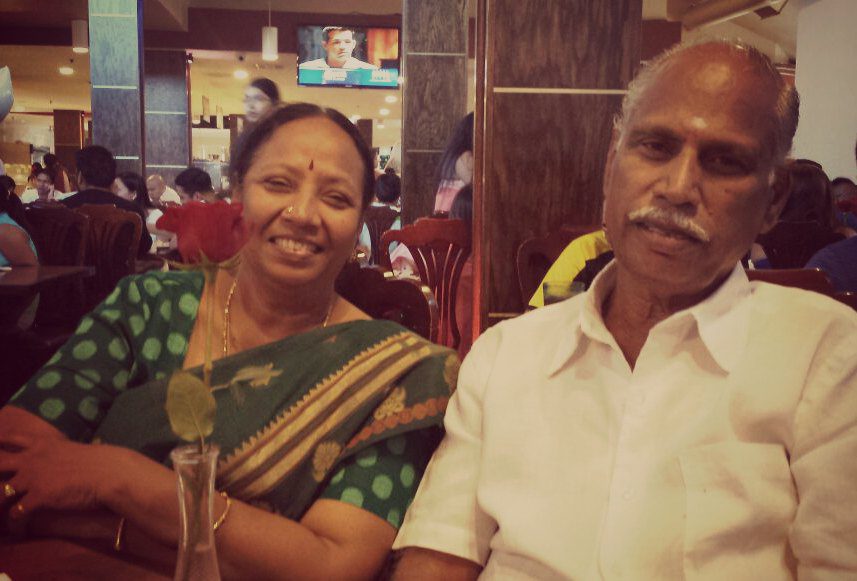
Usha Aunty was my neighbor in San Diego. She loved to cook. She loved to cook for others. She was the one who taught us ( a bunch of friends ), how to make chicken biryani for 50 people in an 80 sq.ft tiny kitchen. We must have cooked tonnes of chicken biryani in her kitchen. She rocks. Her chicken biryani rocks. Her enthusiasm is infectious. She physically pushes herself every single time for that extra mile to show that nothing is impossible. Good food meant happy people. chicken biryani meant very happy people. We all used to follow behind her to the kitchen like children following their mama wherever they go. We have had countless number of parties and countless number of this amazing chicken biryani. Her husband Pandurangan Uncle is an equally adorable man. I have seen him say ” குடு மா அந்த தேங்காய நான் ஒடச்சி தர்றேன் ” – “give me the coconut ma, i will break it for you “, and he would take the coconut to the balcony to break it for her. He would come to the kitchen frequently to see if Usha aunty needs any help. She has that little Madras slang that I soooooo love. She used to be there for everyone when they needed something. She is the true living proof that age is just a number and she just does not care about that. She is my true inspiration. She is not here now with me but I have really really fond memories that revolve around food and behind this chicken biryani. After all food is nothing but memories. My son calls her as poori paati as paati not only makes the tastiest chicken biryani but poori too. I have learnt a lot of dishes from her. This one takes the crown.
Here is the recipe for an amazing Madras Style Chicken Biryani.
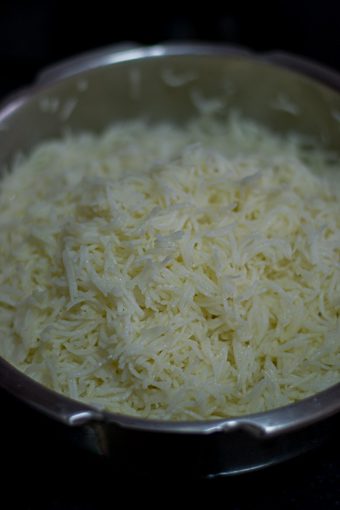
Soak basmati rice for chicken biryani in water for 15 minutes. I used 2.5 cups of rice today. For every cup of rice, use 1.5 cups of water. So I used 3 3/4 cups of water. You can cook the rice in a rice cooker or a pressure cooker. If cooking in a pressure cooker, then cook in medium flame and switch off the flame after 2 whistles. Immediately release the pressure and cool it on a plate. You need to cool the rice immediately else it might become mushy. If cooking in a rice cooker, remove the rice once its done onto a plate and allow it to cool completely. Once cool, mix some ghee into the rice to thoroughly coat. Set aside. Usha aunty sprinkles ghee on rice before putting it in dum, but I feel mixing ghee at this stage helps spreading the ghee evenly all over the rice for chicken biryani.
Heat oil in a pan and add in the cloves, cardamom and cinnamon sticks. Add in the sliced onions and fry till soft.

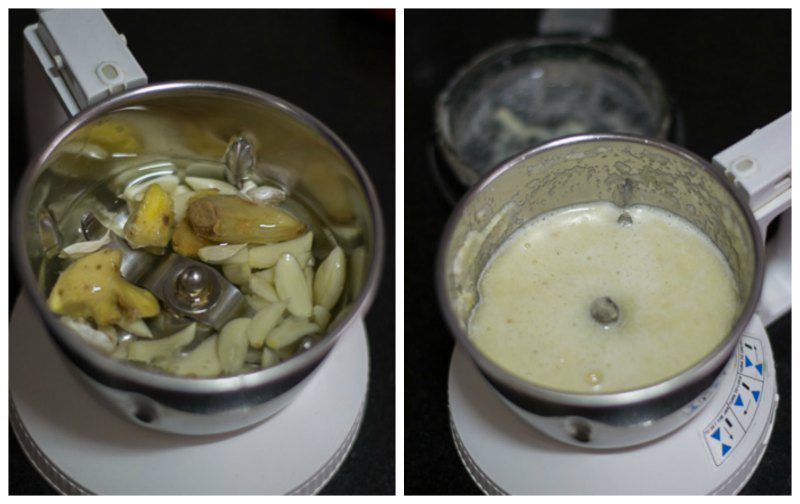
In the mean time make a paste of ginger and garlic. Add a little water while grinding if necessary.
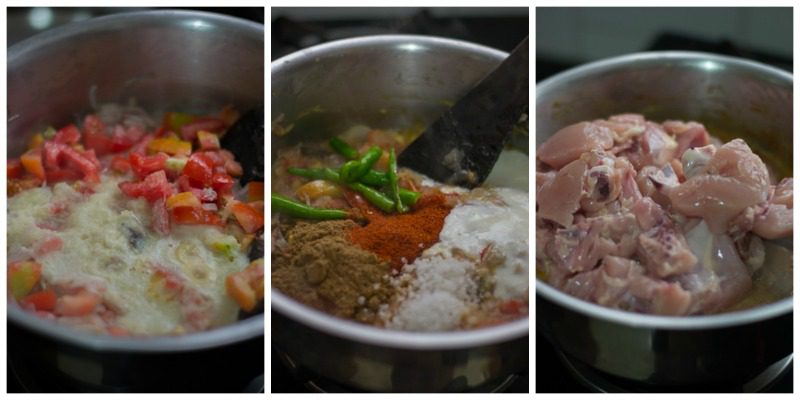
Add in the chopped tomatoes and the ginger garlic paste, fry till the tomatoes are soft. It will take about 4-5 minutes in medium flame. Add in the coriander powder, chilli powder, green chillies, curd and salt. Fry for a minute to combine. Add in the chicken pieces and allow it to cook. Do not add any water. The juices from the chicken will be enough to cook the meat.
Cook the chicken until tender and the gravy has thickened. Keep stirring to avoid scorching at the bottom. Once the gravy has thickened, add in the lemon juice and switch off the flame. Keep stirring to avoid scorching at the bottom.

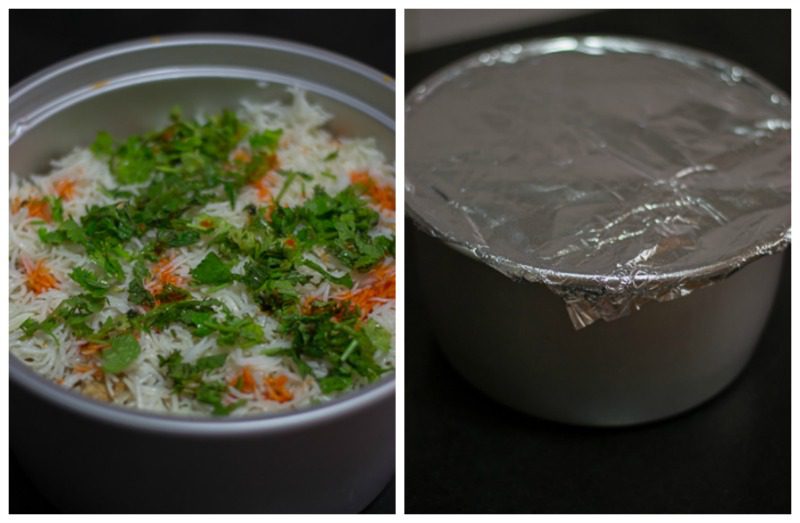
Now its time for layering the chicken biryani. Approximately divide the chicken gravy and rice into 3 equal parts. # Take a big bowl and add a layer of chicken gravy at the bottom. # Add in a layer of rice. If you dint add ghee to the rice before, spoon a tablespoon of ghee onto the rice now. # The Chennai chicken biryani has that little streaks of orange color on the rice that comes from artificial coloring. Its optional. If you want to use it, spoon a little of the coloring mixed with water on the rice. I use edible food coloring used for cake decorating ( like Wilton, Americolor etc..). # Finally, Sprinkle some chopped mint leaves and coriander leaves.

Repeat the layering process, until all the rice and gravy has been used. Tightly cover it with an aluminium foil and close it with a lid. Now its ready for dum. Traditionally, dum is done using charcoal. But that’s not feasible at home. The substitute for dum cooking at home is to use an oven. Place the chicken biryani bowl in a preheated 400 degree F oven for 30 minutes. If you don’t have an oven, heat a dosa pan on the stove and put the chicken biryani bowl on top of the dosa pan and allow it to cook on low flame for 15 minutes.
Once the dum cooking is over, open the lid and gently fluff up the rice to mix. Serve chicken biryani hot with raita.
For cooking Rice
Measurements Used – 1 cup = 250 ml
- 2.5 cups ( 625 ml) basmati rice
- 3¾ cups water
- ¼ cup ghee
For the gravy
- 1 kg chicken with bone
- 4 tablespoon peanut oil
- 3 stick cinnamon
- 5 cardamom
- 5 cloves
- 5 medium onion, sliced
- 3 medium tomatoes, chopped
- 2 pod garlic
- 3 inch piece ginger
- 5 green chillies, slit
- 1 tablespoon salt
- 1 tablespoon red chilli powder
- 2 tablespoon coriander powder
- ½ cup plain yogurt
- Juice of a small lemon
Herbs for layering
- 15 - 20 mint leaves, coarsely chopped
- 6 - 7 sprigs coriander leaves, coarsely chopped
- orange food color (optional)
- Soak basmati rice in water for 15 minutes. You can cook the rice in a rice cooker or a pressure cooker. If cooking in a pressure cooker, then cook in medium flame and switch off the flame after 2 whistles. Immediately release the pressure and cool it on a plate. Once cool, mix some ghee into the rice to thoroughly coat. Set aside.
- Heat oil in a pan and add in the cloves, cardamom and cinnamon sticks. Add in the sliced onions and fry till soft.
- Add in the chopped tomatoes and the ginger garlic paste, fry till the tomatoes are soft. Add in the coriander powder, chilli powder, green chillies, curd and salt. Fry for a minute to combine. Add in the chicken pieces and allow it to cook. Do not add any water.
- Cook the chicken until tender and the gravy has thickened. Once the gravy has thickened, add in the lemon juice and switch off the flame.
- Layer the biriyani. Take a big bowl and add a layer of chicken gravy at the bottom.. Add in a layer of rice. Finally, Sprinkle some chopped mint leaves and coriander leaves. Repeat the layering process, until all the rice and gravy has been used. Tightly cover it with an aluminium foil and close it with a lid. Place the biryani bowl in a preheated 400 degree F oven for 30 minutes.
- Serve hot.
- Author: Kannamma - Suguna Vinodh
- Prep Time: 20 mins
- Cook Time: 1 hour
- Category: Biryani
- Cuisine: South Indian


