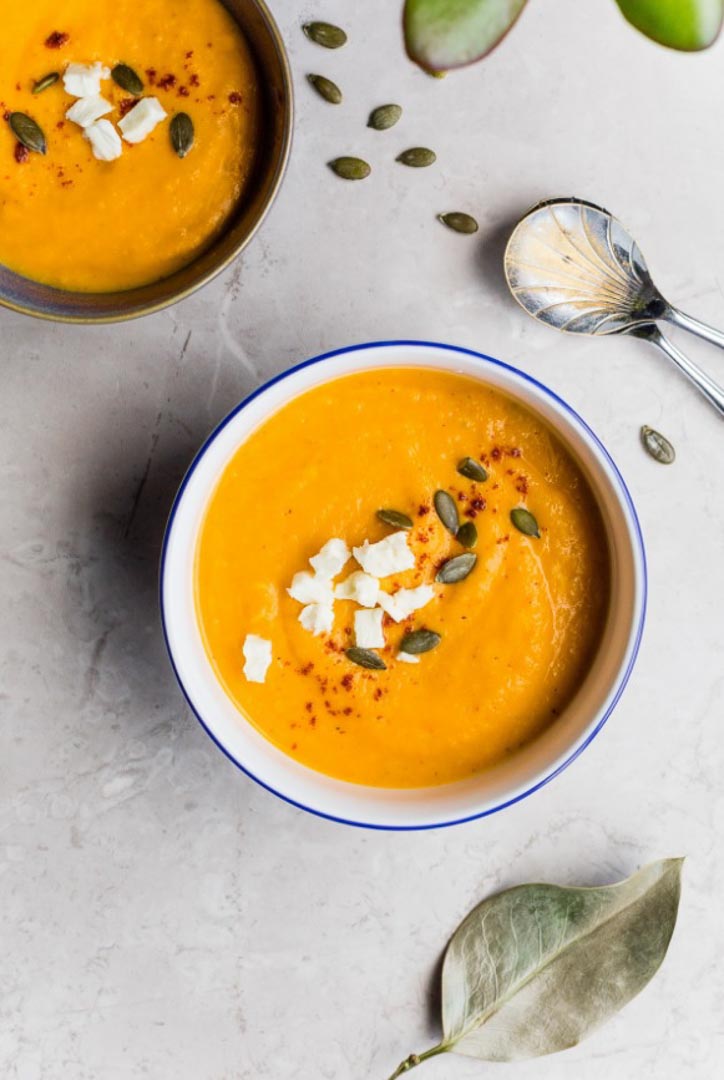
Vegetable Soup Photo by Pxhere
A Healthy Winter Must-Have on Cold Days Winter is at our doorstep! The seasonal enjoyment of spices and vegetables processed into a hearty soup is the best way to celebrate the upcoming season. What can be more convenient and warming than a bowl of soup that will treat your gut and heart on a cold winter day? Since it gets really cold in winter in Turkey as well, Turkish people always welcome a delicious bowl of soup on their warm dinner tables and the health benefits are just the cherry on top! Nowadays, we often tend to grab a sandwich or a plate of pasta to fill our empty stomachs in the easiest way. If we are looking for a ‘hearty’ alternative, canned foods can save a lot of time and modern preservation practices keep many vitamins and minerals intact in them as well. However,they are never delicious and nutritious as freshly prepared foods.
Health Benefits of Soups
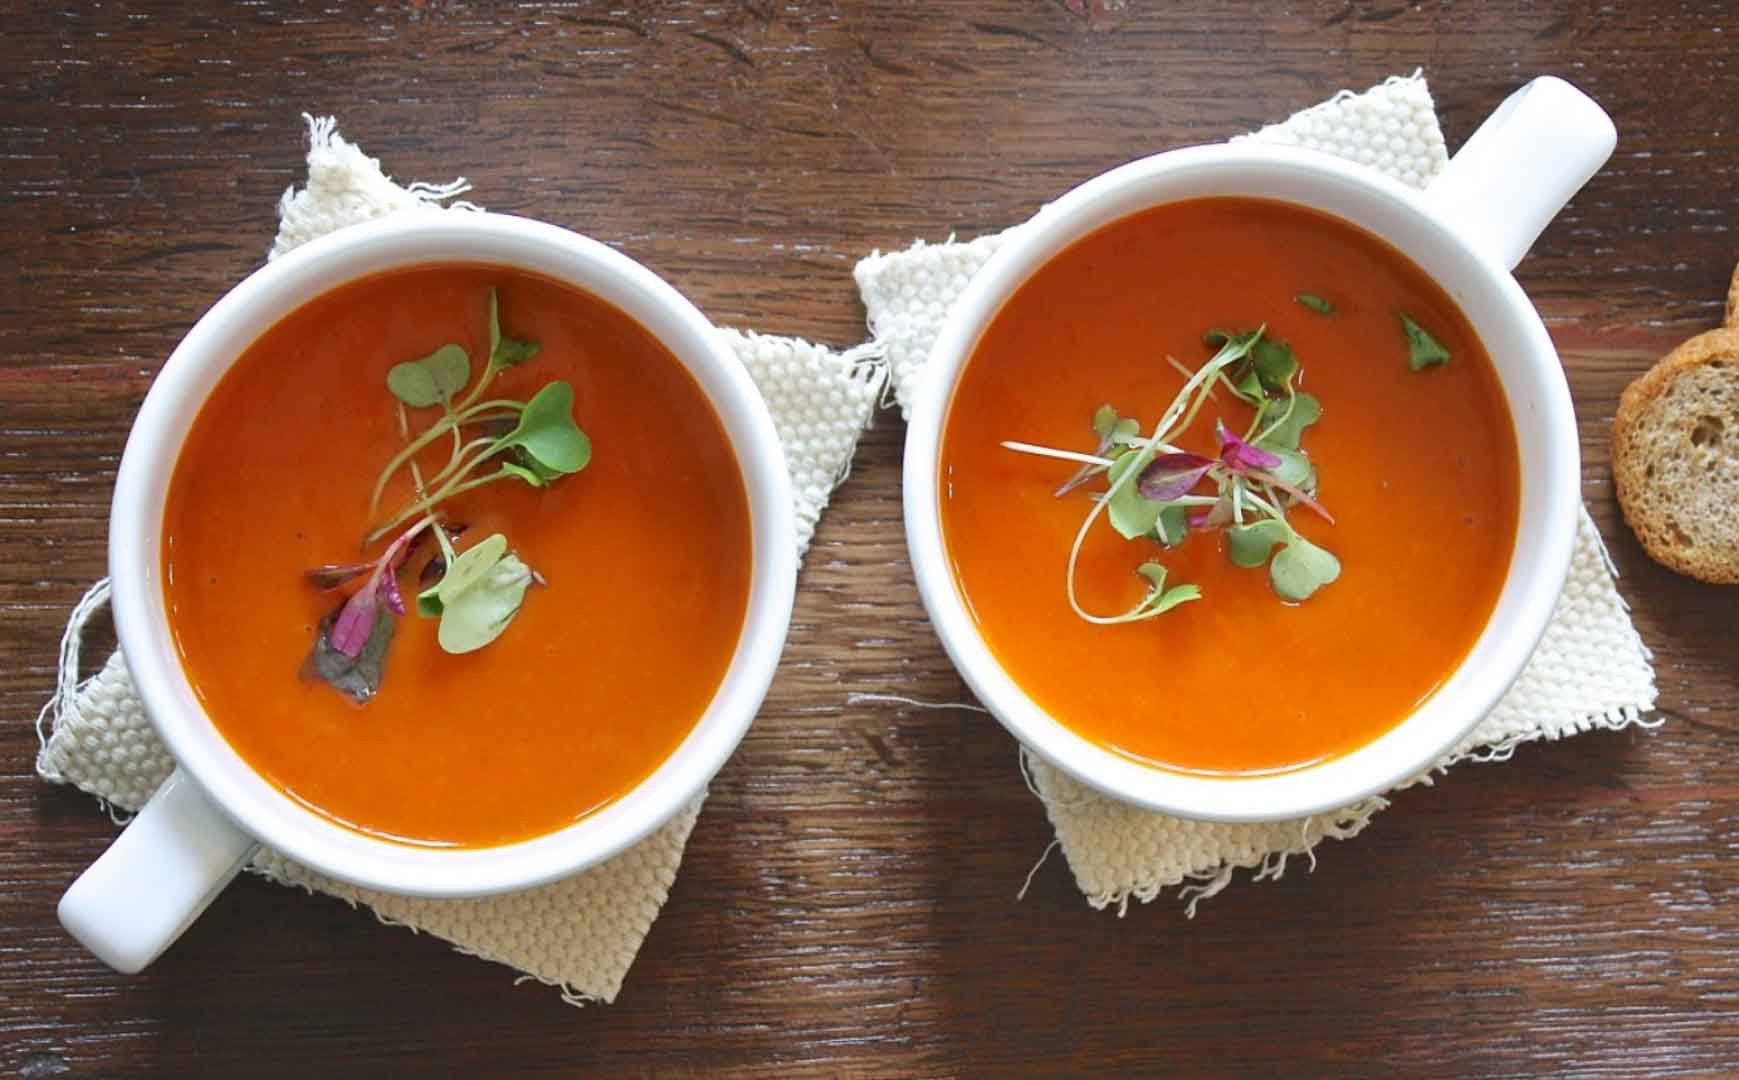
Photo by Pxhere
Healthy Tomato Soup Now that the freezing winter days are approaching, warm soups and stews will work wonders. For a delicious soup you do not have to go further- especially in the colder months outdoor markets and supermarkets have numerous fresh vegetables which can be processed perfectly to the soup. And you can put almost every kind of vegetable, legume or meat and turn it into a wondrous bowl of soup. You can get all the nutrients of chicken meat and bones from a chicken soup. A creamy tomato soup also has health benefits. Tomatoes, in addition to vitamins, trace elements, also contain phytochemicals and dyes such as Lycopene , which can protect you against cancer.
Soups and stews with legumes provide high-quality vegetable protein, lots of fiber and minerals (especially magnesium, potassium, and iron). The daily recommended value for fiber is 25 grams per day on a 2,000-calorie diet for adults. A fiber-rich diet will boost digestion and prevent gastrointestinal disease. Also, soup deposits such as rice, pasta or potatoes provide carbohydrates and fiber.
The health benefits of soup are not only limited to its ingredients. Studies by American researchers have shown people who spoon a soup as an appetizer, eats less overall. The soup fills the stomach with fluid and causes a faster feeling of satiety so that during the main meal fewer calories are consumed. An aromatic soup not only satisfies hunger but can also help you lose weight. (Not every one of them, though; cream soups and filling deposits such as fat sausages, dumplings, etc. may not be suitable for losing weight, be careful!) Many people try to lose weight with the help of soups in their diets. Basically, vegetable soups are generally recommended because they contain very few calories. Especially a well-known one for this is the cabbage soup diet. In the short term, the soup diets can also help you lose weight; however, this is not because of the soup itself, but because in the context of this diet, fewer calories are absorbed than usual and thus reducing the weight. The health benefits of soups are countless; they also make it easier to reach the recommended amount of fluid of at least two liters per day. After exercise, for example, soups are very good in addition to sports drinks to quickly compensate for fluid losses.
A Turkish Delicacy: Ezogelin Soup To be more specific on this, be ready to get inspired by the legendary Turkish soup below, as a beloved classic. Turkish people are also big fans of soup in every season. But especially when the weather gets cold Ezogelin soup is one of the most preferred soups to warm up the body and protect it against the common cold. This spicy soup blends the flavors of traditional ingredients. On cold days, it warms you from the inside and will appease your taste buds. Its health benefits are also too numerous to be counted: it has rice rich in starch that, combined with beans, provides energy and has iron and protein. A strong combination of ingredients that was introduced during the times of slavery and that is still a traditional food in many countries.
- 1 cup red lentils, rinsed and drained
- 1 medium-sized onion, diced
- ¼ cup bulgur, rinsed and drained
- 7 1/2 cups water
- 2 tablespoons tomato paste (and optionally 1 tablespoon hot red pepper paste)
- 3 tablespoons butter or olive oil
- 1 tablespoon dried mint ((unless you have fresh mint)
- 2 teaspoons red pepper flakes / paprika flakes
- Juice of a lemon
- Salt and freshly ground black pepper to taste
- Start with putting the lentils, bulgur, chopped onions and water in a saucepan. Bring it to boil and then turn it down to a low heat, let it simmer until all the ingredients are soft (which usually takes between 30-40 minutes). Make sure to stir occasionally and check if the mixture is drying out (if so, add some extra hot water). Then, add in olive oil (or butter), dried mint, red pepper flakes, and tomato paste. Mix everything well and simmer for another 10-15 minutes. Add the lemon juice and more water if required (until it has a creamy consistency). And season with salt and pepper.
- Serve hot with lemon wedges and welcome the cold season!
- Author: Kannamma - Suguna Vinodh
- Prep Time: 15 mins
- Cook Time: 40 mins
- Category: Soups
- Cuisine: World
Find it online : https://www.kannammacooks.com/all-about-turkish-soups/
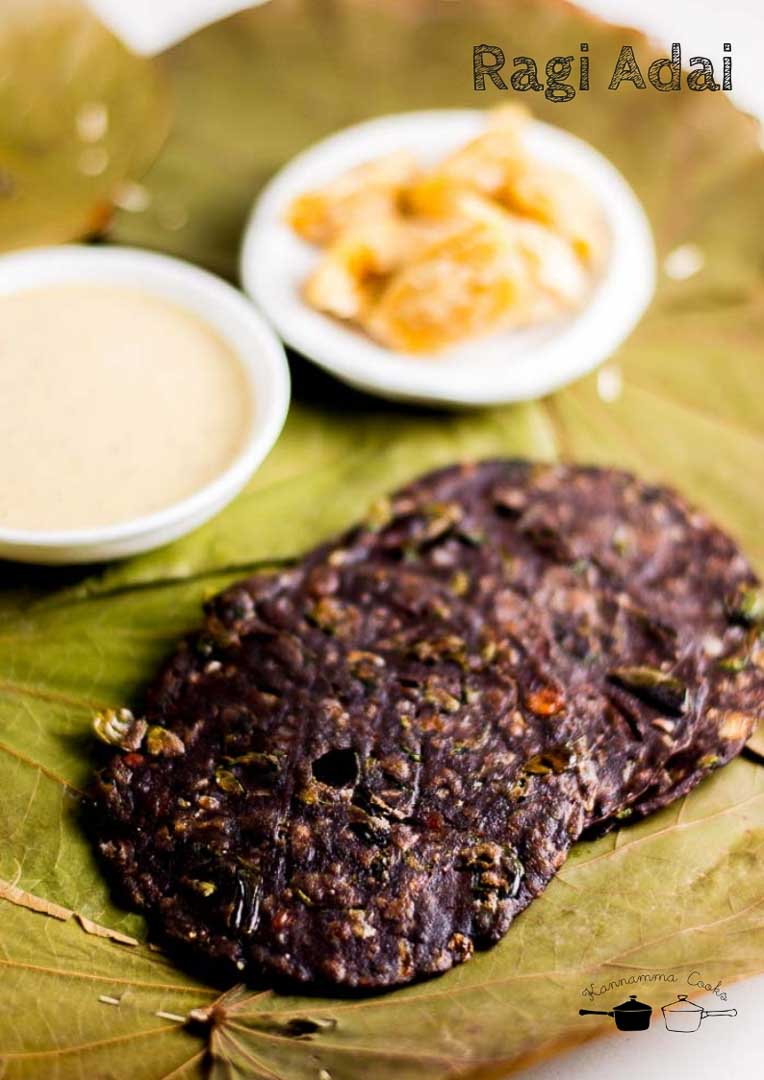
Recipe for murungai keerai ragi adai. Healthy, nourishing and tasty adai made with ragi flour, moringa leaves and veggies. Recipe with step by step pictures.
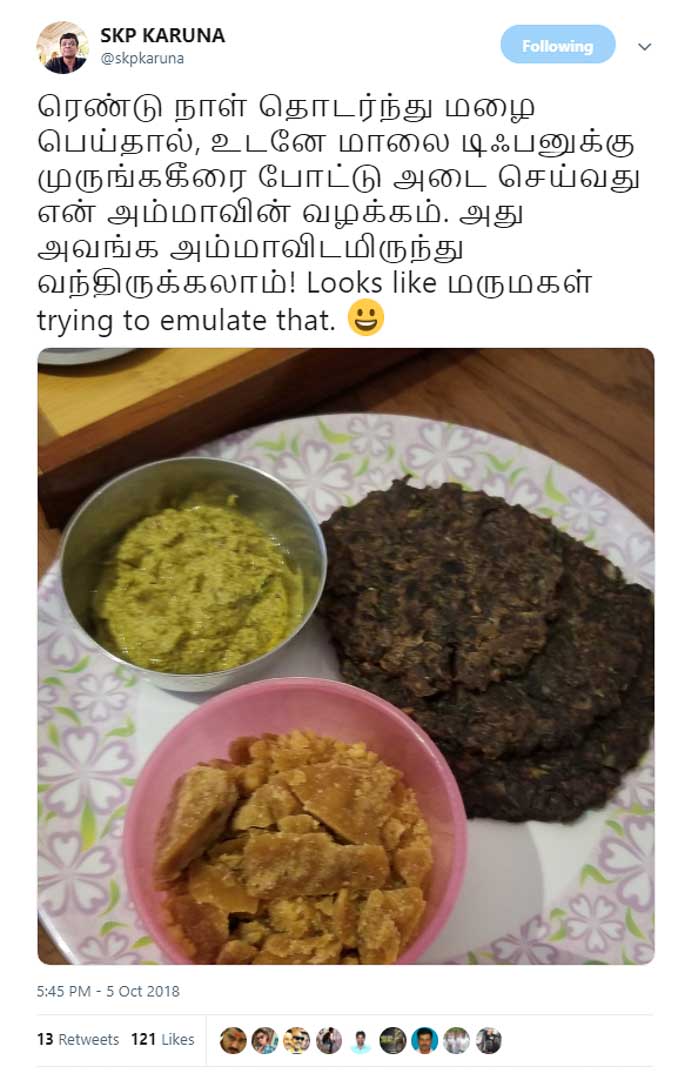
This recipe for Ragi Adai with moringa leaves is from SKP Karuna Anna . I am a great fan of his writing. I have devoured his tamil short stories which have a simple yet compelling story line of everyday life. In Tiruvannamalai and surrounding regions, Ragi adai is made during the rainy season. Someone even commented funnily, அதனாலதான் அடைமழைனு பேர் வந்திச்சோ?! – Its called ragi “adai” because its made during “adai” mazhai (heavy rain). This is a very simple recipe to put together and makes for an excellent after school snack or even a dinner. This recipe is from his family.

Here is how to do it. Heat Indian sesame oil in a pan and add in the chana dal and urad dal. Let the lentils brown a bit. Add in the mustard seeds. Let the seeds crackle.
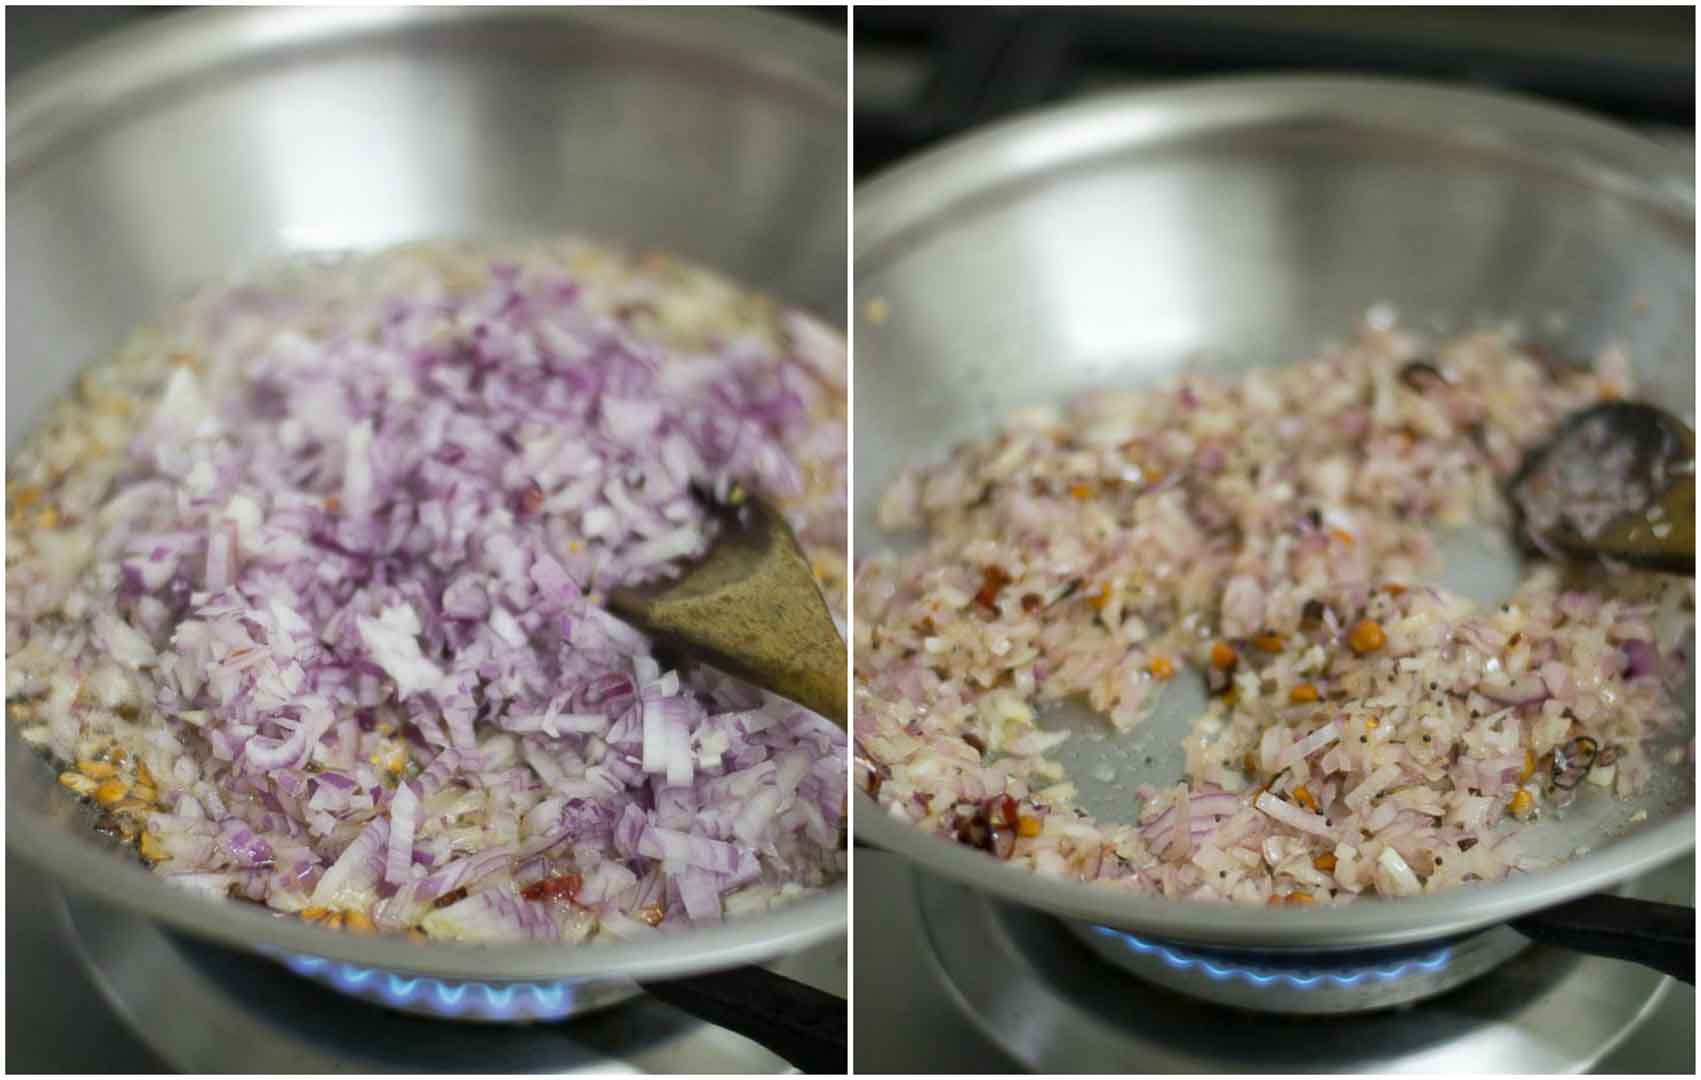
Add in the finely chopped onions, green chillies and red chillies. Saute till the onions are soft.

Add in the murungai keerai / moringa leaves. Let it cook for 3-4 minutes. Add in the salt and remove from heat. Set aside to cool. Note: Adding salt in the beginning will make the moringa bitter. So when cooking moringa, always add salt in the end.

Take 1.5 cups of ragi flour in a bowl and add in the cooled onion-moringa mixture. Mix well.
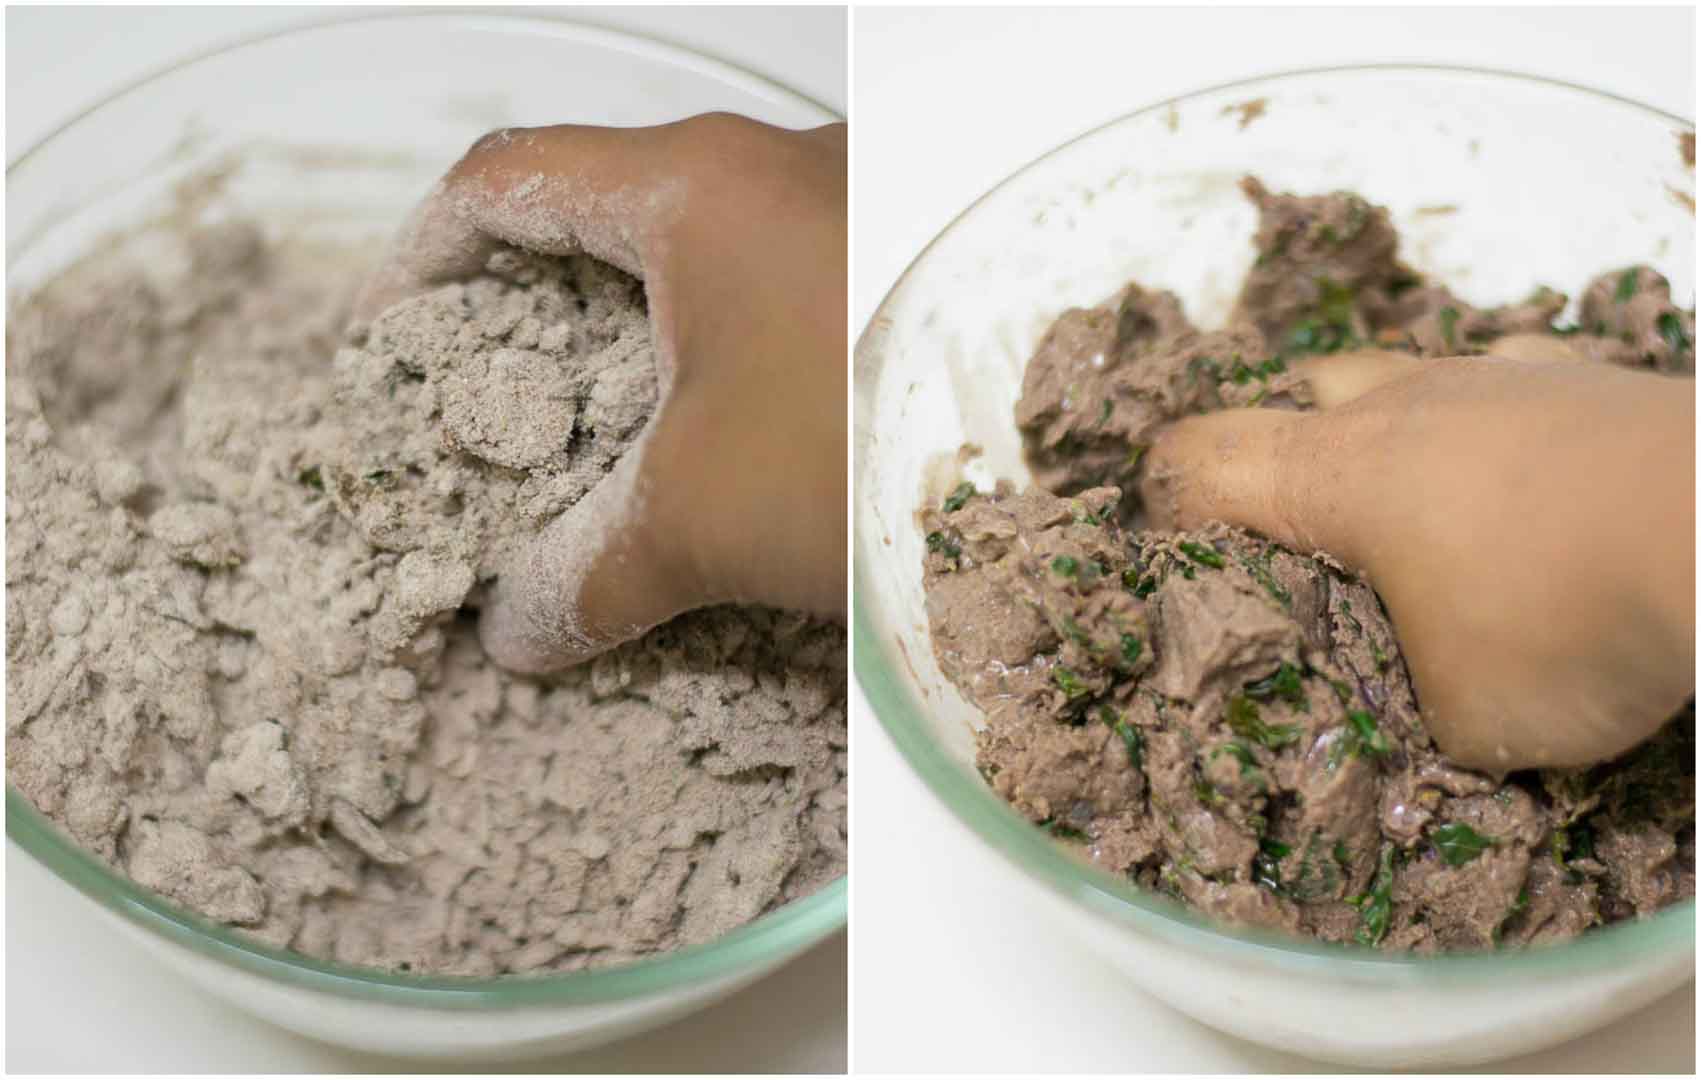
Add in the water little at a time and continue mixing. We are looking for a soft and loose dough.

The dough should be soft and sticky.
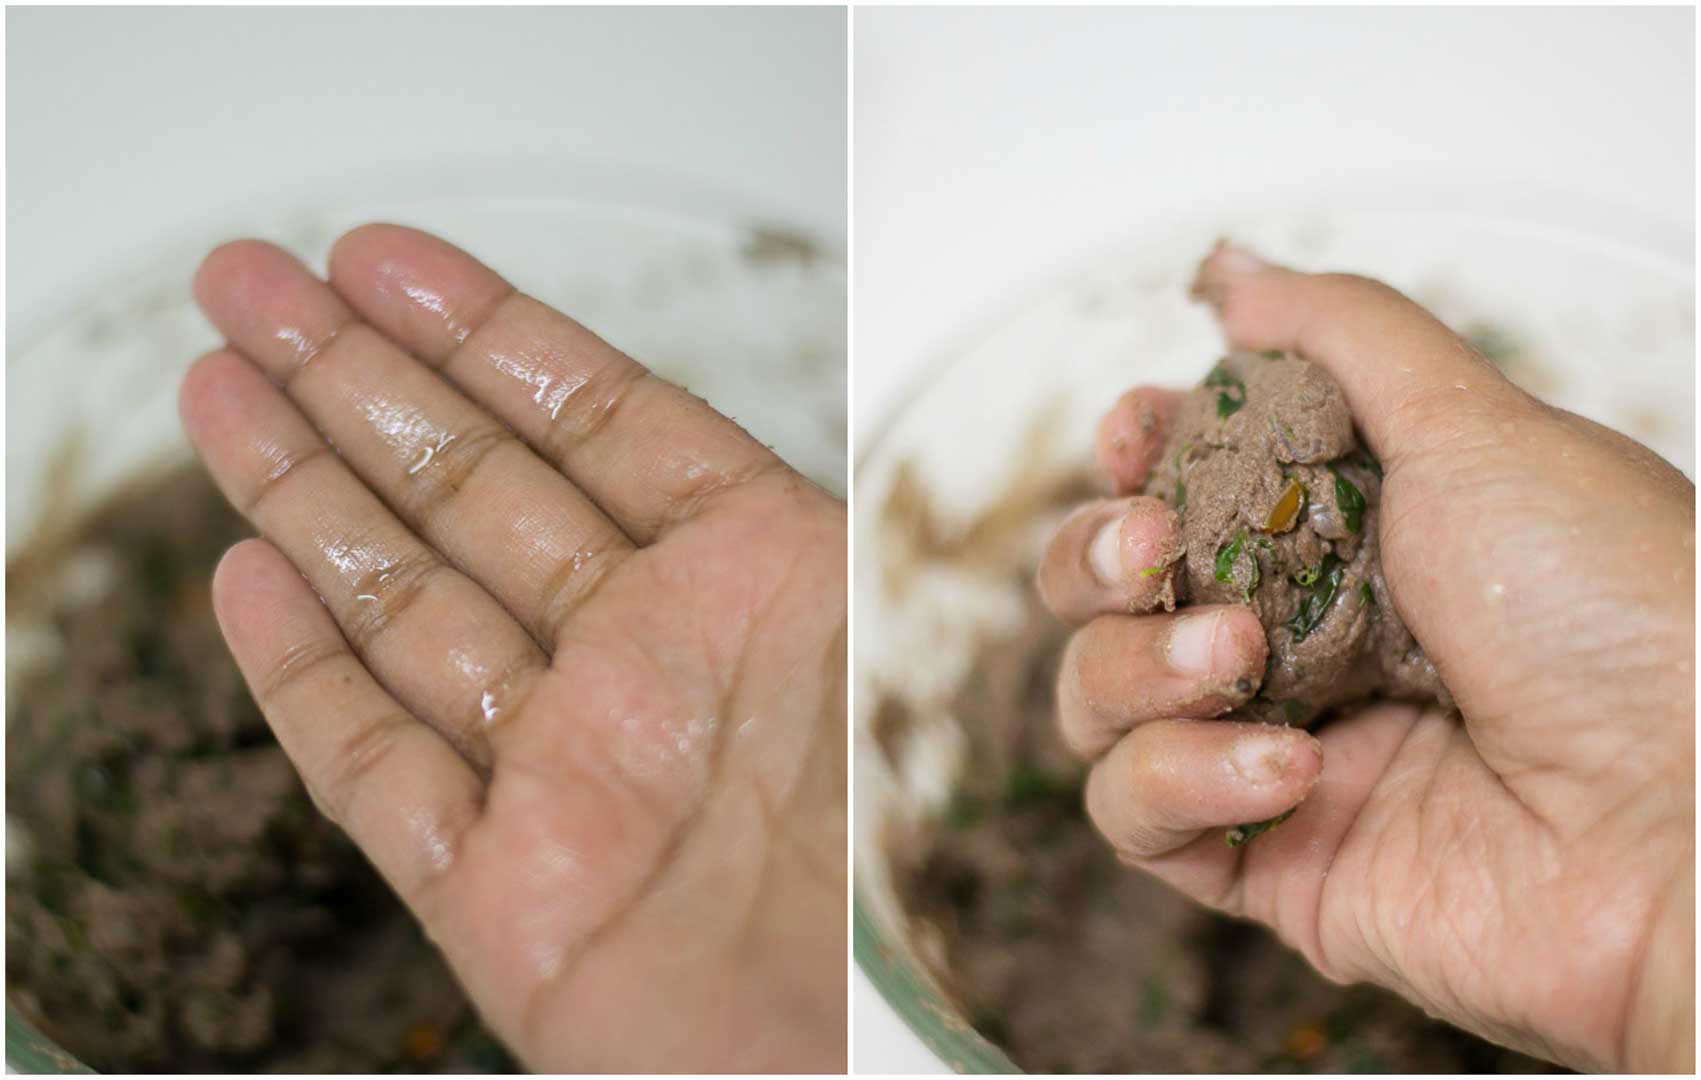
Shaping the Adai Wet your hands in water and take a golf ball size dough.
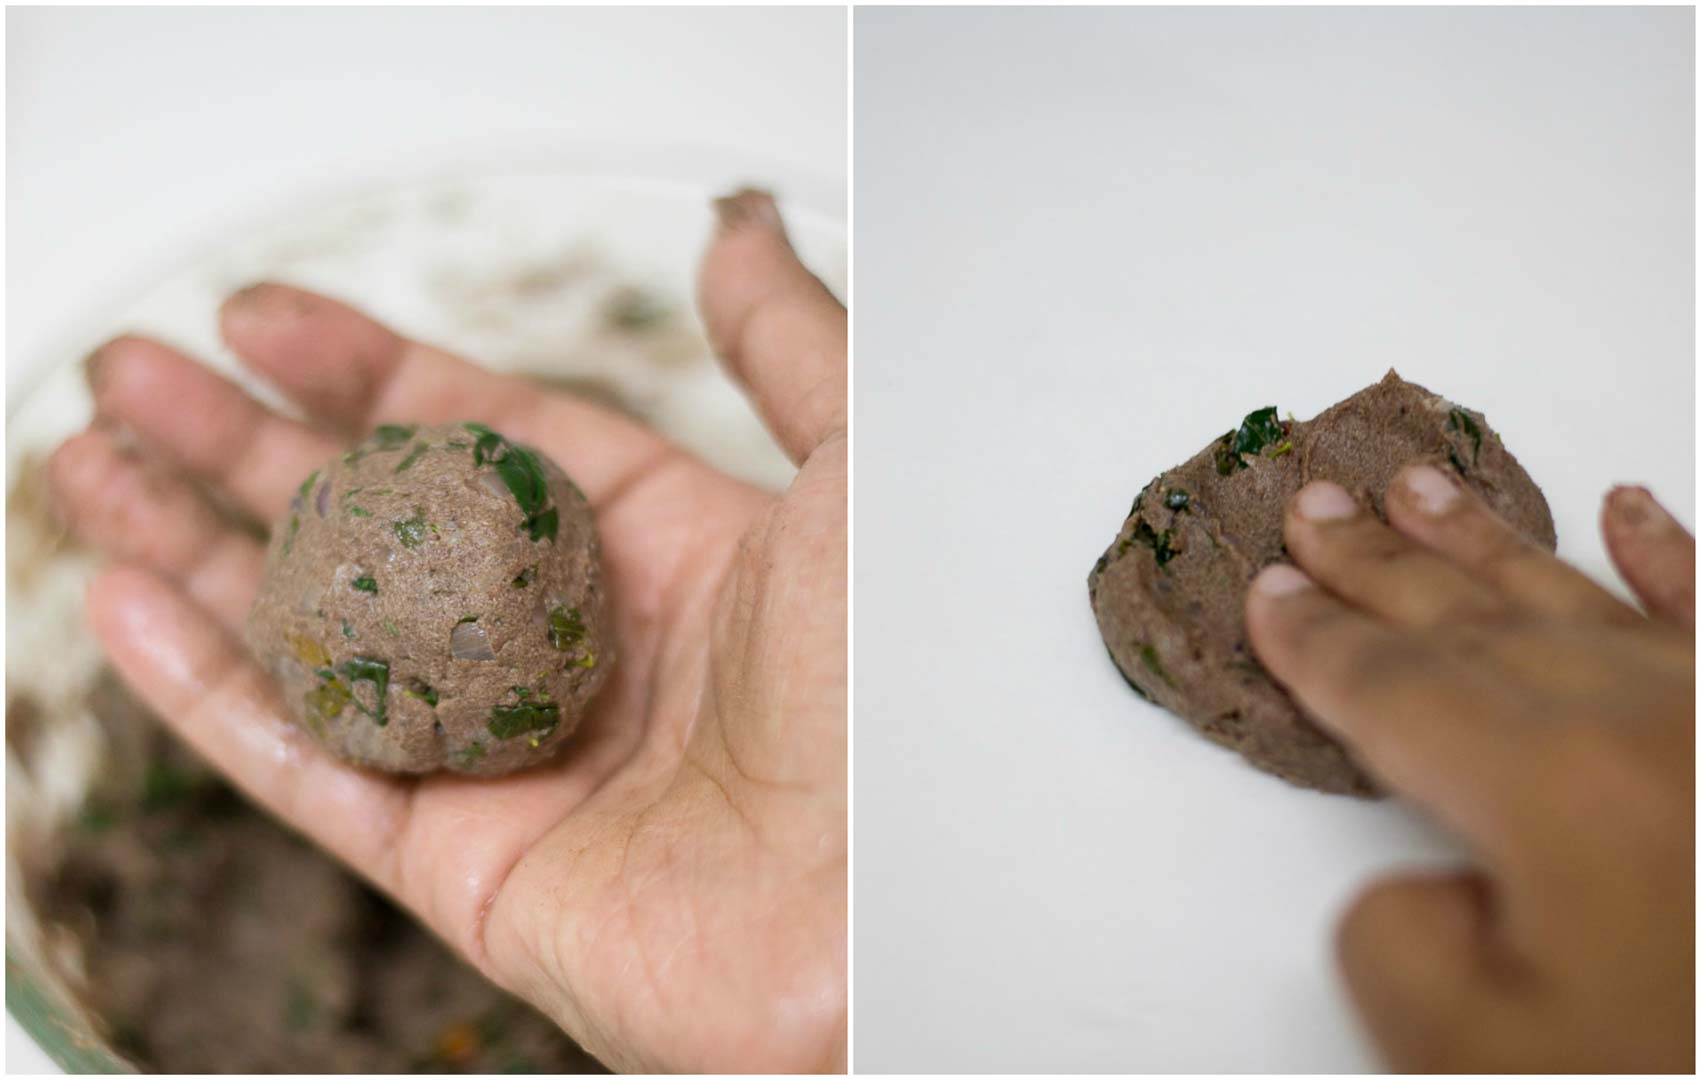
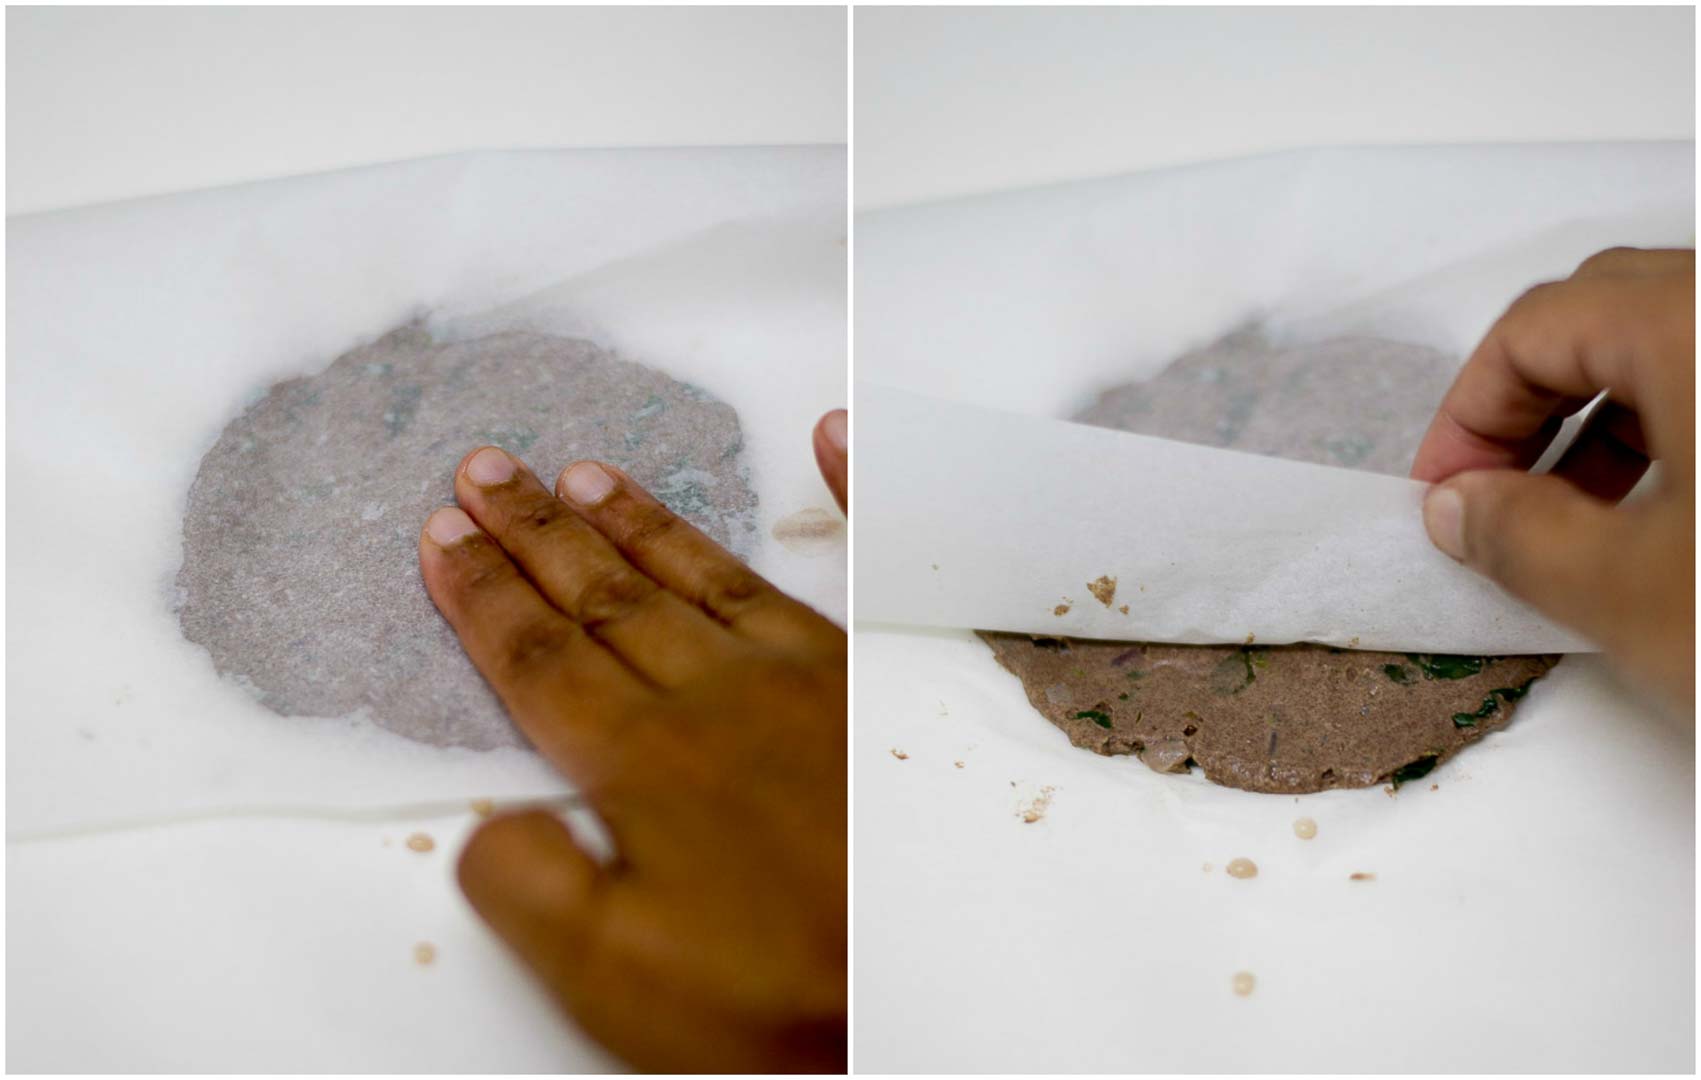
Place the dough on a parchment sheet / plastic sheet or banana leaves. Start patting the dough to form a circle. If the dough is very sticky, apply little water to your hands to prevent sticking.
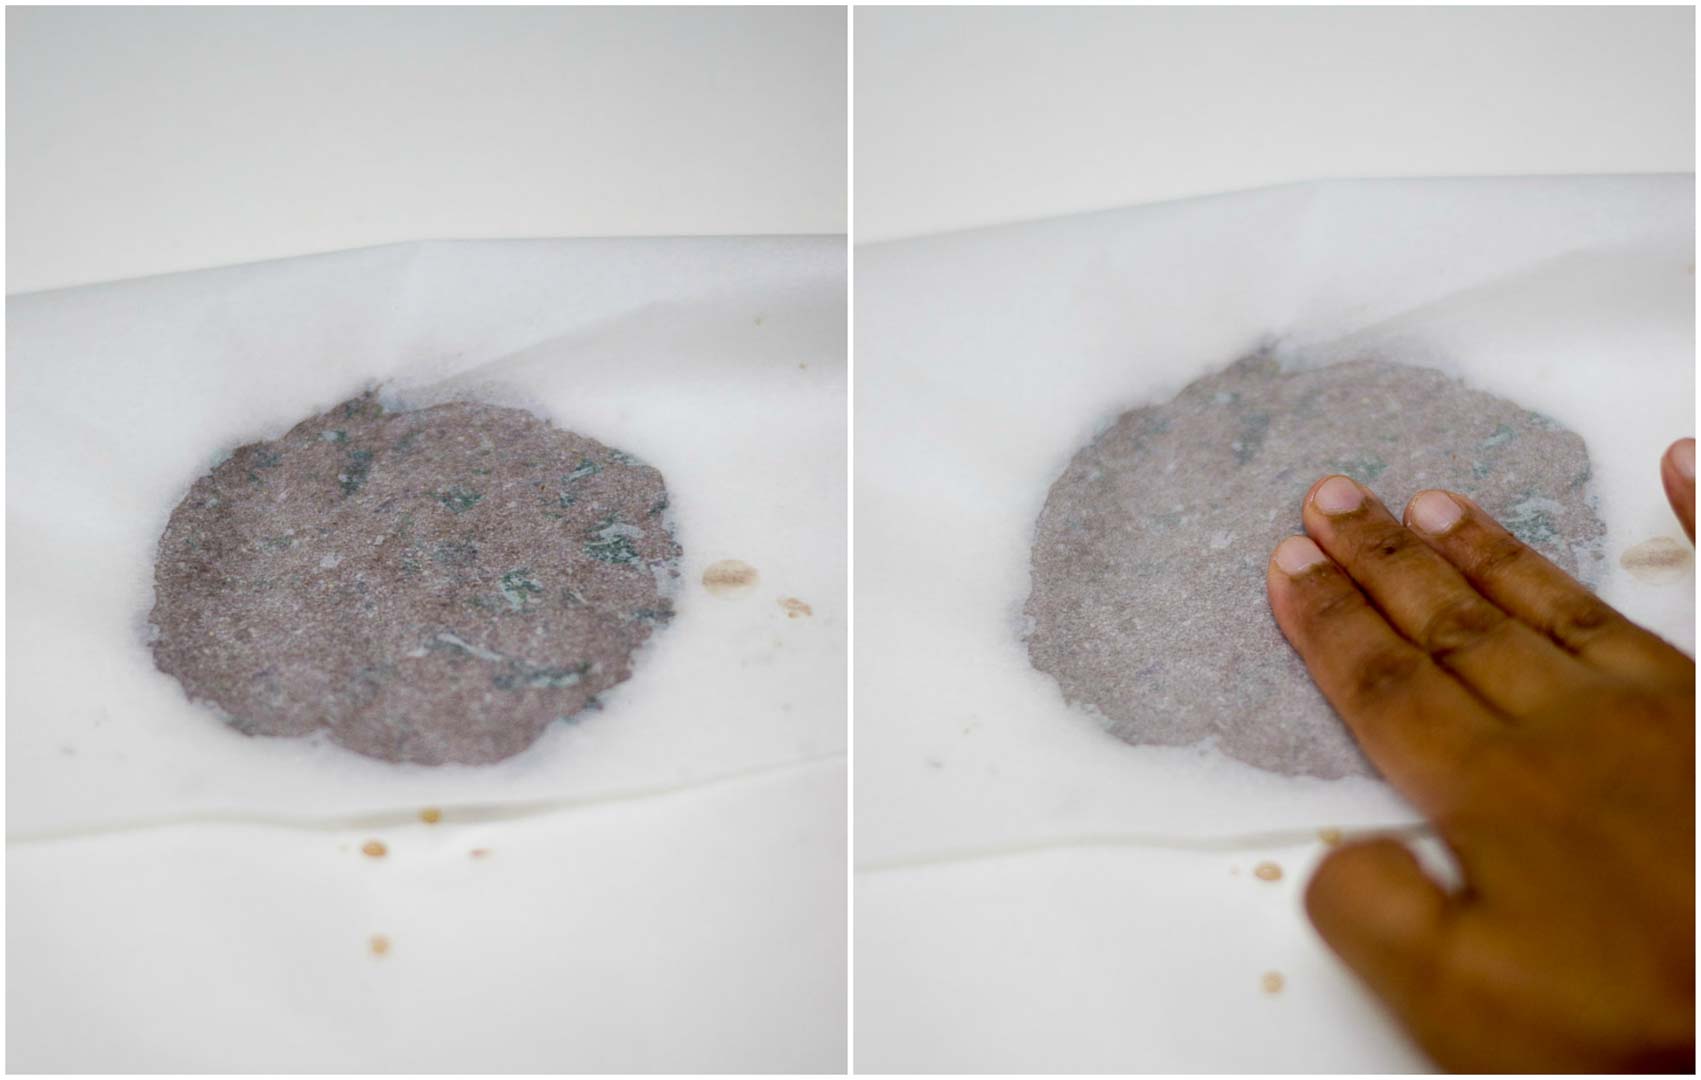
This can also be done by having a parchment on top while spreading the dough so the dough does not stick to the hands. Gently pat the dough and spread it to form a 3 inch circle. Do not spread it too big as handling the dough will be difficult if big.

Make a small center hole in the middle. This will allow for better cooking later. Gently remove the adai from the paper.
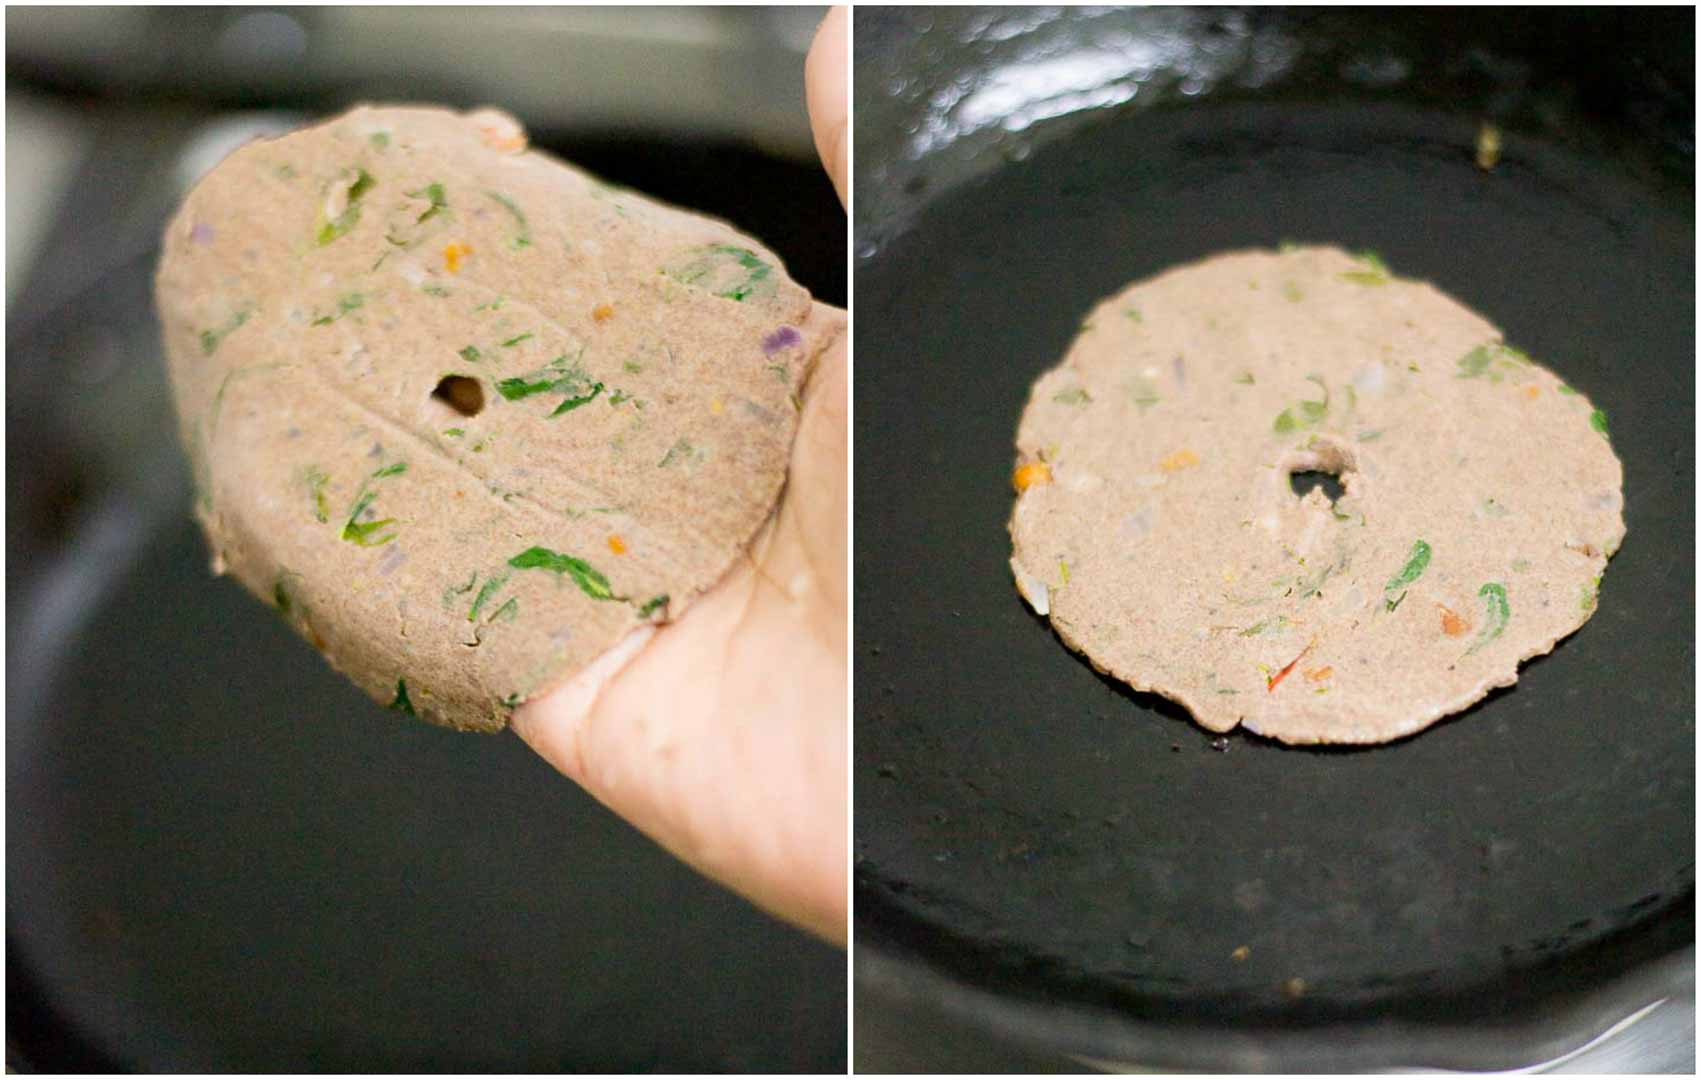
Place it on a hot griddle.

Sprinkle oil on the adai and cover the griddle with a plate. Let it cook on a medium flame for about a minute and a half.
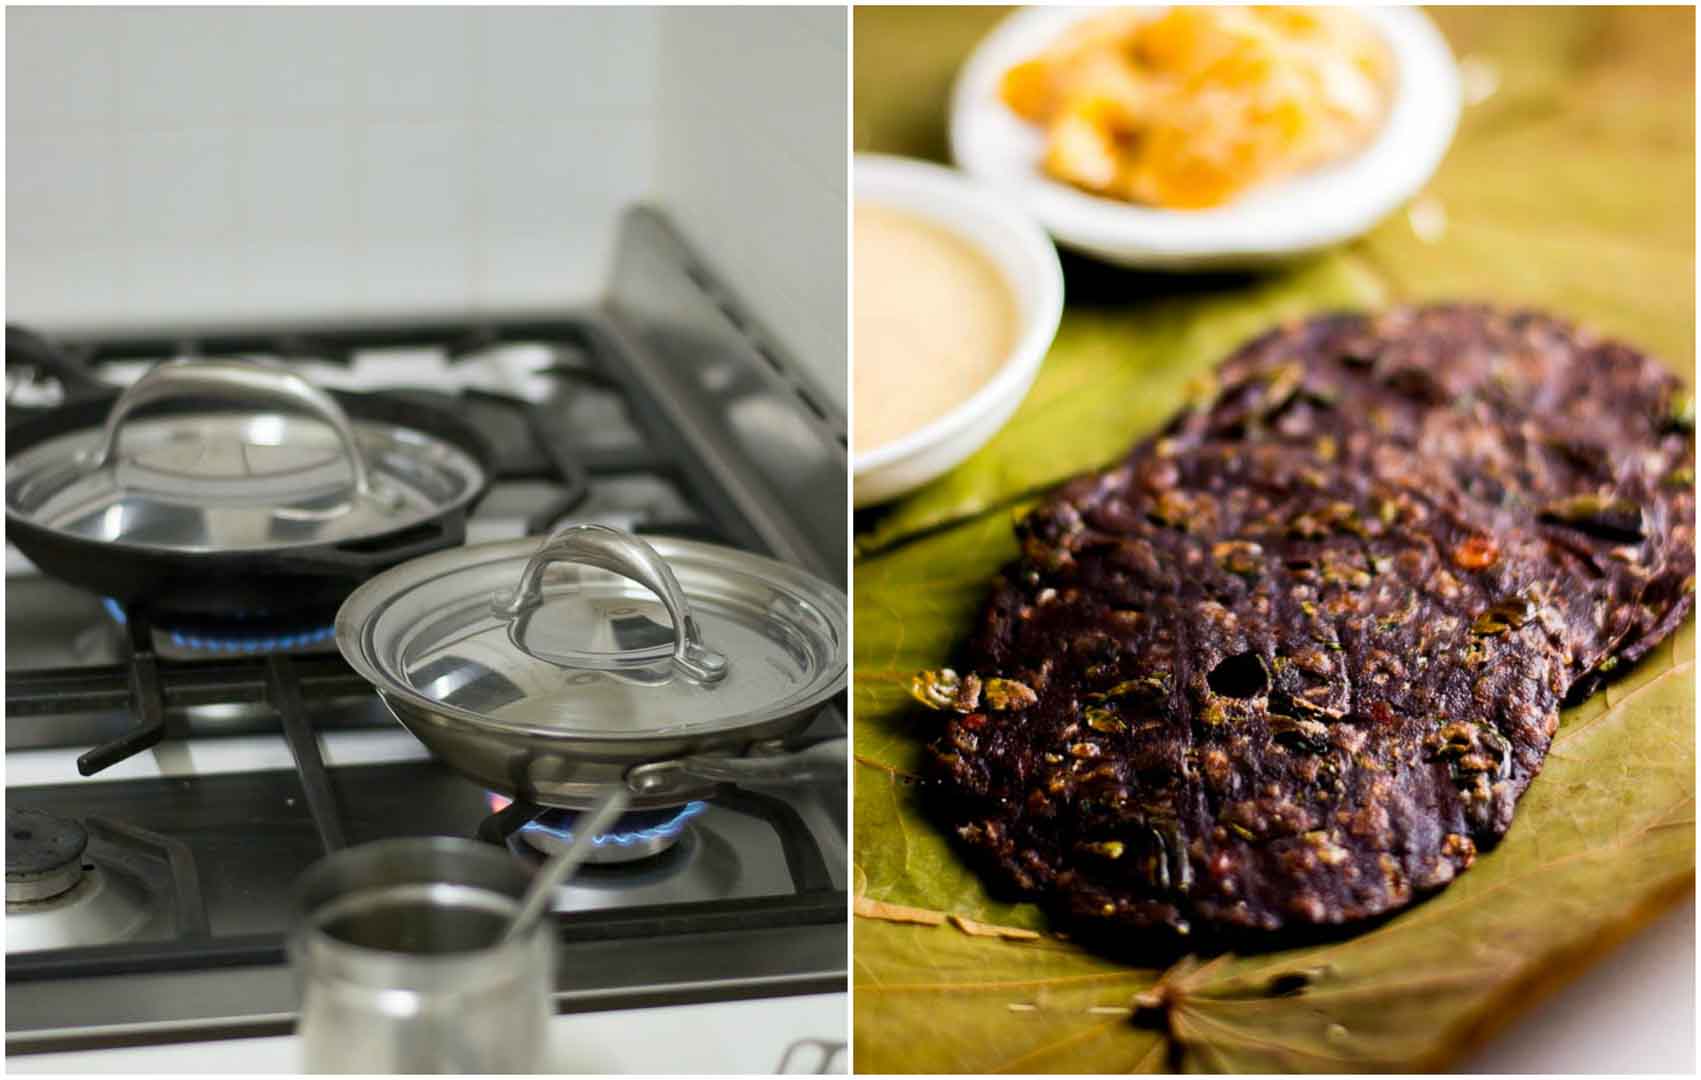
Turn the adai and cook for a minute more until well roasted. I like to have two griddles while cooking adai as it takes time to cook. The adai is ready. Its served with coconut chutney and jaggery.
- 1 tablespoon Indian sesame oil
- 1/2 teaspoon chana dal
- 1/4 teaspoon urad dal
- 1/4 teaspoon mustard seeds
- 1/2 cup finely chopped onions
- 2 green chillies, finely chopped (use more if you want a spicy adai)
- 2 dried red chillies, finely chopped
- 2 cups cleaned and washed murungai keerai leaves / moringa leaves
- 1 teaspoon salt
- 1.5 cups ragi flour ( 1 cup = 240 ml)
- 3 - 4 tablespoon Indian sesame oil / peanut oil for cooking the adai on the griddle
- Heat Indian sesame oil in a pan and add in the chana dal and urad dal. Let the lentils brown a bit. Add in the mustard seeds. Let the seeds crackle.
- Add in the finely chopped onions, green chillies and red chillies. Saute till the onions are soft.
- Add in the murungai keerai / moringa leaves. Let it cook for 3-4 minutes. Add in the salt and remove from heat. Set aside to cool.
- Take 1.5 cups of ragi flour in a bowl and add in the cooled onion-moringa mixture. Mix well.
- Add in the water little at a time and continue mixing. We are looking for a soft and loose dough.
- Wet your hands in water and take a golf ball size dough. Place the dough on a parchment sheet / plastic sheet or banana leaves. Start patting the dough to form a circle. If the dough is very sticky, apply little water to your hands to prevent sticking.
- Make a small center hole in the middle. This will allow for better cooking later. Gently remove the adai from the paper.
- Place it on a hot griddle.
- Sprinkle oil on the adai and cover the griddle with a plate. Let it cook on a medium flame for about a minute and a half.
- Turn the adai and cook for a minute more until well roasted.
- Serve with coconut chutney and jaggery.
- Author: Kannamma - Suguna Vinodh
- Prep Time: 20 mins
- Cook Time: 30 mins
- Category: Breakfast
- Cuisine: Tamilnadu
